


Guide to encode WMV file with multi-language audio tracks
Tools required:
Windows Media Encoder
This document describes the basic instruction for creating a WMV file with multi-language audio tracks. The tool used is Windows Media Encoder which is free software available from Microsoft website.
Index:
1. Encode 1 Video (WMV) and 3 Audio (WMA) files
2. Edit Windows Media files to same length/duration
3. Mux 3 WMA tracks with the WMV video
4. Verify that final encoded WMV file has 3 audio tracks
1. Encode 1 Video (WMV) and 3 Audio (WMA) files:
Use Windows Media Encoder to create a WMV video only file and three WMA audio files with different language settings for each as described below. You can also create 1 WMV with audio file and 2 WMA audio only file.
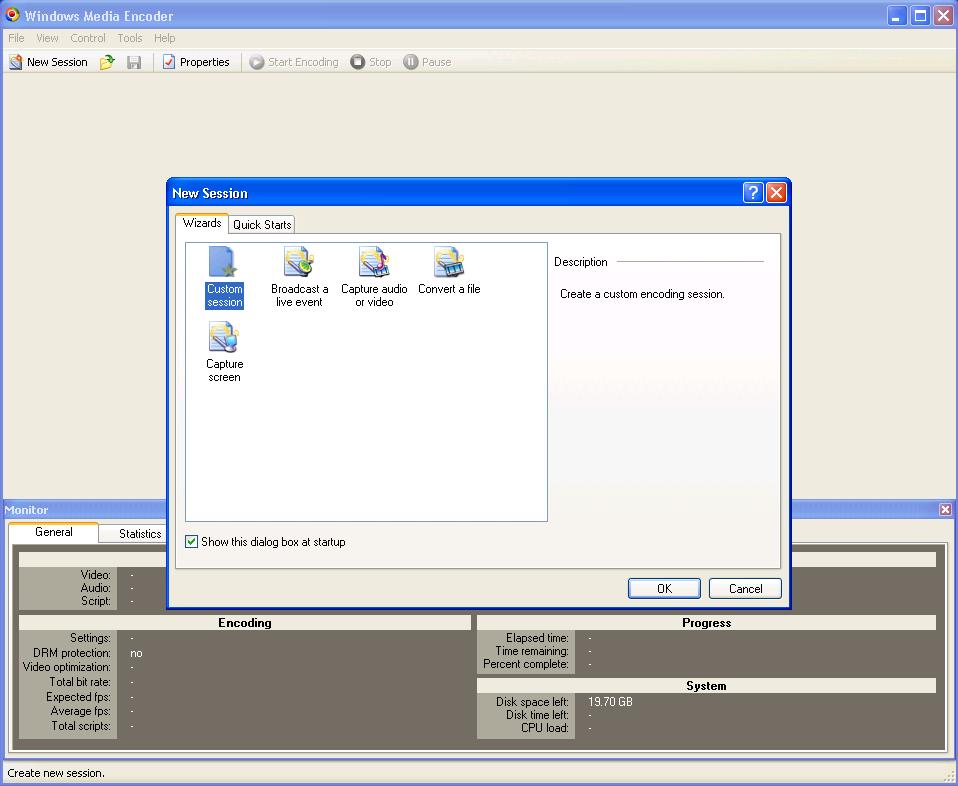
• Open Windows Media Encoder from Start -> Programs -> Windows Media
• Select “Custom Session” as shown in the screen-shot below:
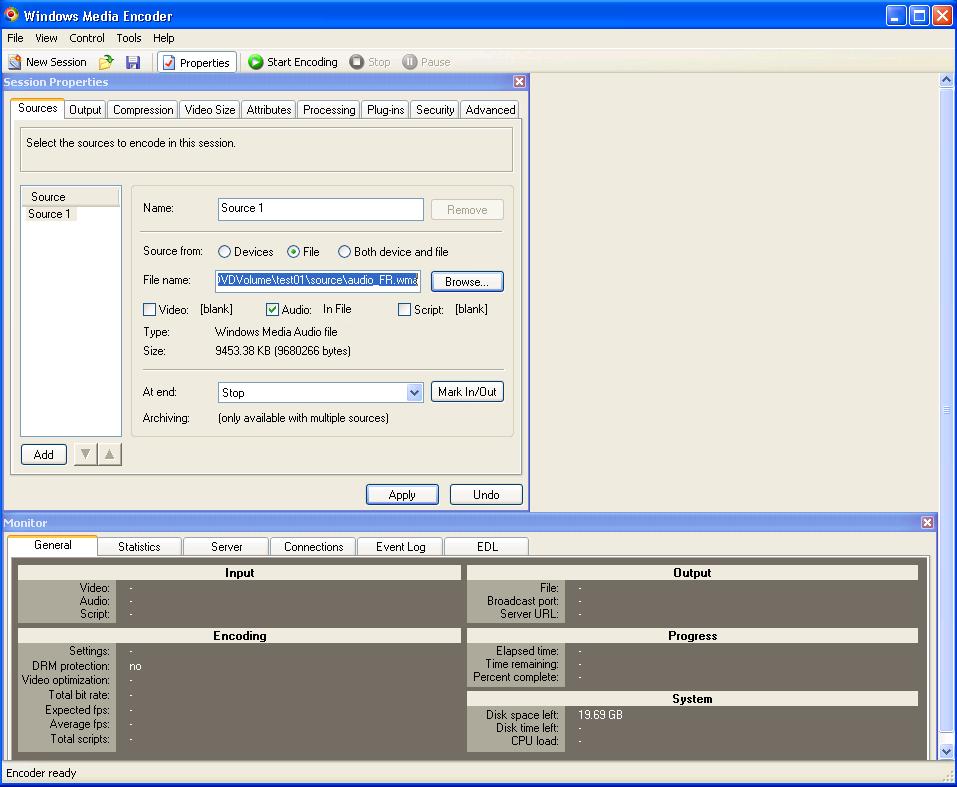
• Under the “Session Properties” -> “Source” tab, select the ‘source form’ as ‘File’ and browse the source video or audio file as shown in the screen-shot below:
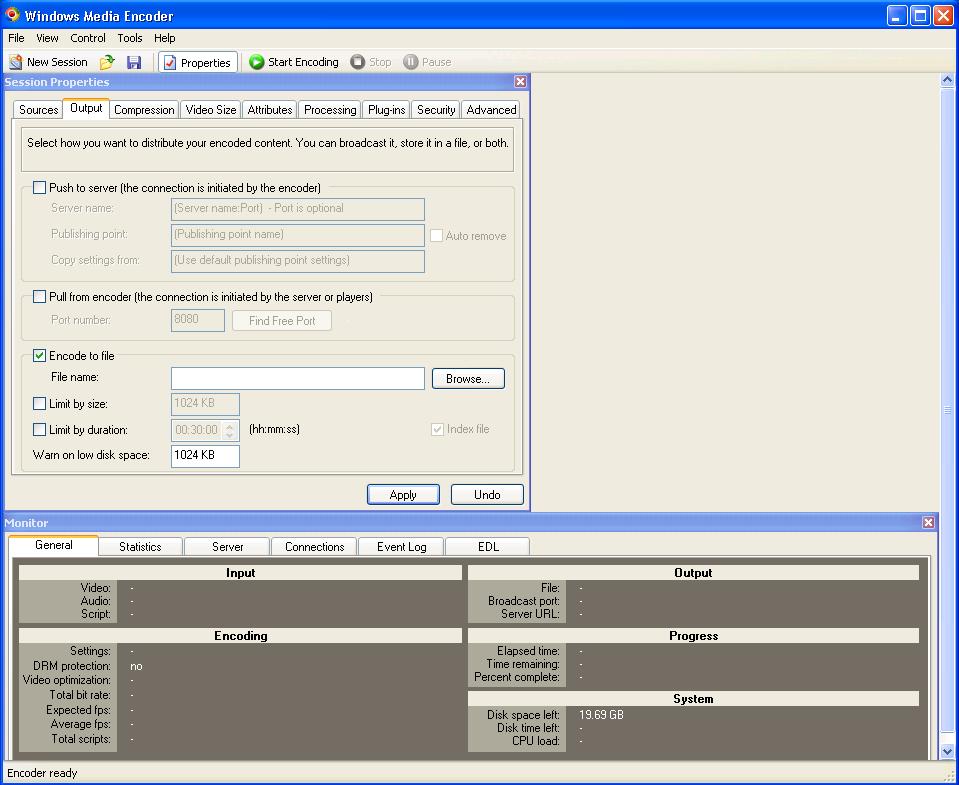
• Under the “Session Properties” -> “Output” tab, select the ‘encode to file’ option and select a output file name as shown in the screen-shot below:
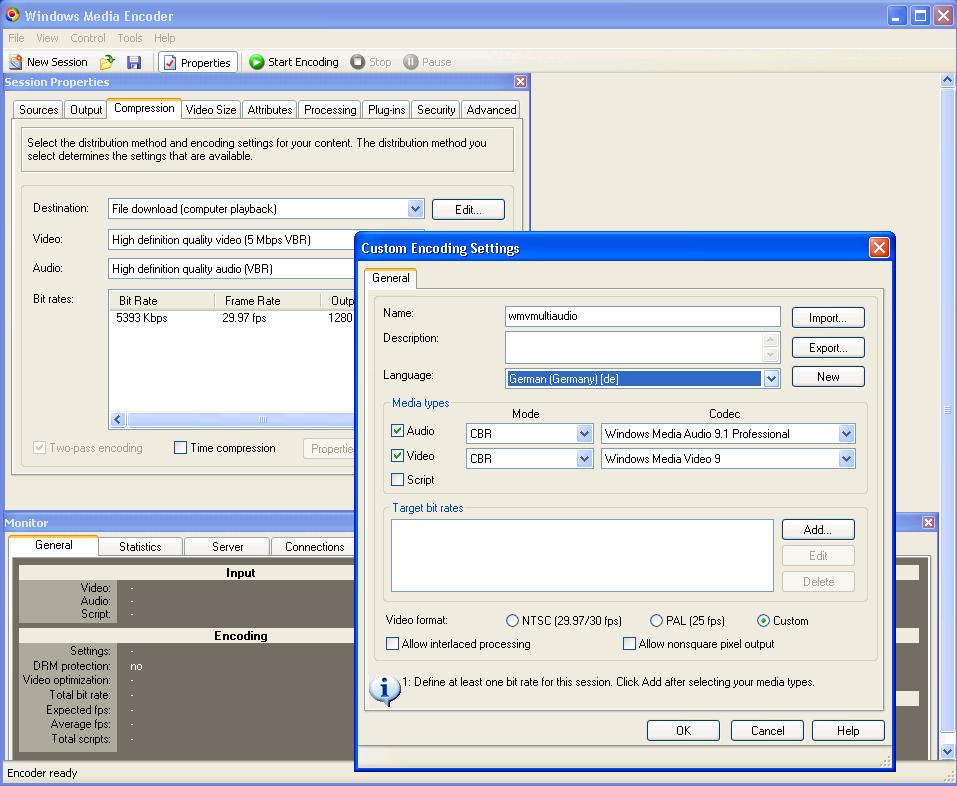
• Under the “Session Properties” -> “Compression” tab, select the ‘edit’ button and set the encoding option like bitrate and language option, as shown in the screen-shot below:
• Make sure that all WMA files are encoded with same bitrate settings.
2. Edit Windows Media files to same length/duration:
This is a optional step required only if the WMV and WMA files are of different durations. If all the files have same duration, then skip this section.
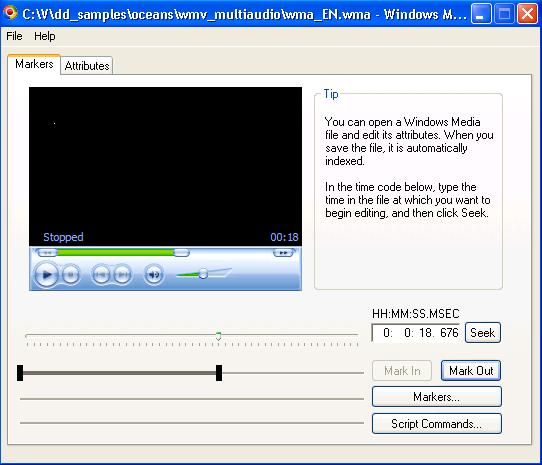
• Open Windows Media File Editor from Start -> Programs -> Windows Media -> Utilities
• Open the WMV/WMA files and use the Mark In/Mark Out options to edit the files to the same duration and save.
3. Mux 3 WMA tracks with the WMV video:
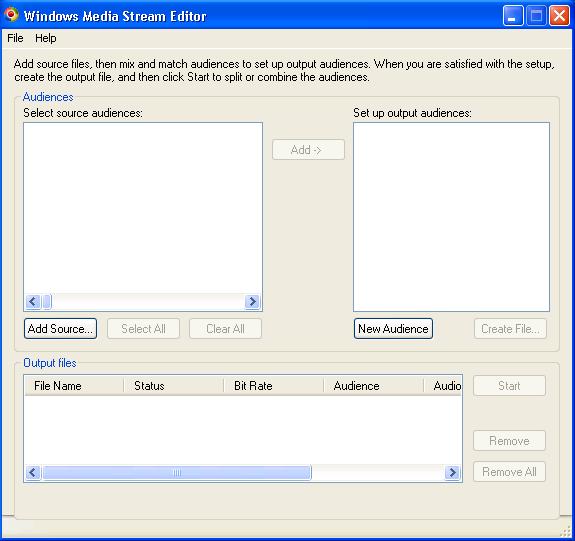
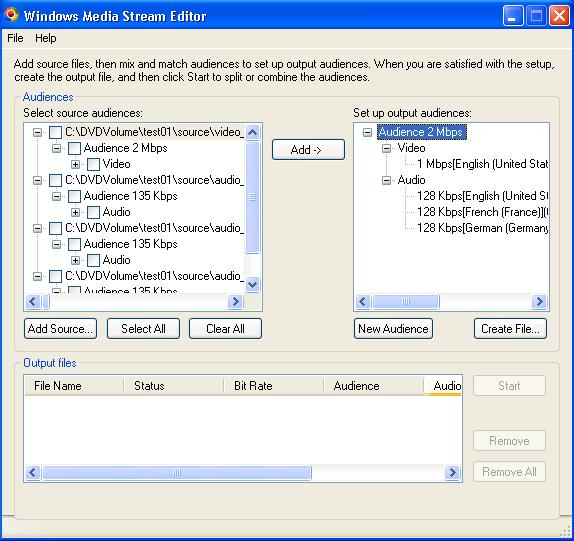
• Open Windows Media Stream Editor from Start -> Programs -> Windows Media -> Utilities
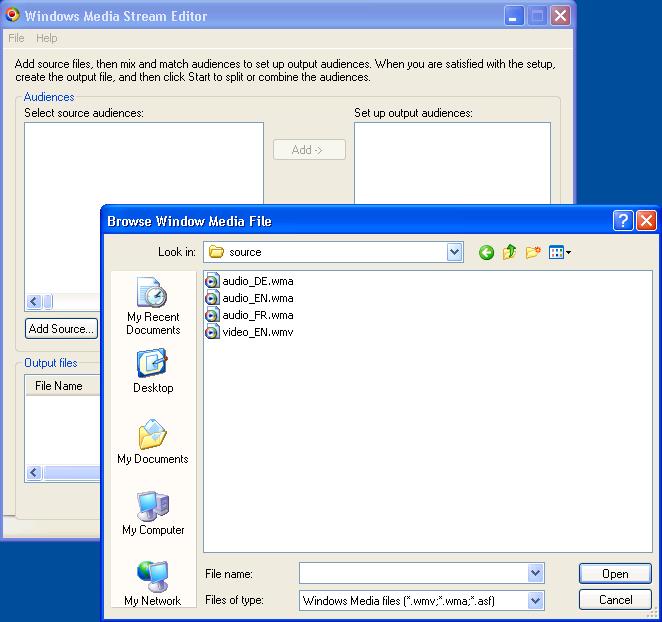
• Select “Add Source…” and browse to the folder containing WMV and WMA files.
• Select all the WMV and WMA files
• Expand all the source files and check the box for Video and Audio as shown in the screen-shot below:

• Select the “Add ->” button, the Output audience should appear as shown below:
• Select “Create File…” and type a file name for output file and click the start button.
4. Verify that final encoded WMV file has 3 audio tracks:
• Open the created WMV file in Windows Media Player
• Verify that a audio track is playing along with video
• From the Play menu, select “Audio and Language tracks” and verify that the 3 audio tracks are available as shown in the screen-shot below:
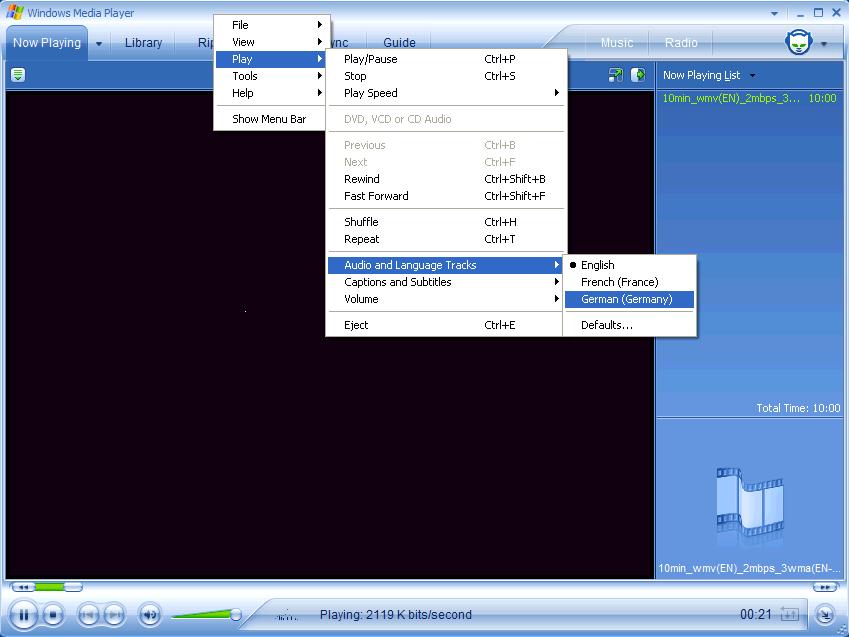
• Verify that selecting a different audio language track will play that particular audio track.
Try StreamFab Downloader and download from Netflix, Amazon, Youtube! Or Try DVDFab and copy Blu-rays!
+ Reply to Thread
Results 1 to 2 of 2
Thread

 Quote
QuoteSimilar Threads
-
Changing the language designation of subtitle & audio tracks
By DeathStalker77 in forum SubtitleReplies: 6Last Post: 8th Aug 2010, 22:32 -
Can do BDRebuilder a mkv file with more than one language tracks
By videoten in forum Blu-ray RippingReplies: 4Last Post: 4th Jun 2010, 14:39 -
Guide Needed for Authoring Multi Language DVD with multi language menus
By kemimich in forum Authoring (DVD)Replies: 2Last Post: 24th Dec 2008, 16:46 -
Multiple steps to create multi-audio, multi-subtitle DIVX from DVD
By schwarznavy in forum DVD RippingReplies: 8Last Post: 10th Nov 2008, 02:01 -
DVD Multi audio language-how to make it
By arvin in forum Authoring (DVD)Replies: 4Last Post: 10th Jan 2008, 16:33