


Svcd To Dvd
Tools Needed:
TMPGEnc (http://www.tmpgenc.net)
DVDPatcher (http://www.videohelp.com)
DVD-lab (http://www.mediachance.com)
Nero Burning Rom (http://www.nero.com)
Steps:
1. Convert the Audio from the Svcd to 48hz with 224 Bitrate in TMPGEnc.
2. Multiplex the Video and 48hz Audio.
3. Run DVDPatcher to Change the Svcd's headers.
4. Import the Svcd into DVD-lab. Create Menus and Compile your dvd.
5. Burn your Dvd With Nero Burning Rom.
* Since I followed a step by step format it seems like a long process, But in
fact once you get the hang of it it shouldn't take you more than ten minutes
to complete depending on how long it take's to convert the Audio.
1. Converting the Audio.
Since dvd's need 48hz and Svcd's only have 44hz we need to convert the audio.
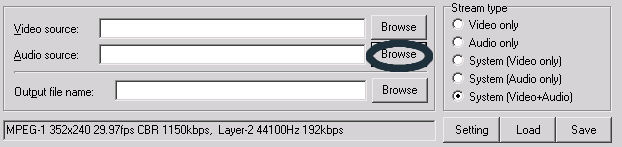
So open up TMPGEnc. Click on browse for Audio Source:
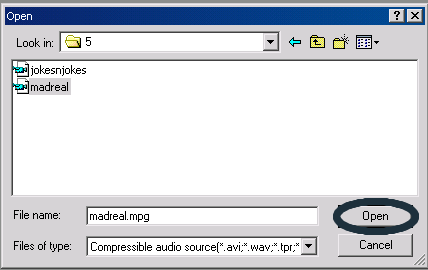
Open up your Movie file, In my case its "madreal.mpg"
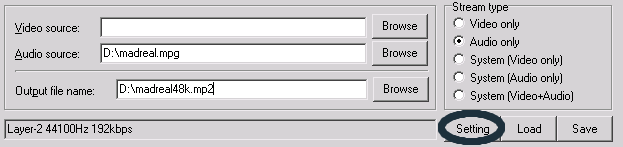
Now Select an output filename in my case its "madreal48k.mp2" just so i know its the 48hz audio file. Also click on Setting.
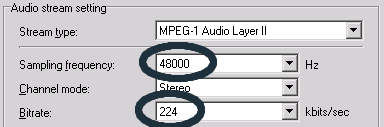
When the Audio settings windows opens select the Sampling Frequency to 48000hz and Bitrate to 224 kbits/sec.
Now Click on start and give TMPGEnc time to encode the .mp2 file.
When its done it should look like this, And you should have a 48hz audio file.
2. Multiplexing the Video and the new 48hz Audio file.
We need to do this in order to bring the Video file and newly created Audio file together.
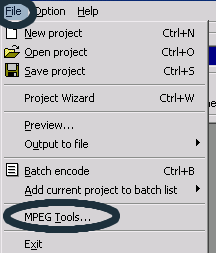
TMPGEnc Should still be open. Click on "File" and then "MPEG Tools..."
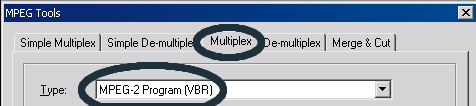
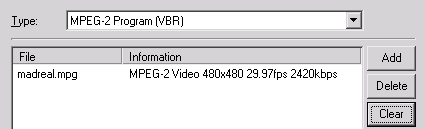
When the MPEG Tools window pops up select the "Multiplex" tab and make sure "MPEG-2 Program (VBR)" is selected.
Now Click Add and Select your Movie file, In my case its "madreal.mpg".
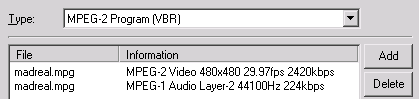
Now your Movie file has been added to the Multiplex window.
If you notice both the Video and Audio have been added. We need to remove that Audio and add the new 48hz file.
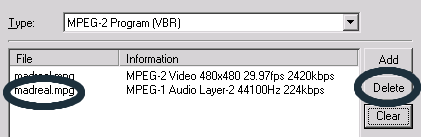
So select that madreal.mpg that's next to the MPEG-1 Audio Layer-2 44100Hz 224kbps and Click on delete.
Now your Multiplex window should look like this. Just the Video Layer should be present.
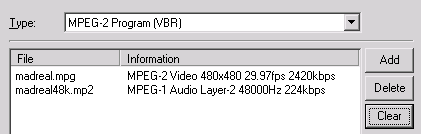
Now we Add the 48hz Audio file we created. Click Add and Select your 48hz Audio file, in my case its "madreal48k.mp2" and now we should have this.
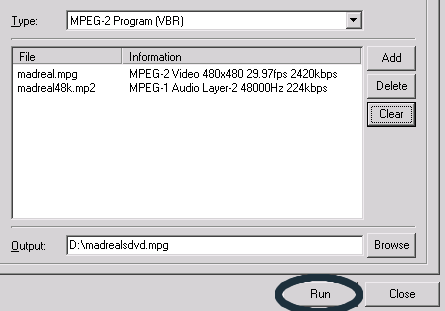
Now we need to rename our Output so that our Original file Doesn't Get
Overwritten. In my case i named it "madrealsdvd.mpg" and Then Click Run.
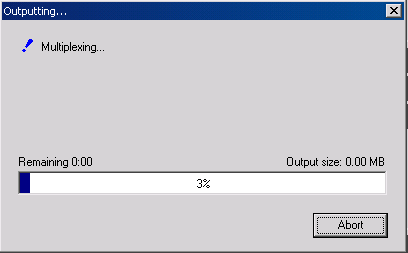
You should see a window that looks like this while its Multiplexing, Just let
it Work its magic, When its done you should have a new movie file.
* Before we move onto Step 3 You should Check out that newly created video File to make sure everything's in order, Such as Sync and Sound quality.
3. Changing the Svcd's headers
We need to do this in order to import our Movie into DVD-lab without Re-Encoding. Open up DVDPatcher, Open up your newly created Video file.
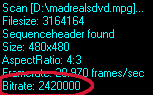
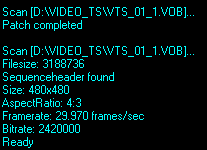
After you open the file, Some Information will be shown, Note the Bitrate of your file you will need it soon.
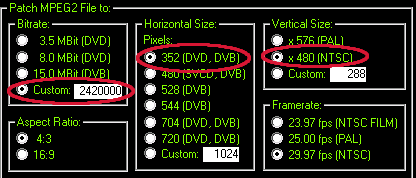
Now enter your Bitrate where it says "Custom" in my case it's "2420000". Where it says "Horizontal Size" Click on "352 (DVD, DVB)" Where it says "Vertical Size" Click on the size that corresponds to your file in my case its "480" everything else should auto select on its own.
Now where it says "Patch:" Select "First Header Only" And Click "Patch Now!".
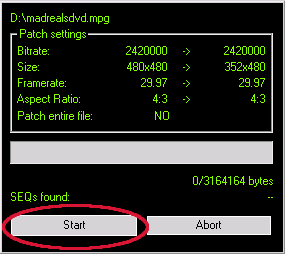
Now a new Window should pop up, Click on "Start".
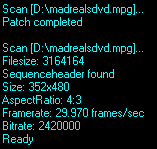
A few Seconds later you should have a patched Video File and this new
information should show up in DVDPatcher, The information should match the
changes you made before.
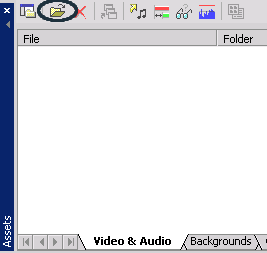
4. Importing the file into DVD-lab This is where we will be authoring our dvd with menus and all. Open up DVD-lab, In the "Assets" window open up your Video.
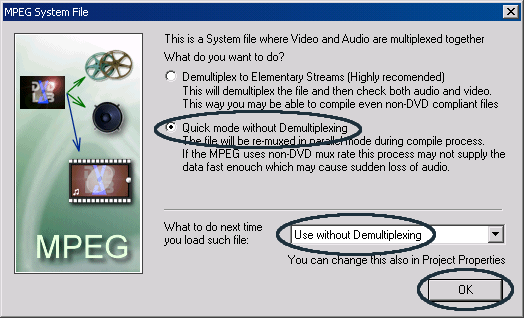
When you open your files a windows asking you "What To do..." Will pop up, Select "Quick Mode Without Multiplexing" To avoid this window in the future select "Use Without DeMultiplexing" Then Click ok.
After you Click ok your file will be imported and you should have something like this in your Assets windows.
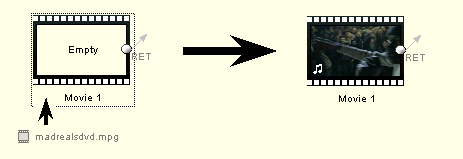
Now Drag the Video from the Assets window in my case "madrealsdvd.mpg" Into the Connections window, Right into where it says "Movie One" Once you've dragged it you should see an image of your Movie.
Now Double Click to open "Menu 1" And a new screen should open.
Here we will create our menu. You can import images into your assets window and drag them into your menu 1 window and use them as backgrounds or selections, But for the sake of this project I will make a plain menu.
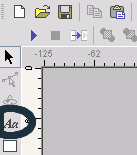
So lets Click on the "Text Tool".
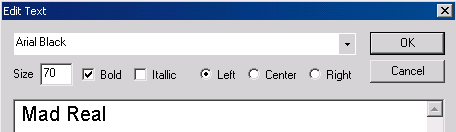
And lets type a Title for our dvd in my case I'll do "Mad Real".
To change colors and such we can use the tools on the right side of our menu window.
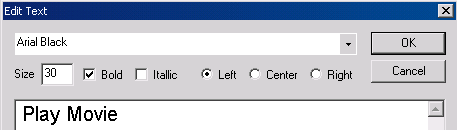
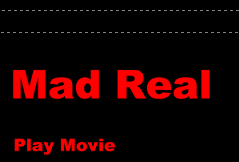
Now lets create a Play button, Simply Click on the Text Tool again and type.
And we should have something like this.
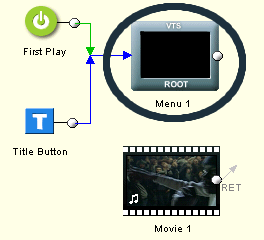
Now we have to link the "Play Movie" To the actual Movie, So select your "Play Movie" text and Right Click, Select "Link" Then "Movie 1" and "Movie Start (00:00:00)".
And your "Play Movie" Should turn Orange and say "Movie 1" under it like so.
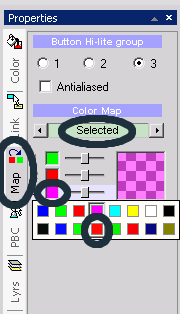
We can change the colors of the button as we highlight it and select it in the properties window on the right, Click "Map" And where it says "Color Map" make sure it says "Selected" Then Click the third color down from it, It's usually purple, And Select a new Color in my case i've chose red.
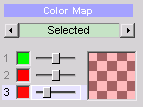
You can now change the Strength of the color you selected as your "Selected Color" In my case I made it Lighter than the color of my "Play Movie" Color Red, Using the Slider next to the color.
Normal To Lighter
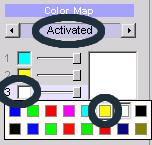
Now let's select a color so that when we click on the "Play Movie" A different color is shown. First Change the "Color Map" from "Selected" to "Activated" Now Click the third color down Usually White and select your new color in my case I selected Yellow.
Now lets Test it and make sure all the colors we Selected are showing up,
First Click on the "Simulation" Button, A new window should pop up called
"Remote" Now run your mouse over the "Play Movie" Button and Click, If it changed colors everything is fine.
Then
Selected
Activated
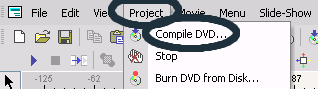
Once your done with your menu its time to Compile our dvd, Let's Click on
"Project" and Click "Compile DVD...".
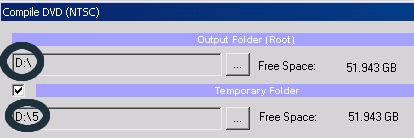
Once the new window opens you only need to change 2 things and leave the rest as-is. First select your "Output Folder" In my case its "D:\" Then Select your "Temporary Folder" In my case its "D:\5".
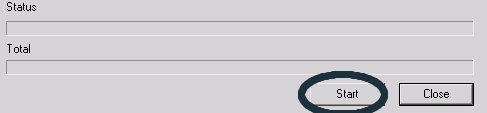
Now Finally Click on "Start" And DVD-Lab will now compile your Dvd Files.
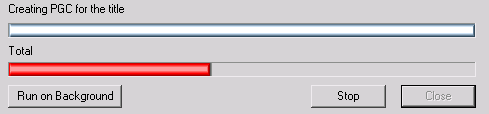
And it will Start to compile..
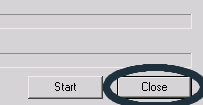
When its done Click on "Close" And your done with the DVD-Lab Part.
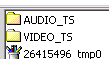
You should now have 2 folders "AUDIO_TS" and "VIDEO_TS" You will need them in our next step.
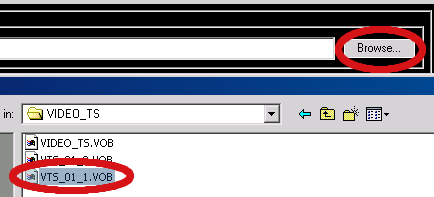
* Now let me take you on a side step, Some dvdplayer's have problems playing the Svcds with incorrect Headers so lets correct them before we burn them. So lets open DVDPatcher once again, Click "Browse" And look for the "VIDEO_TS" Folder DVD-Lab created, Now Open "VTS_01_1.vob" Also do this to All other ".Vob" Files after "VTS_01_1.vob" Depending On how big your Movie is, And how many ".Vob" Files ttp://www.videohelp.com/tools?tool=171#comments]DVD-Lab[/url] created for you.
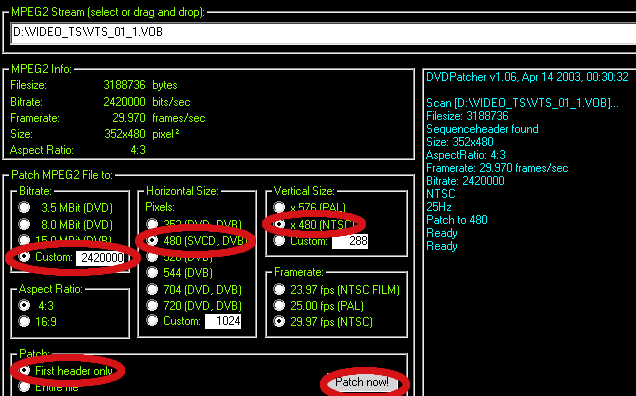
Now lets Patch this file, DVDPatcher will only let you Patch one file at a
time so you will have to repeat this step for as many ".Vob" You may have. First Click on "Custom" and enter your videos Bitrate, Then Select "480 (SVCD, DVB) Now select your "Vertical Size:" in my case "x 480 (NTSC)" Click "First Header Only" and finally "Patch Now!".
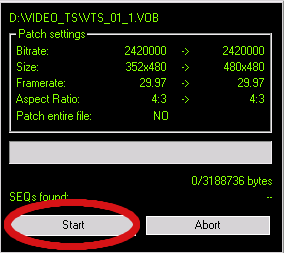
When the new window opens Simply click "Start"
And your new ".Vob" files info will appear.
Once you've Patched all your ".Vob" files you can move onto the next step.
5. Burning the DVD with Nero
Simplest Step.
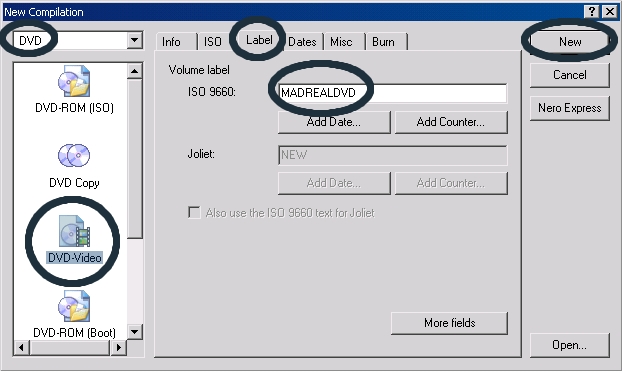
Open up Nero Burning rom and Select "DVD" from its menu. Then Click on
"DVD-Video" Followed by the "Label" Tab and enter a name for your DVD, In my case its "MadRealDVD" Finally Click "New".
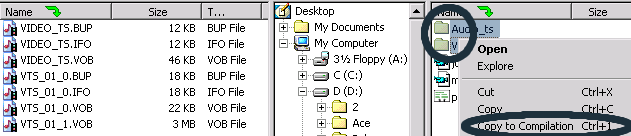
Now once the new window opens you should look for the Folders DVD-Lab Created, "AUDIO_TS" and "VIDEO_TS" And you should have something like this.
Now select both Folders and Right Click, Then Click on "Copy To Compilation" As soon as you Click on "Copy To Compilation" Your files should have been moved to the left side of the screen and you should have something like this.
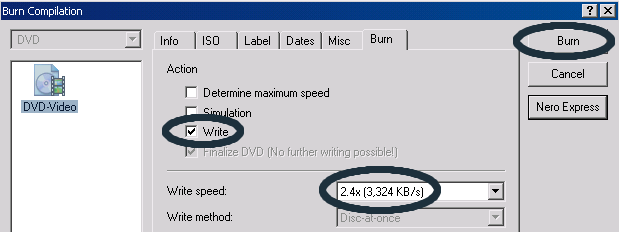
Now all that's left is to Click on "Burn" And when the "Burn" Window opens
select "Write" Then depending on your burners speed select your writing speed, Finally click on "burn".
After it burns pop it in your dvd player and see how it came out, Everything
should be ok.
+ Reply to Thread
Results 1 to 3 of 3
-
-
FIXED*** and sorry to Baldrick for causing problems, but i must say that lil feature that makes the known program names into links causes headaches while editing...

-
I'm a MEGA Super Moderator

- Aug 2000
- Sweden


I know...it was a bug caused by all your missing images link in this topic. I was also bannedOriginally Posted by i|am ...but it should be fixed now.


 Quote
Quote
Similar Threads
-
I fixed my Philips DVDR 3455H dvd/hdd recorder
By dphirschler in forum DVD & Blu-ray RecordersReplies: 72Last Post: 21st Apr 2021, 17:05 -
SVCD Cant Register (FIXED - Please ignore)
By Gezzerboy in forum SVCD2DVD & VOB2MPGReplies: 2Last Post: 30th Dec 2008, 11:15 -
Help with DL DVD burn no playability :edit fixed
By WBFAir in forum Authoring (DVD)Replies: 19Last Post: 25th Jul 2008, 03:25 -
Best 5 disk, Bunable DL DVD player to get ???? Edit: fixed
By WBFAir in forum DVD & Blu-ray PlayersReplies: 8Last Post: 23rd Jul 2008, 14:48 -
Has the dvd filesize problem been fixed?
By Comrinec in forum SVCD2DVD & VOB2MPGReplies: 6Last Post: 19th May 2008, 14:37