


Pictures of a Cooler Master Gemini II CPU cooler install in a Lian-Li HTPC desktop case:
(Sorry about the picture quaity, but I wanted to make them load faster and not use too much server space.)
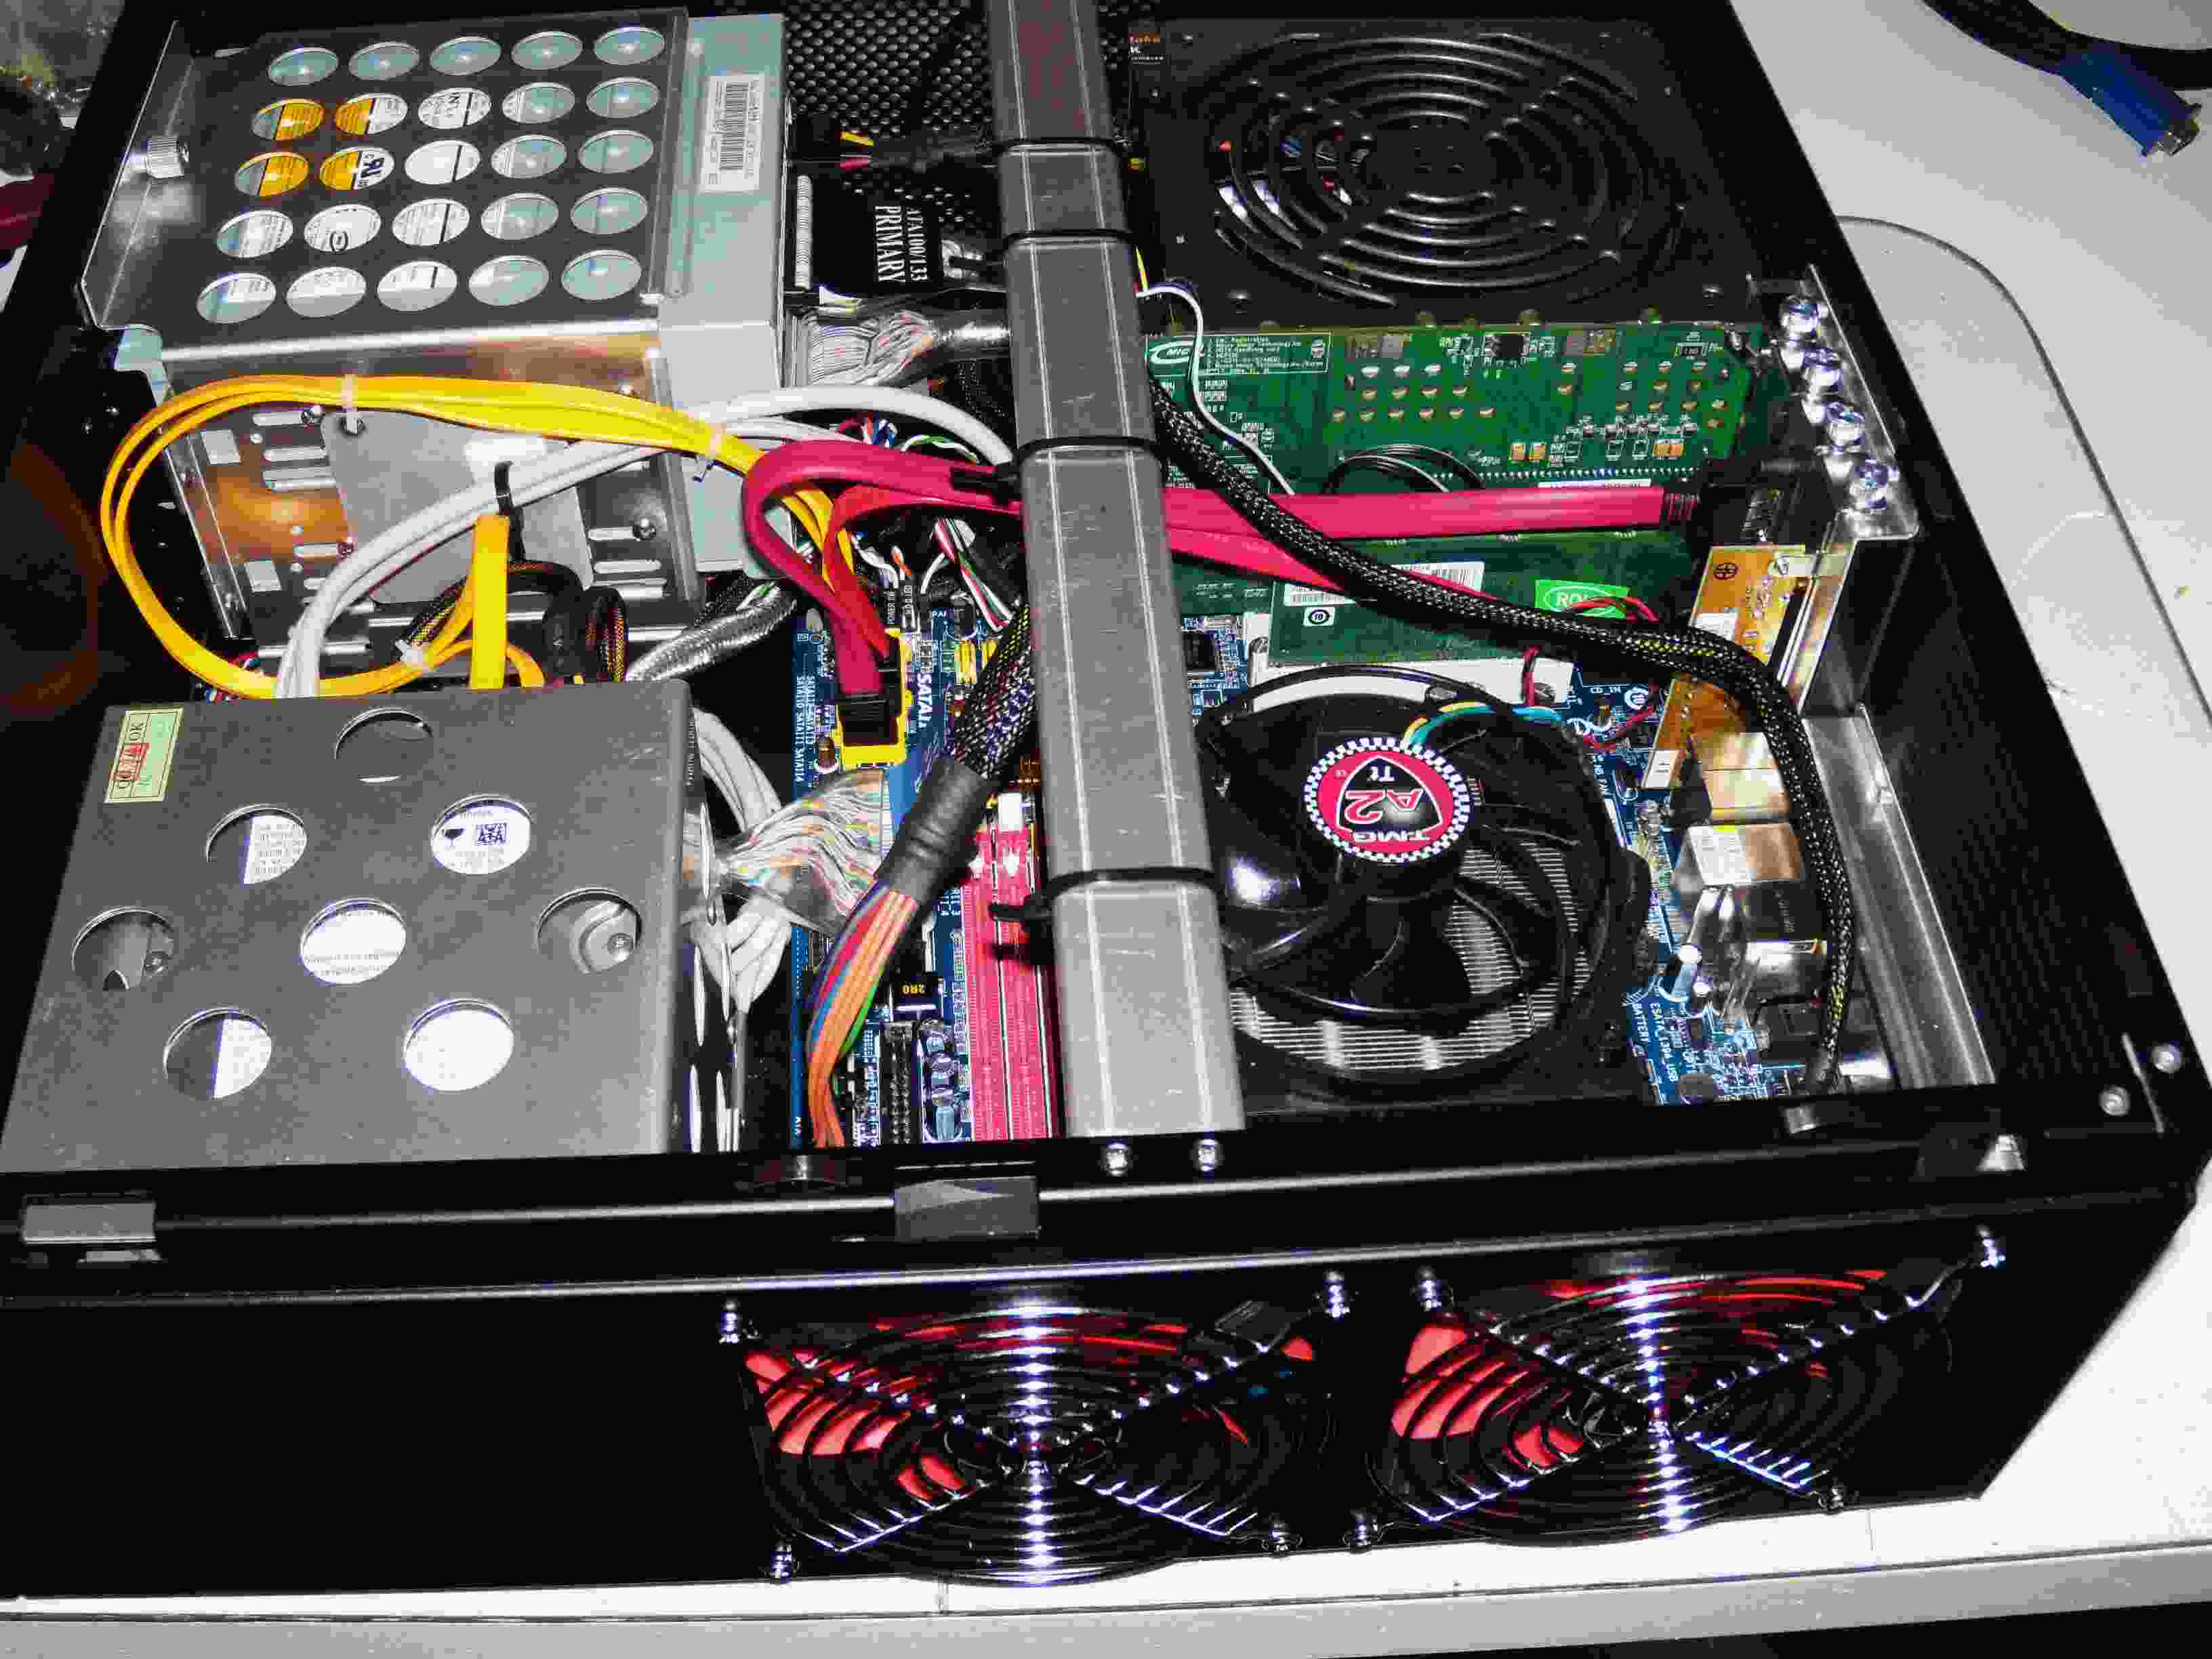
This is my existing Lian-Li HTPC case. I'm presently using a Phenom 9500 2.2Ghz AMD Quad core CPU. The motherboard is a Gigabyte GA-MA-78GM-SH2. It's a micro-ATX MB with HDMI video and S/PDIF audio outputs that feeds my HD projector. I have 2GB of Corsair XMS DDR2 1066 RAM and the PC has two 320GB SATA HDDs and two Sony PATA DVD burners. The existing cooler is a Thermaltake PWM cooler, but not really sufficient for this case. My temps run about 42C at idle and about 50C during encodes. The power supply is a Thermaltake 500W with a 140mm fan. It's upside down as that was the only mounting option. The case fans are exhaust only. They work by drawing air at a low speed from vents in the case. This works well as no dust is drawn in and the PC is kept clean inside. The downside is that cooling is not so good.
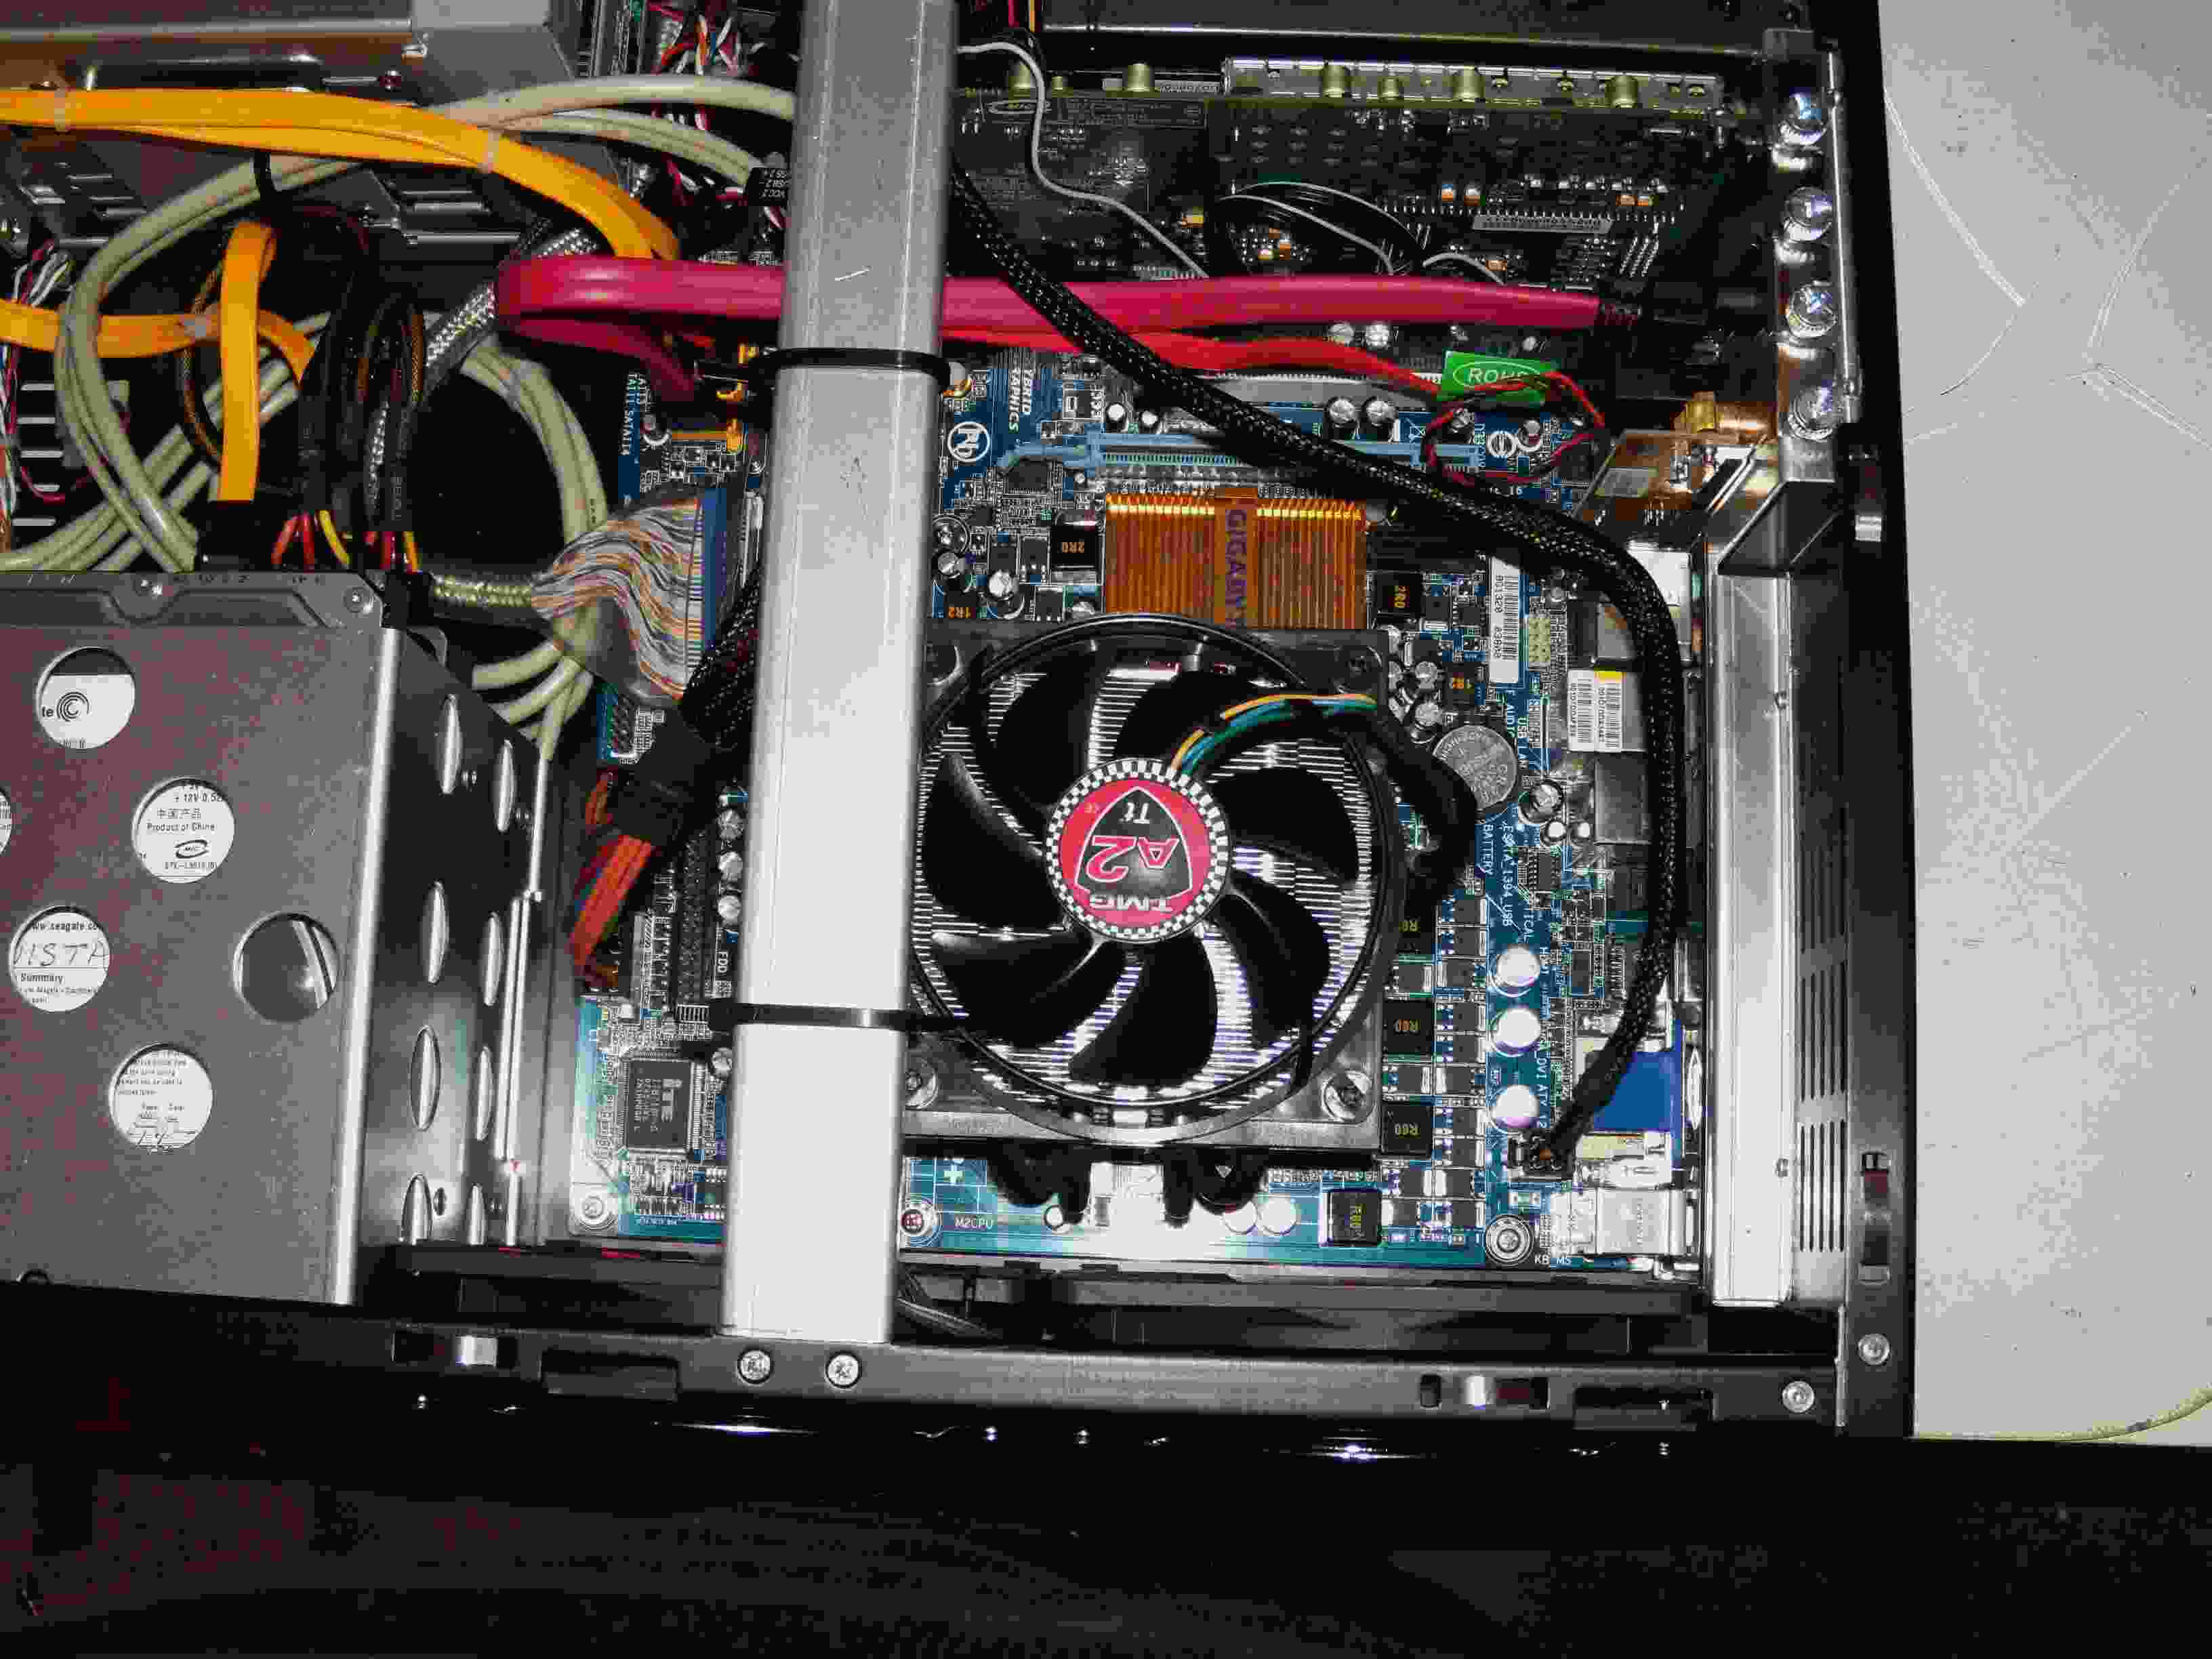
A picture from above.
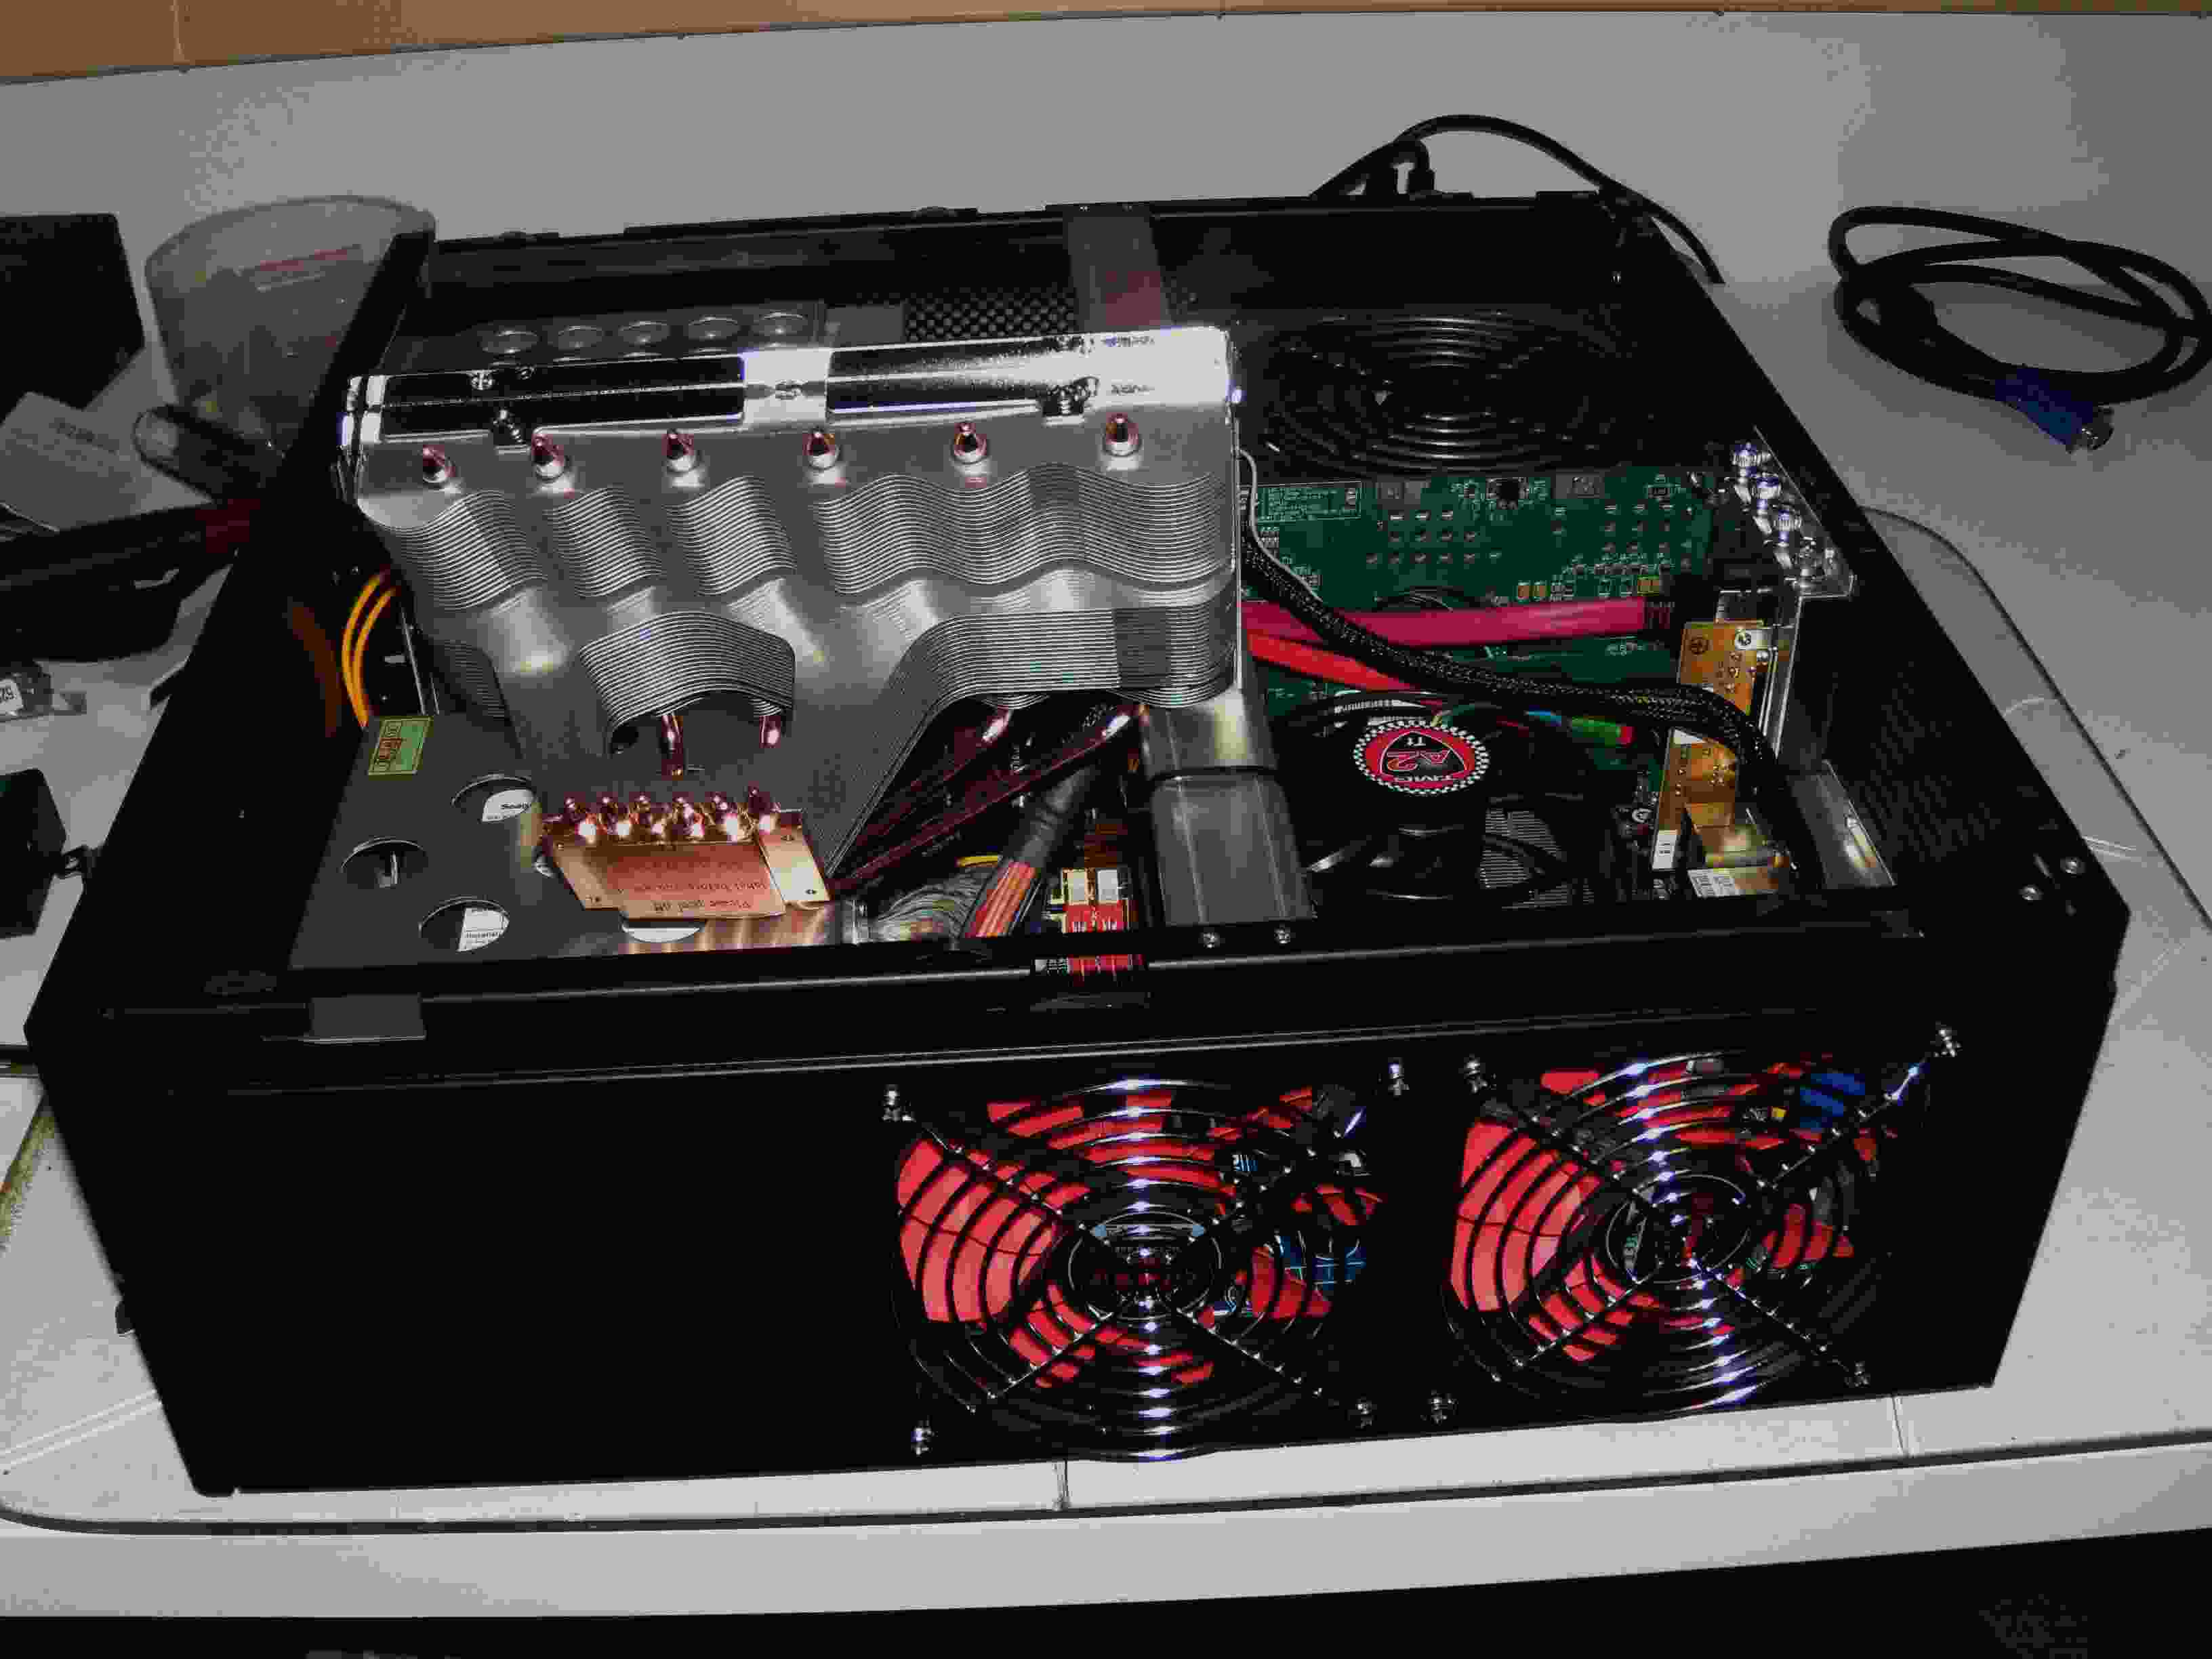
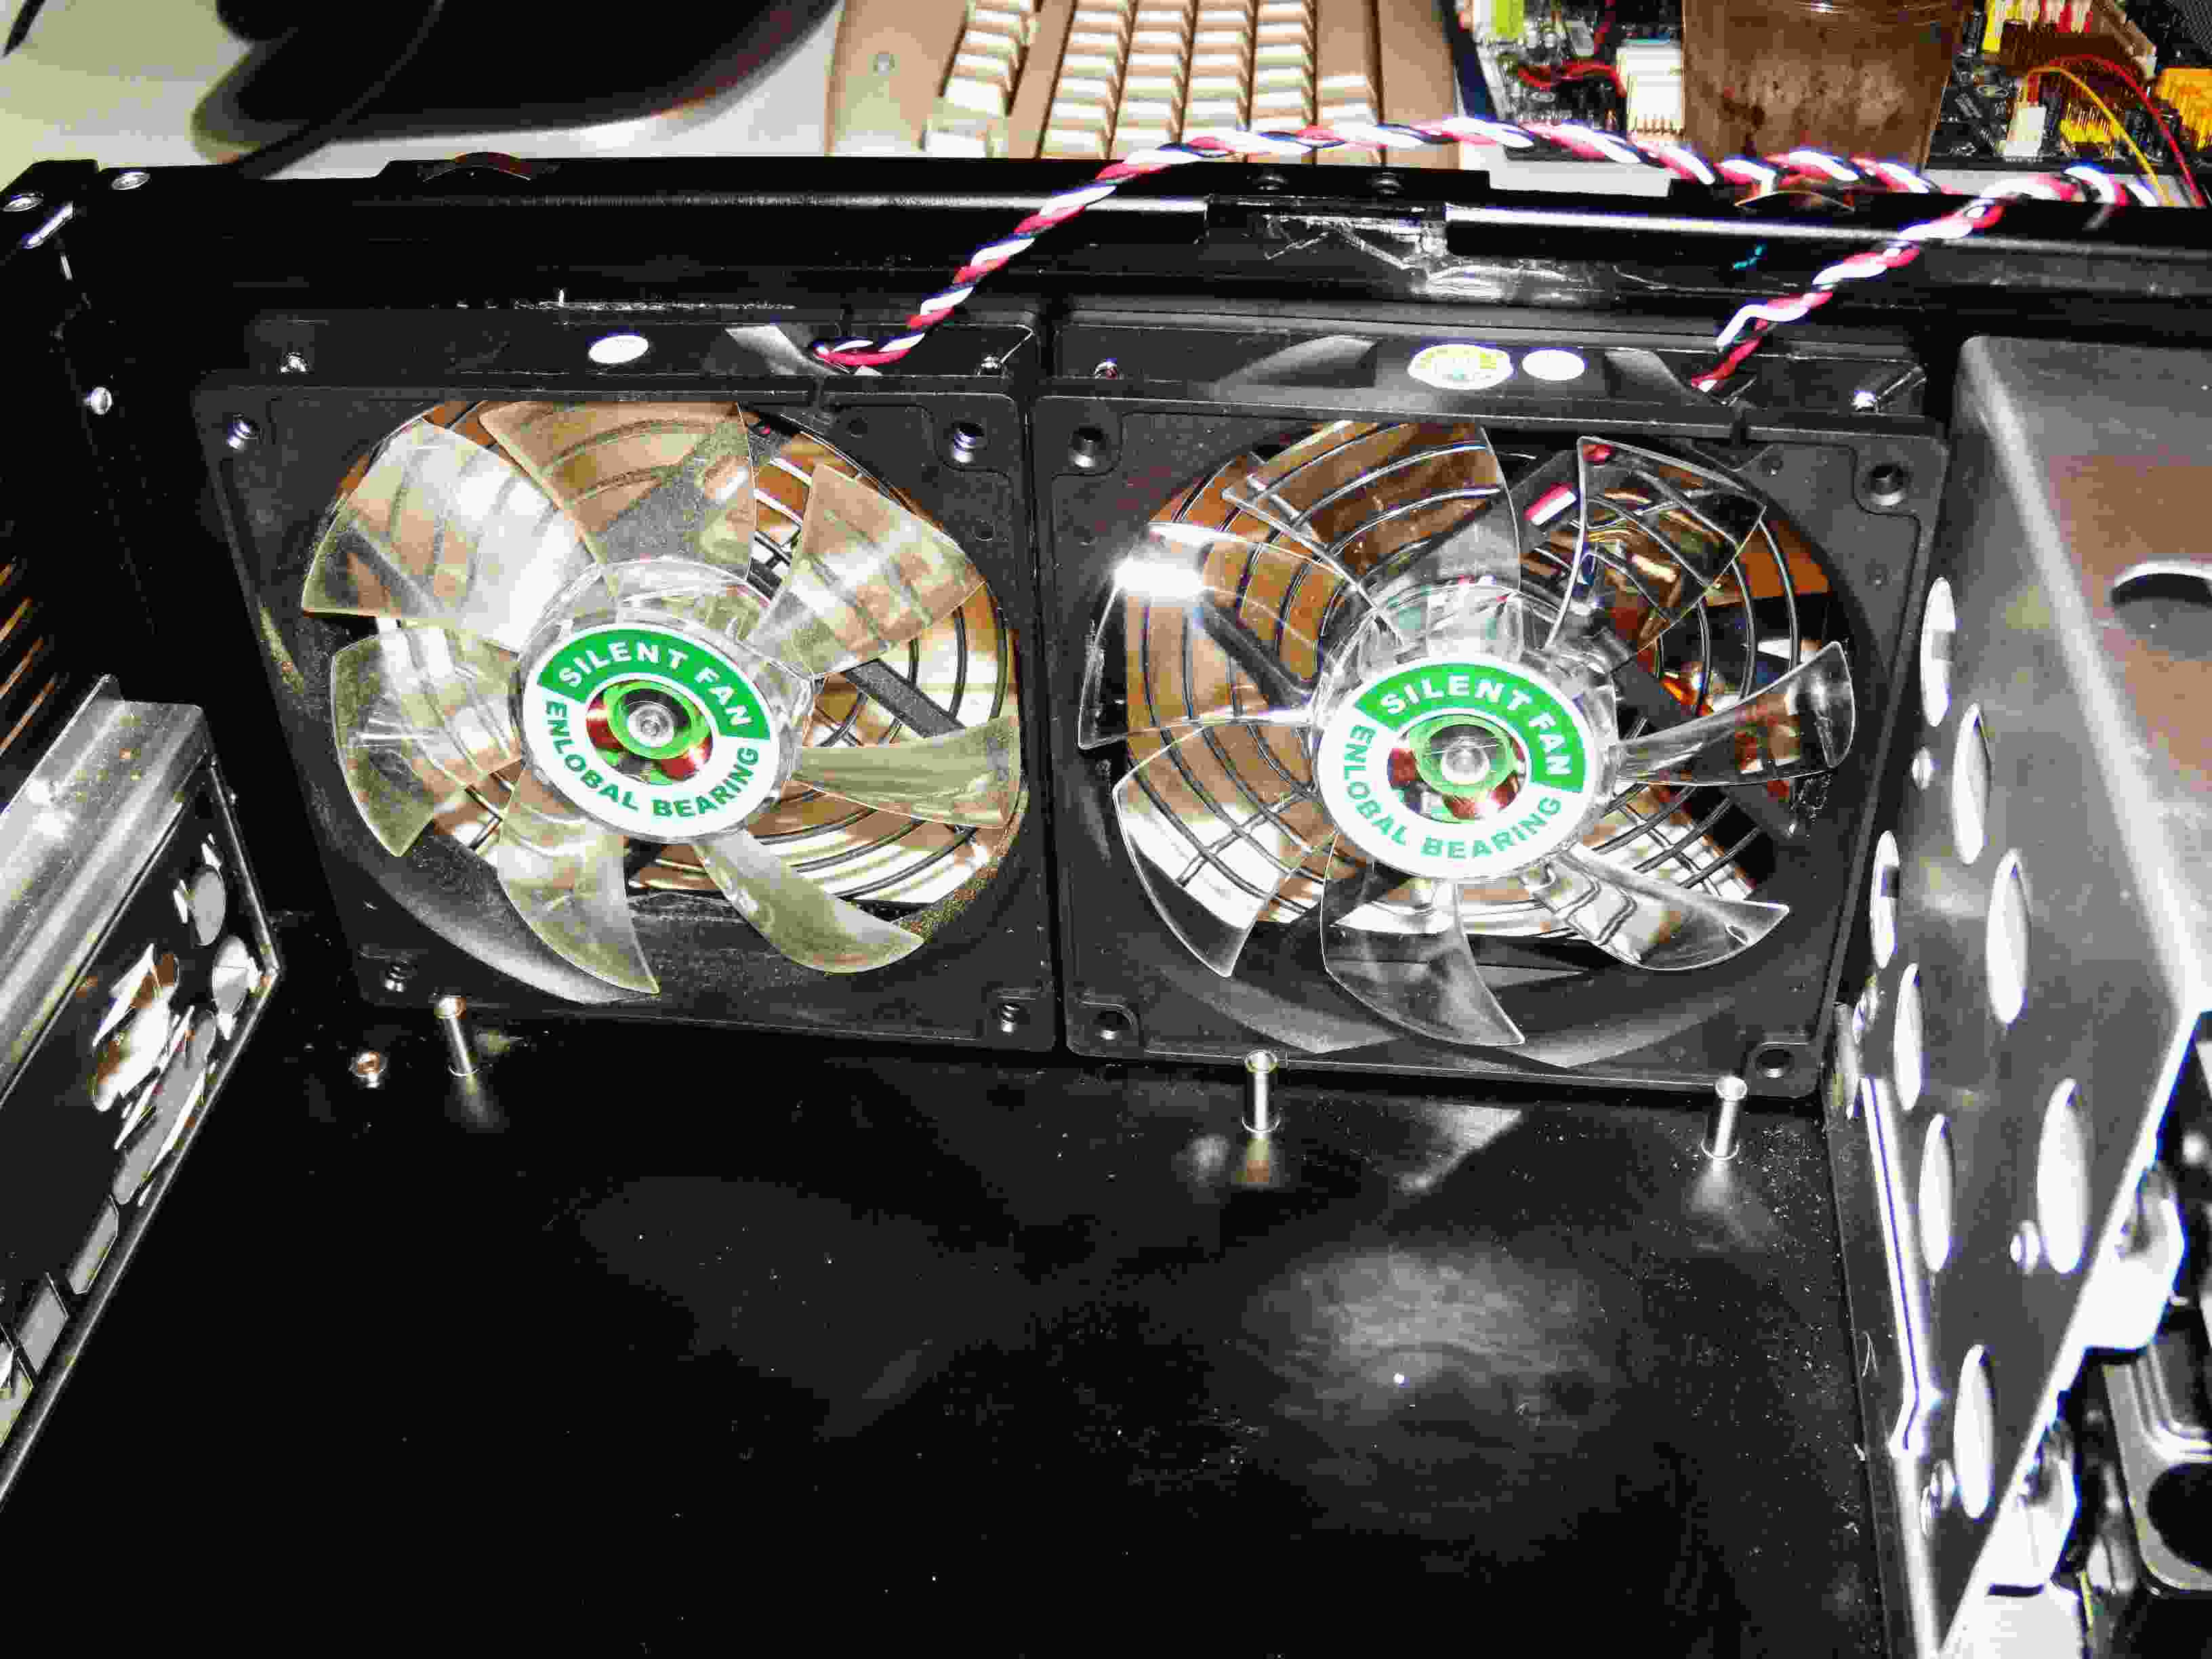
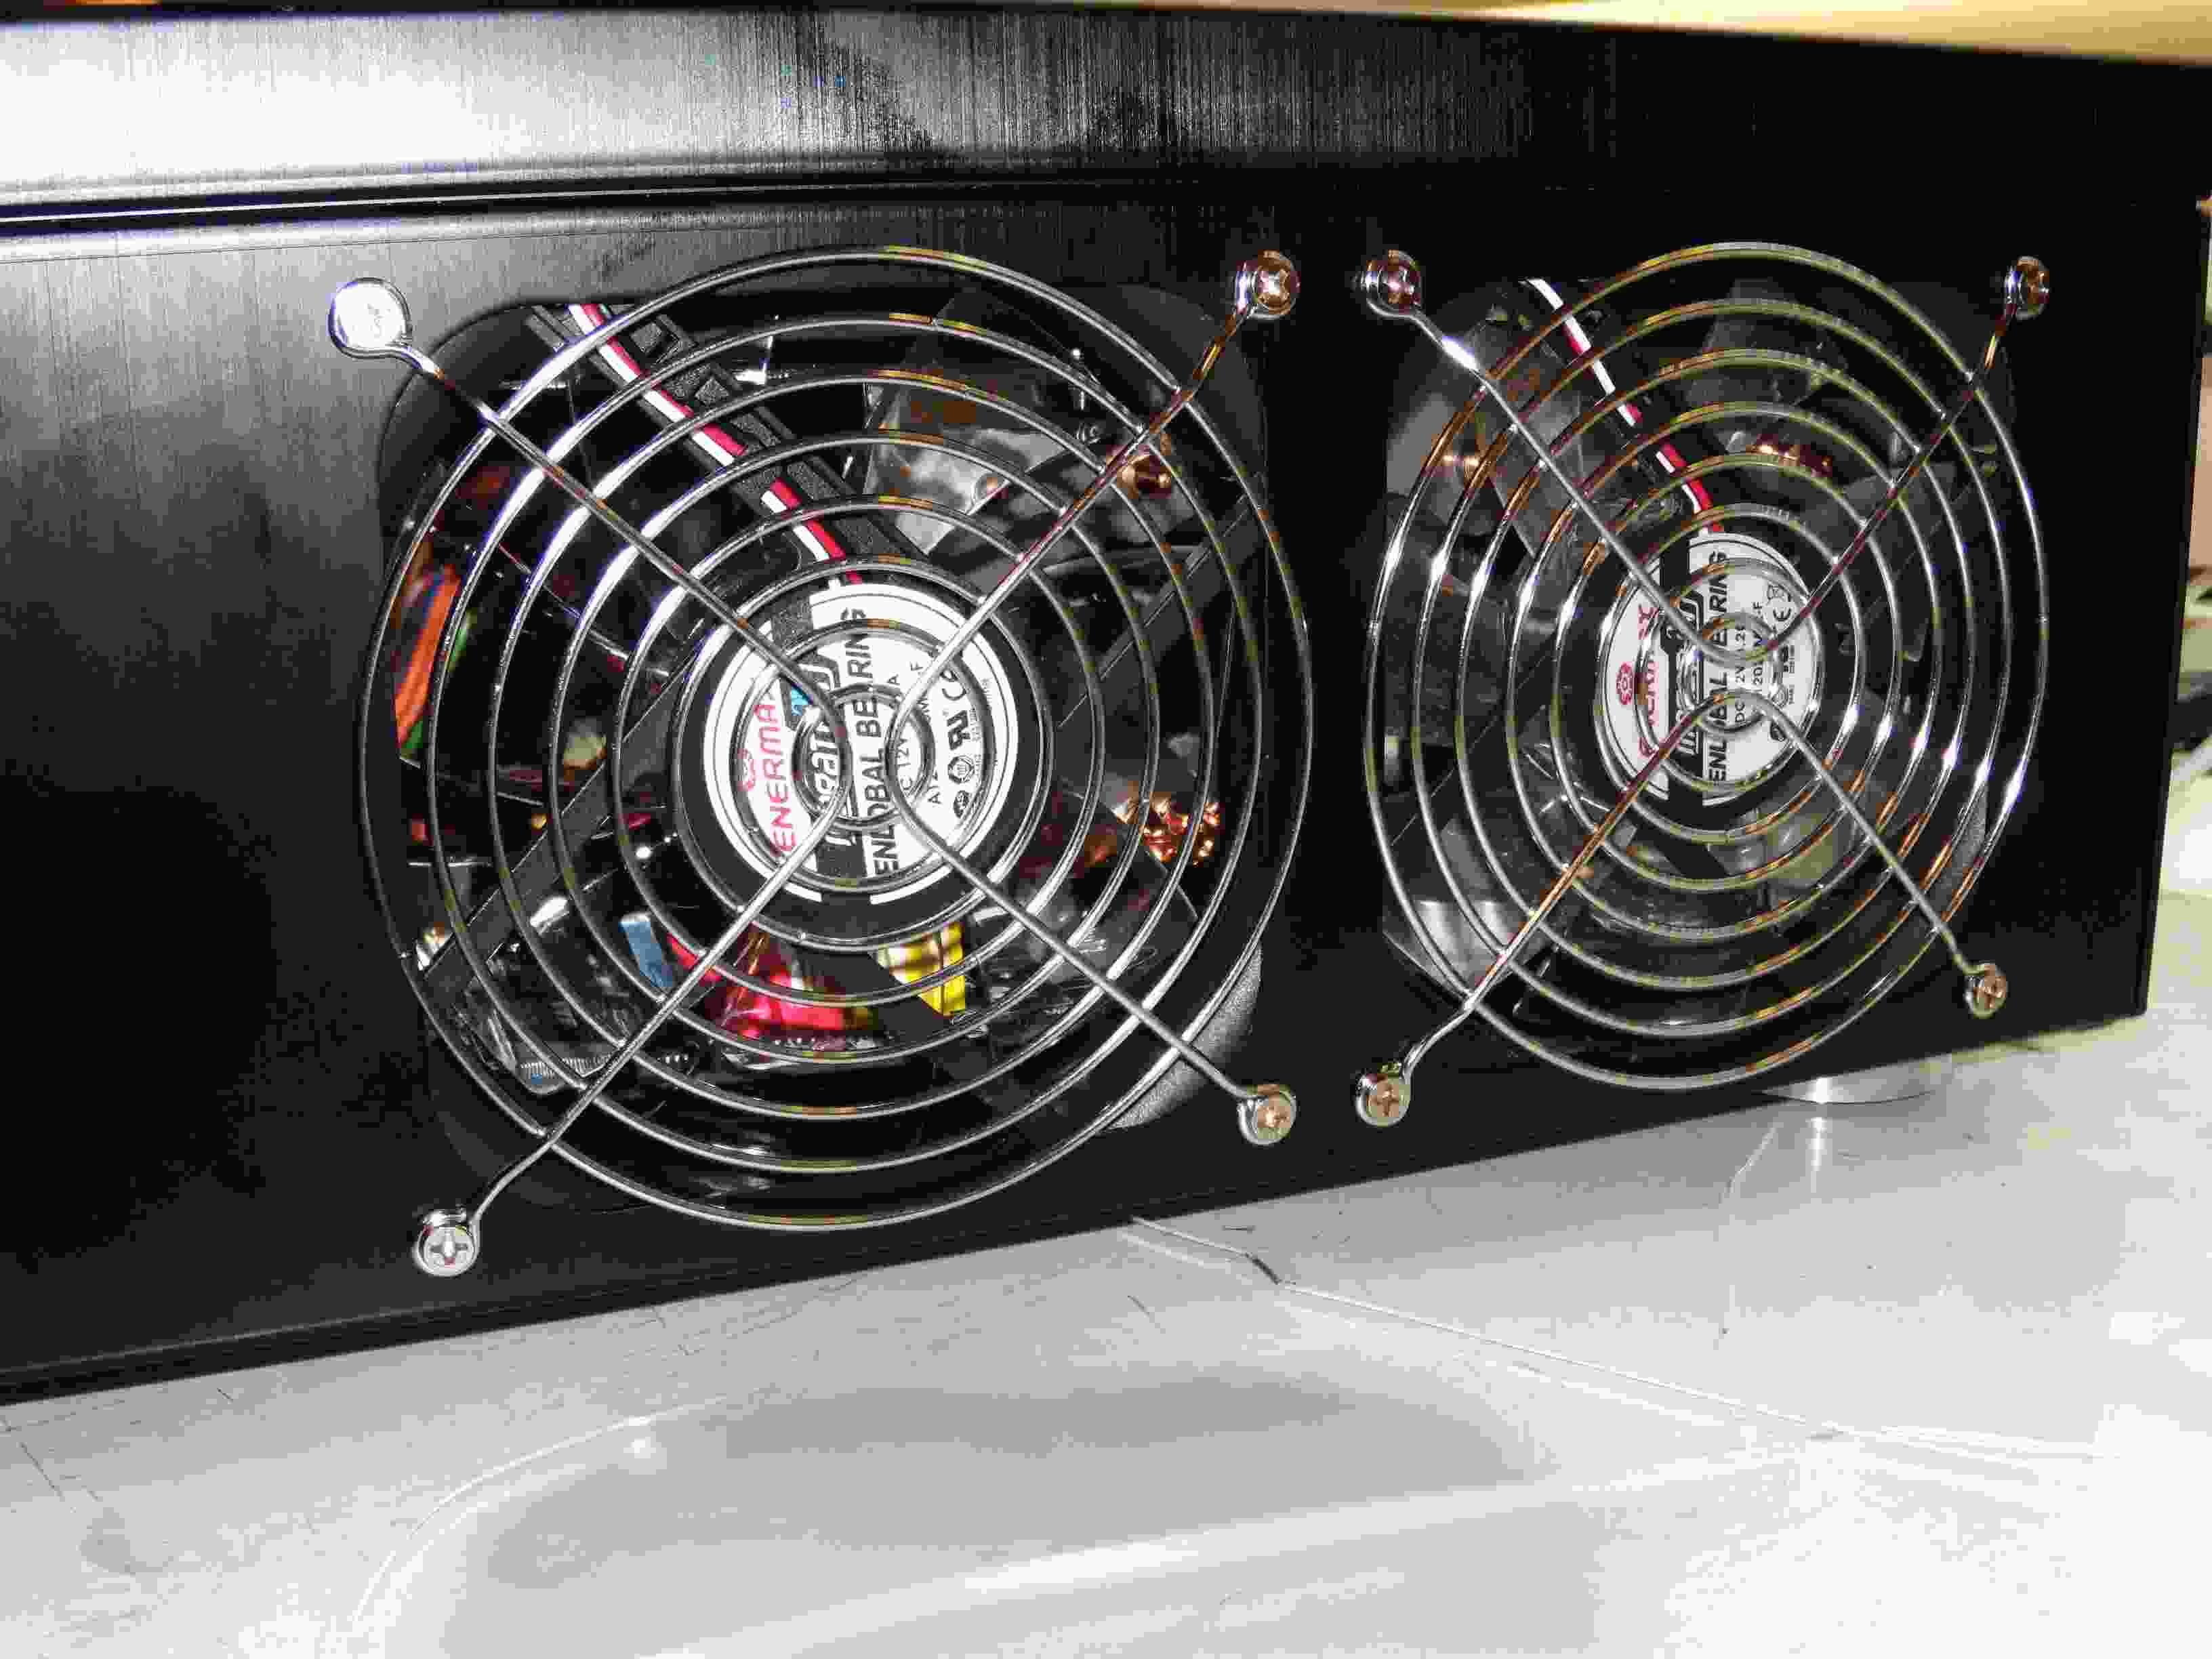
From the side with the Cooler Master HS showing it's size. I installed Enermax twister 120mm exhaust fans and removed the Lian-Li factory grills to improve airflow. I also added finger guard grills. This only marginally helped cooling and increased the noise level. Turning them to intake doesn't help, just heats up my power supply.
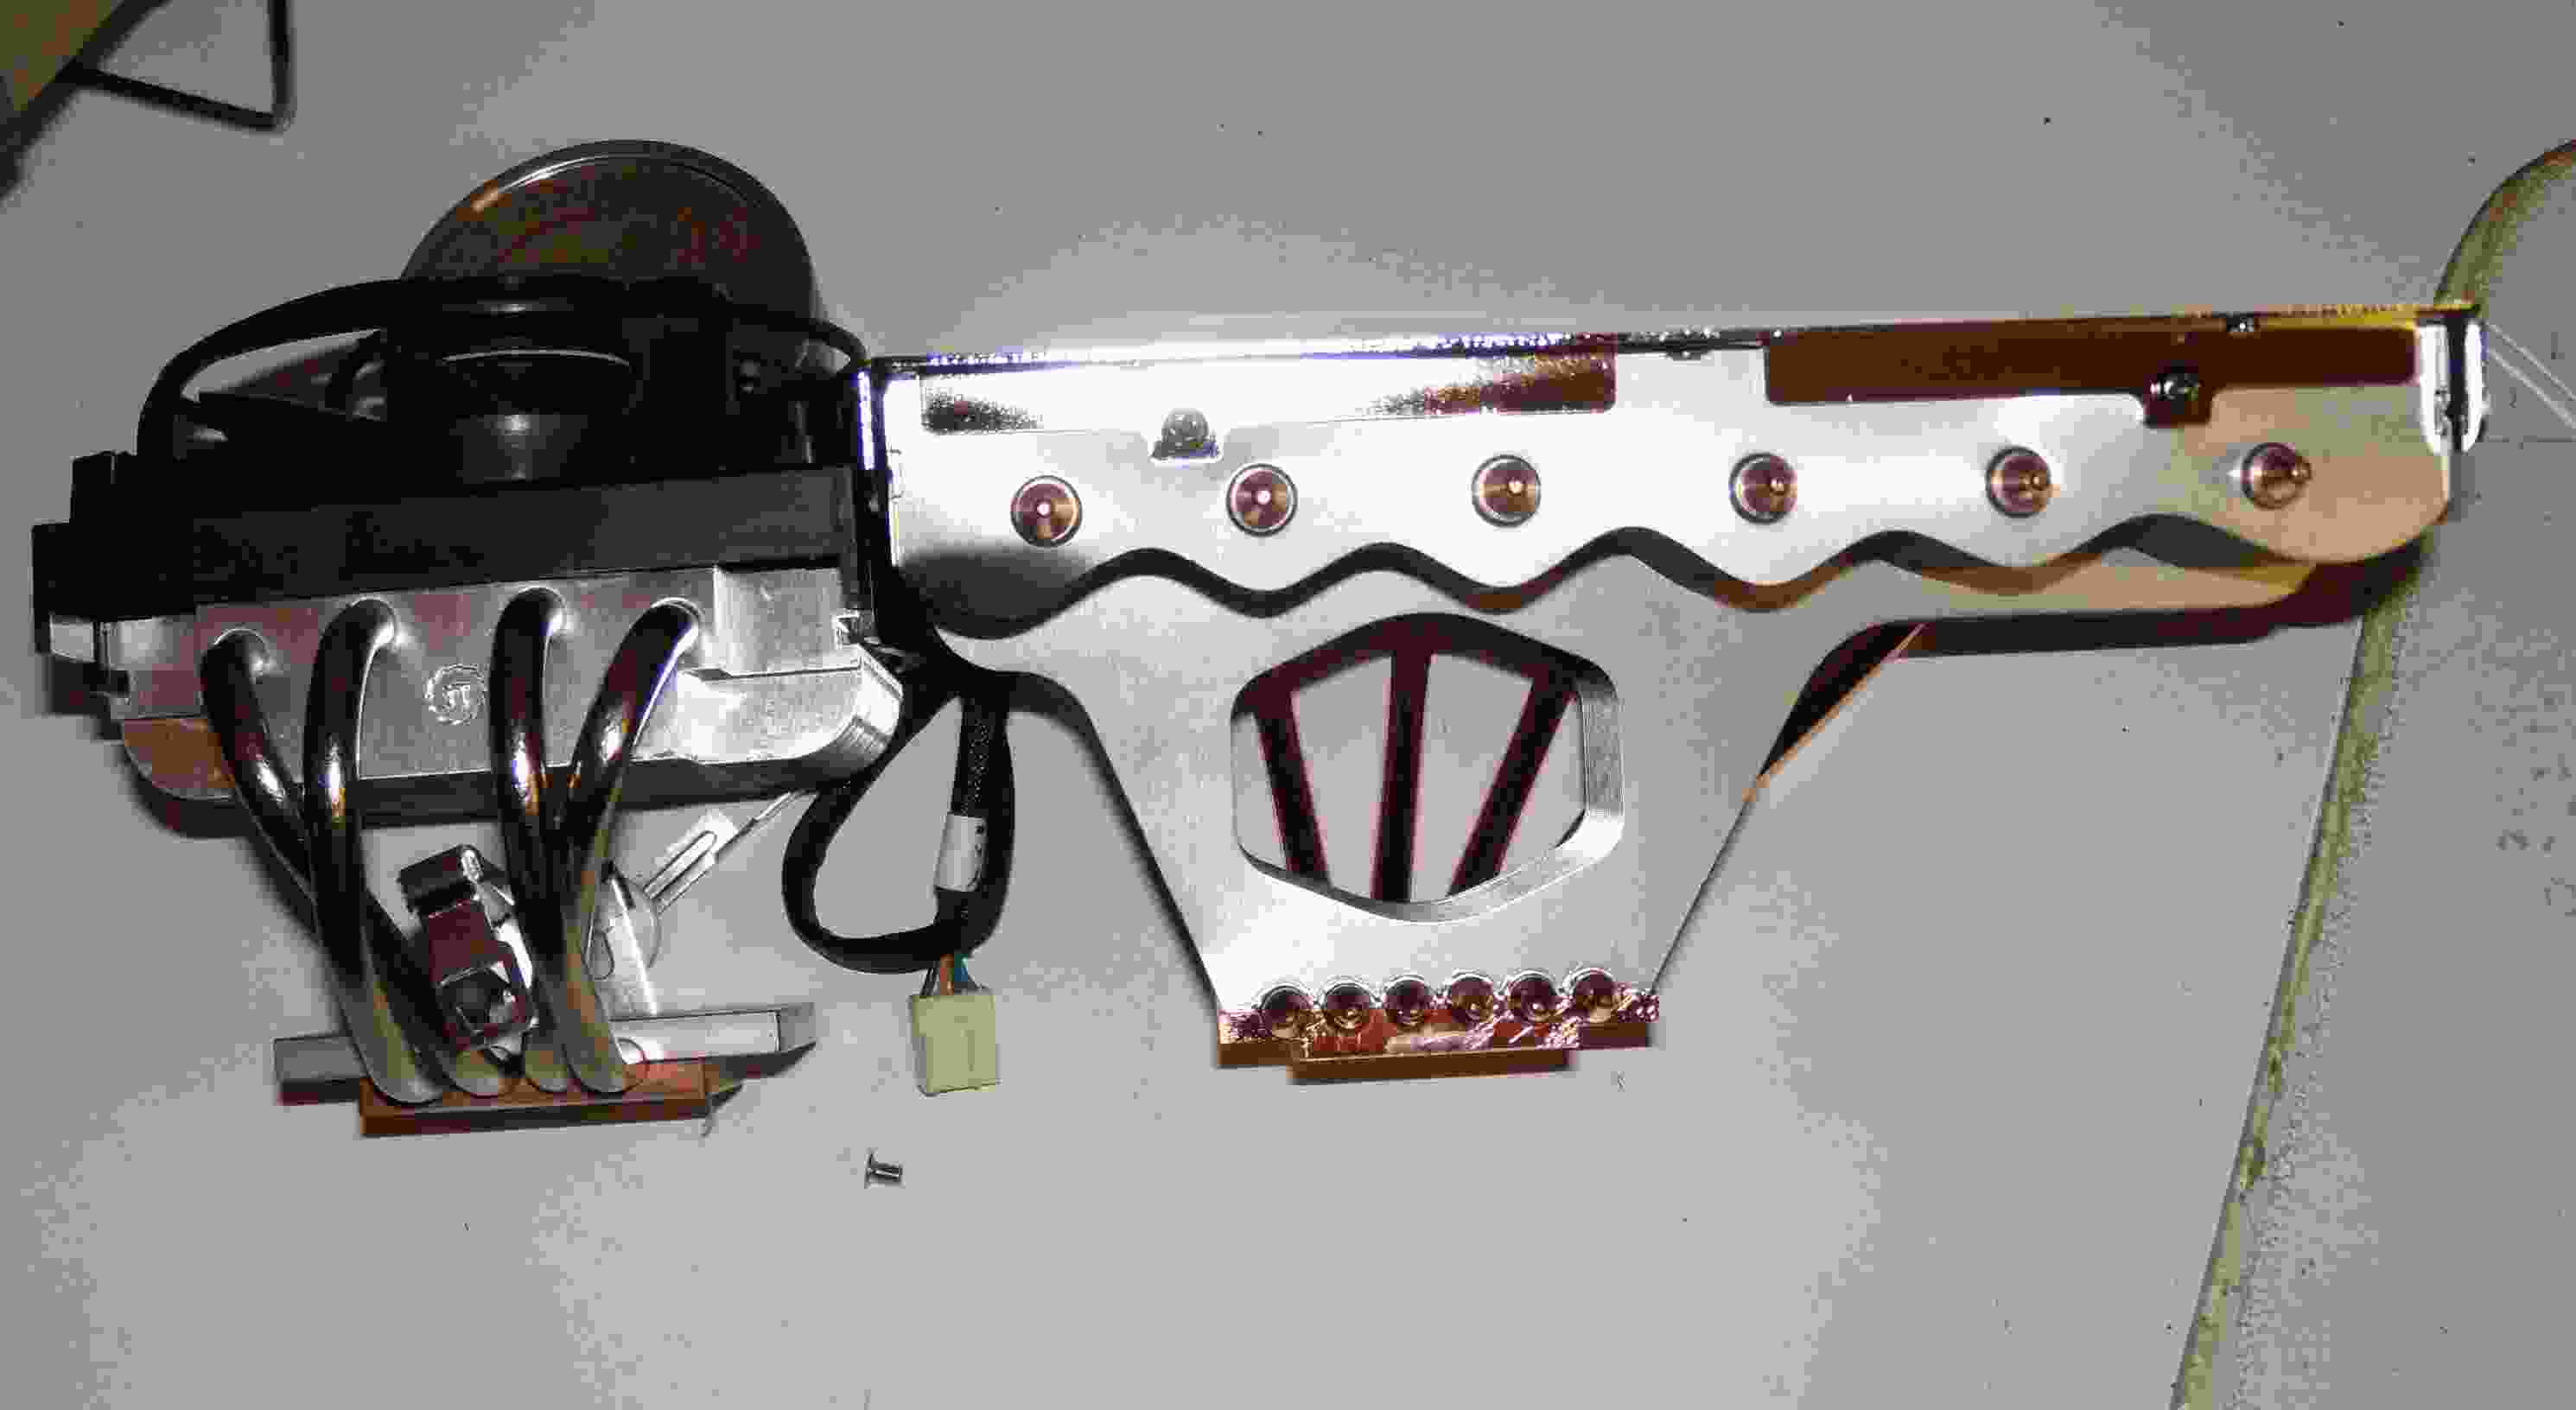
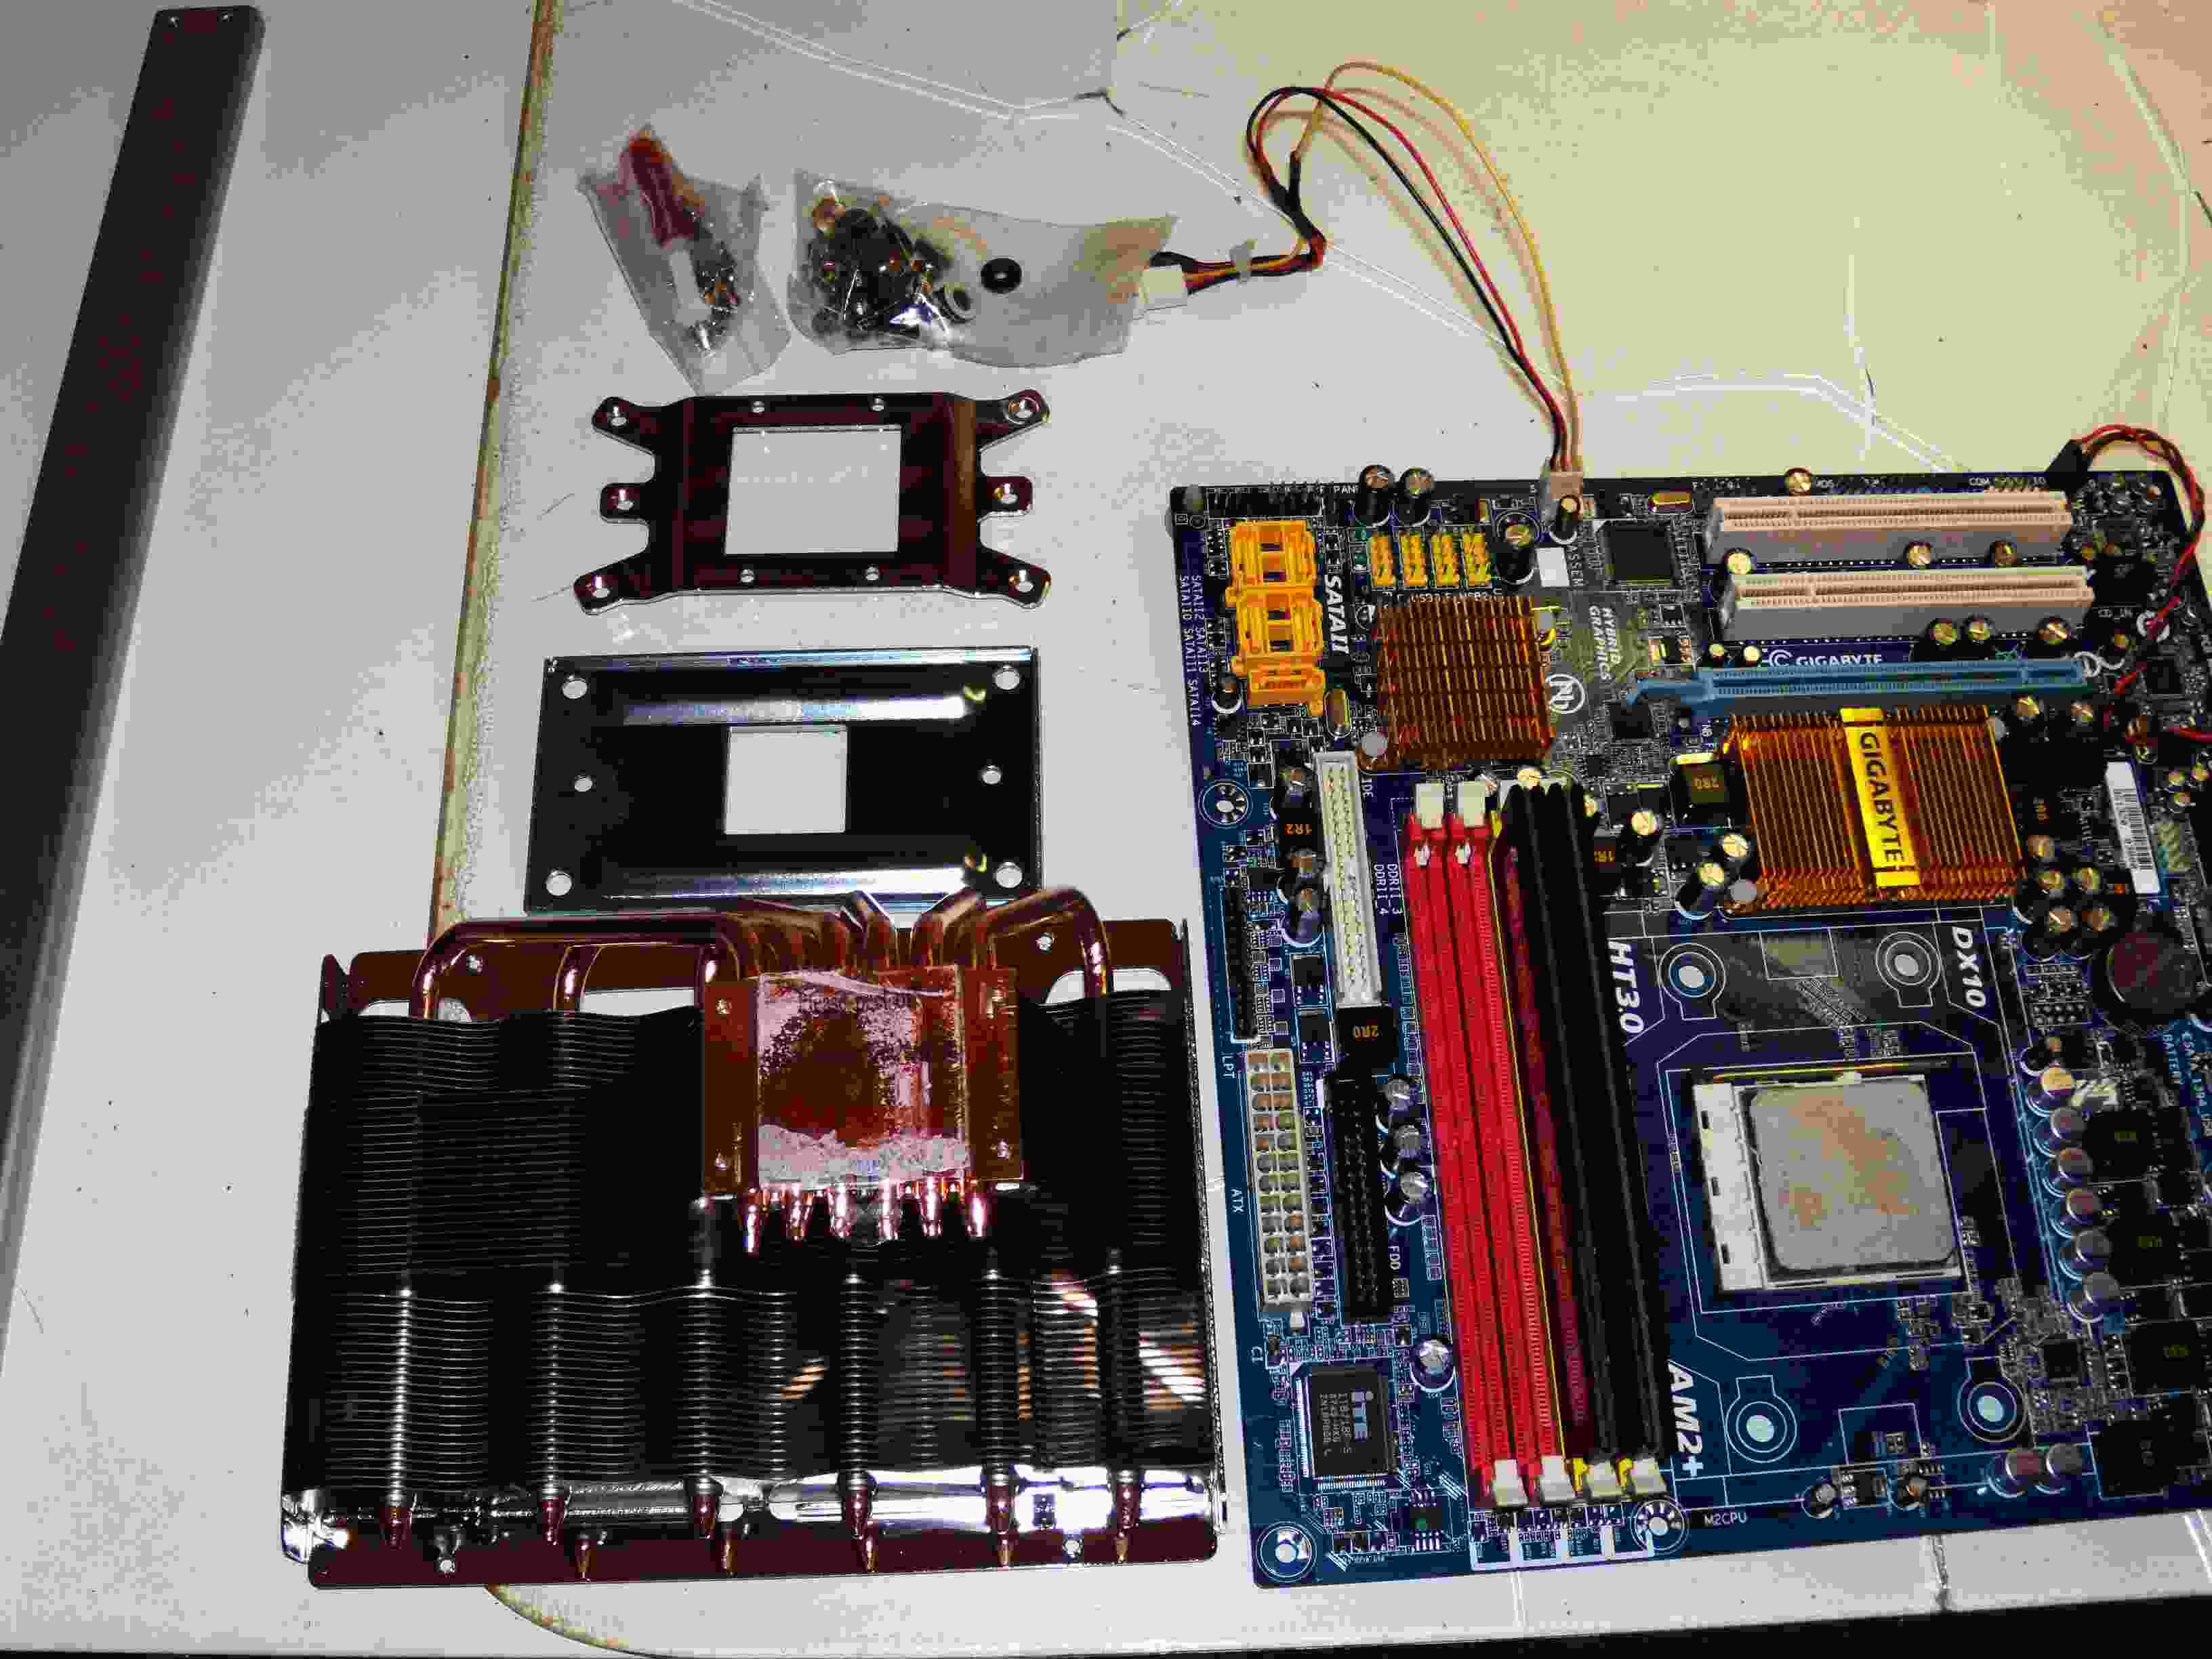
The Thermaltake cooler along side the Cooler Master.
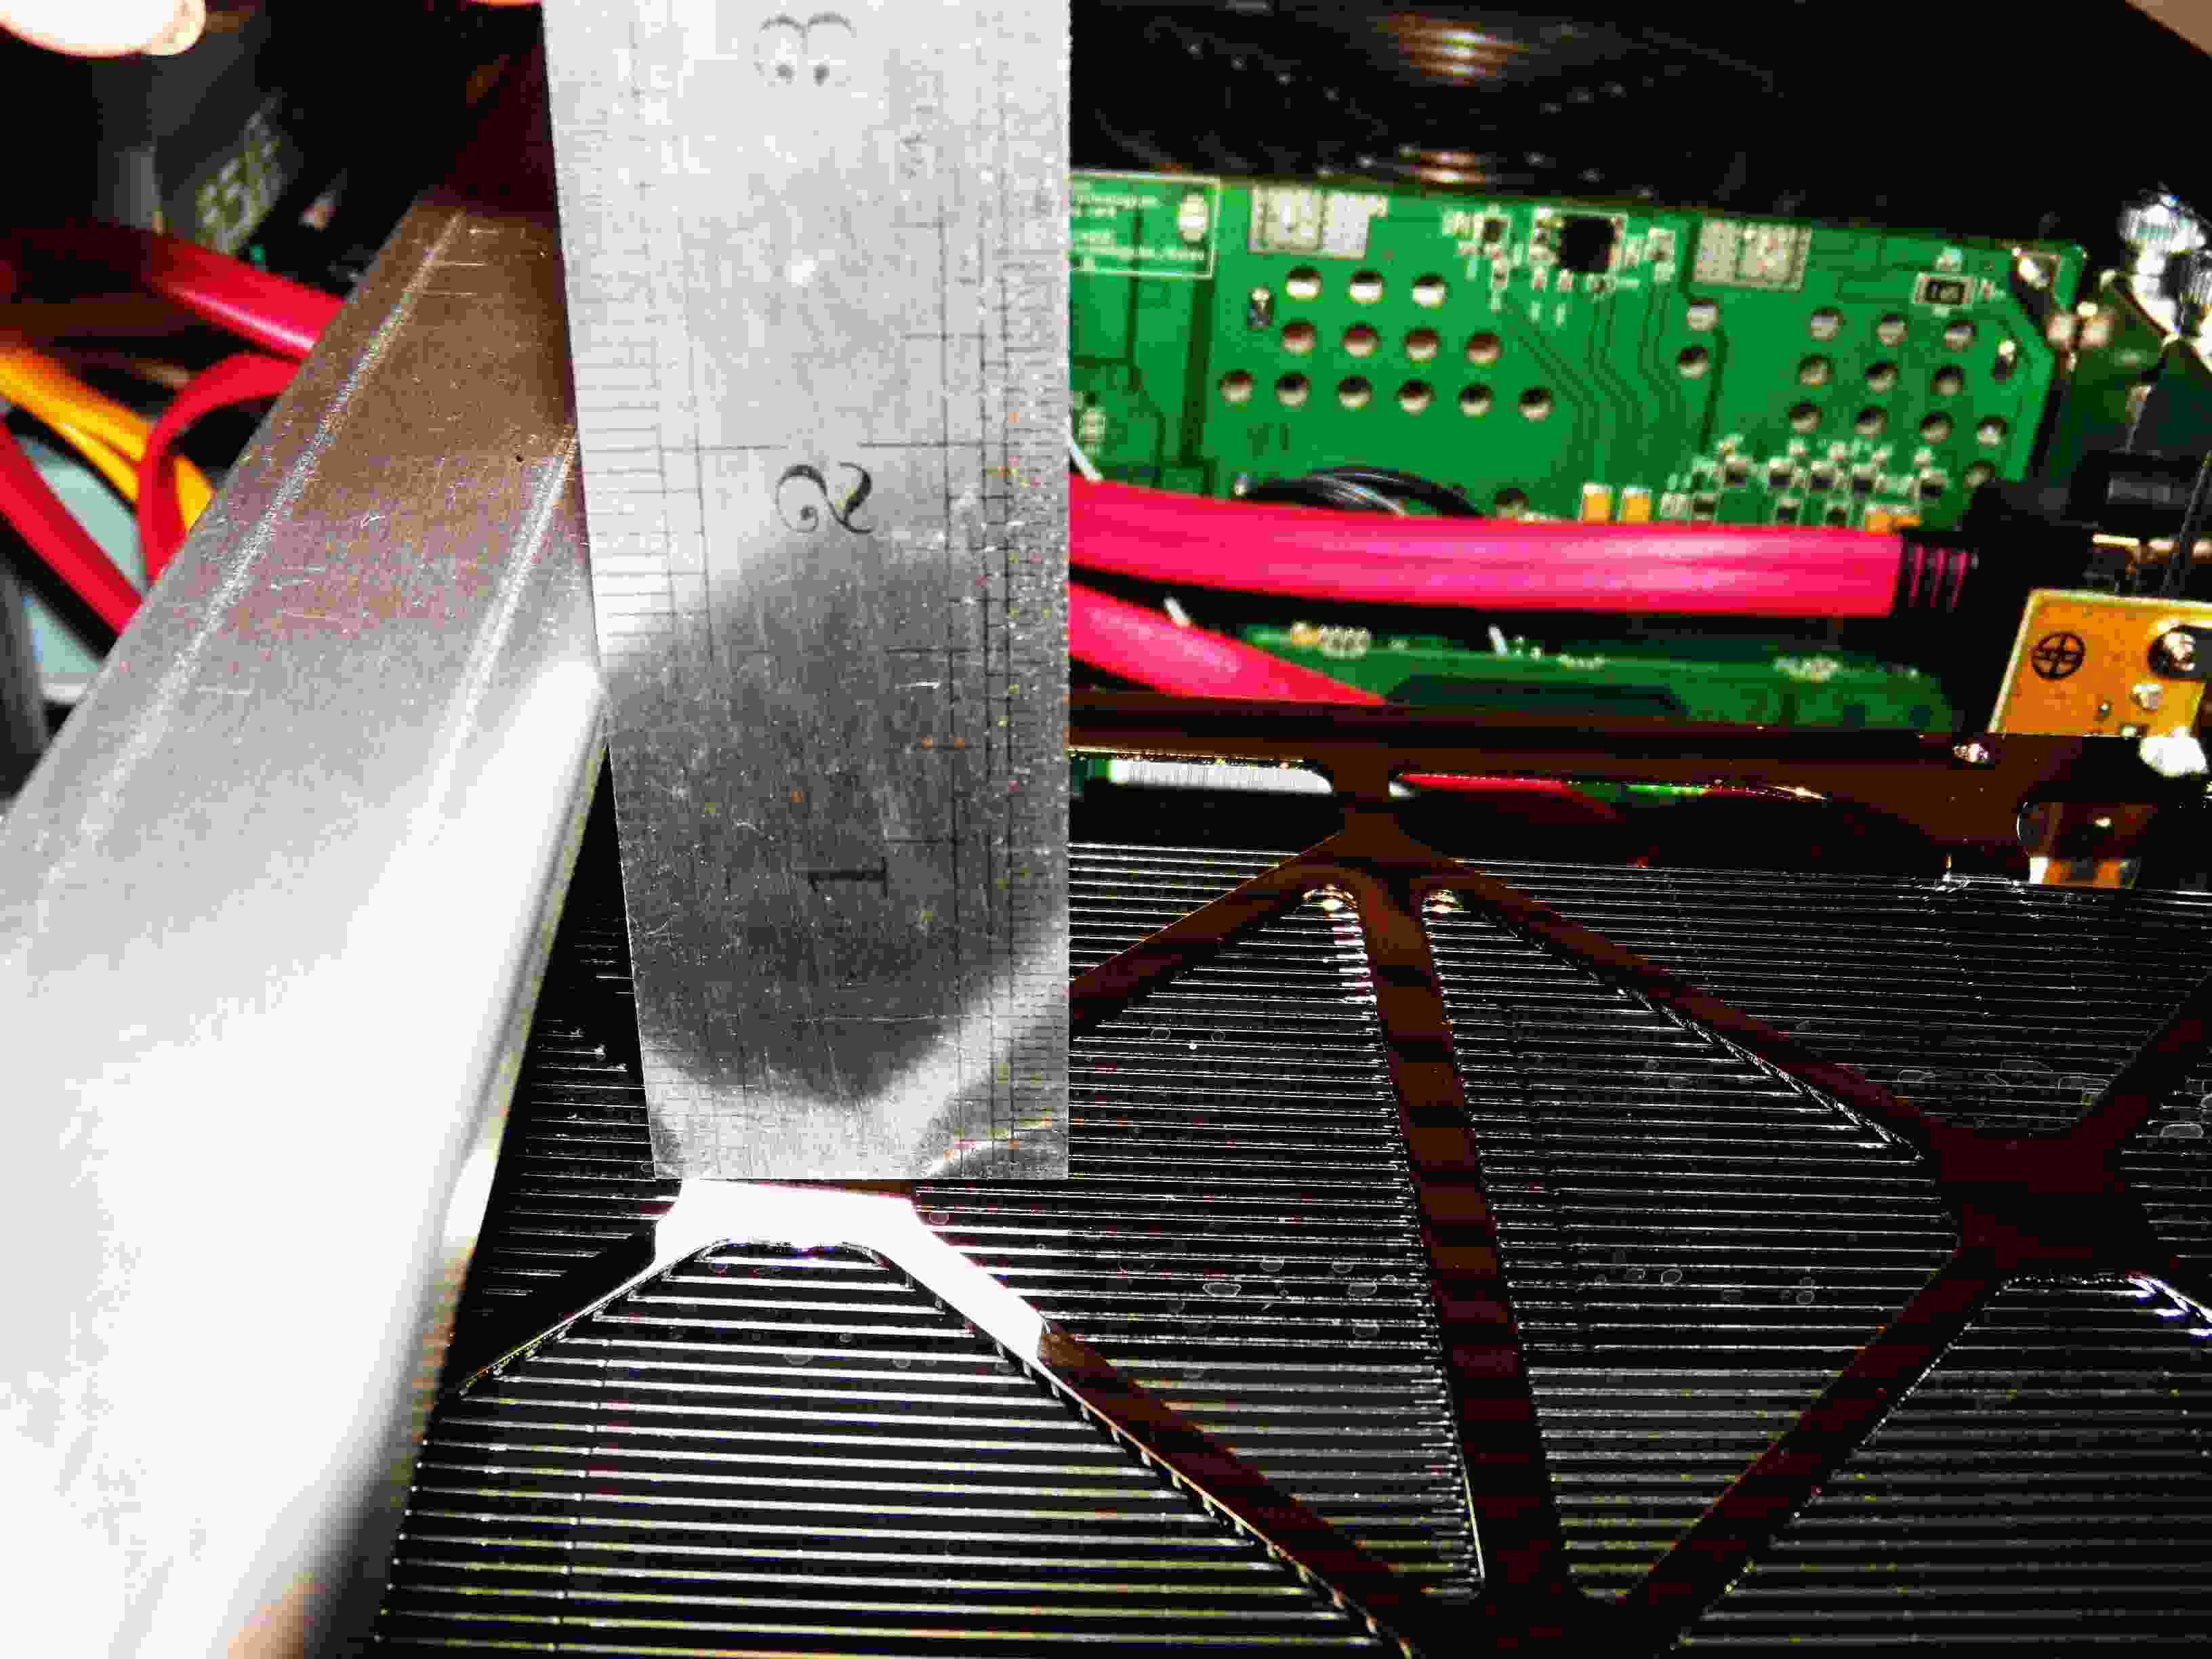
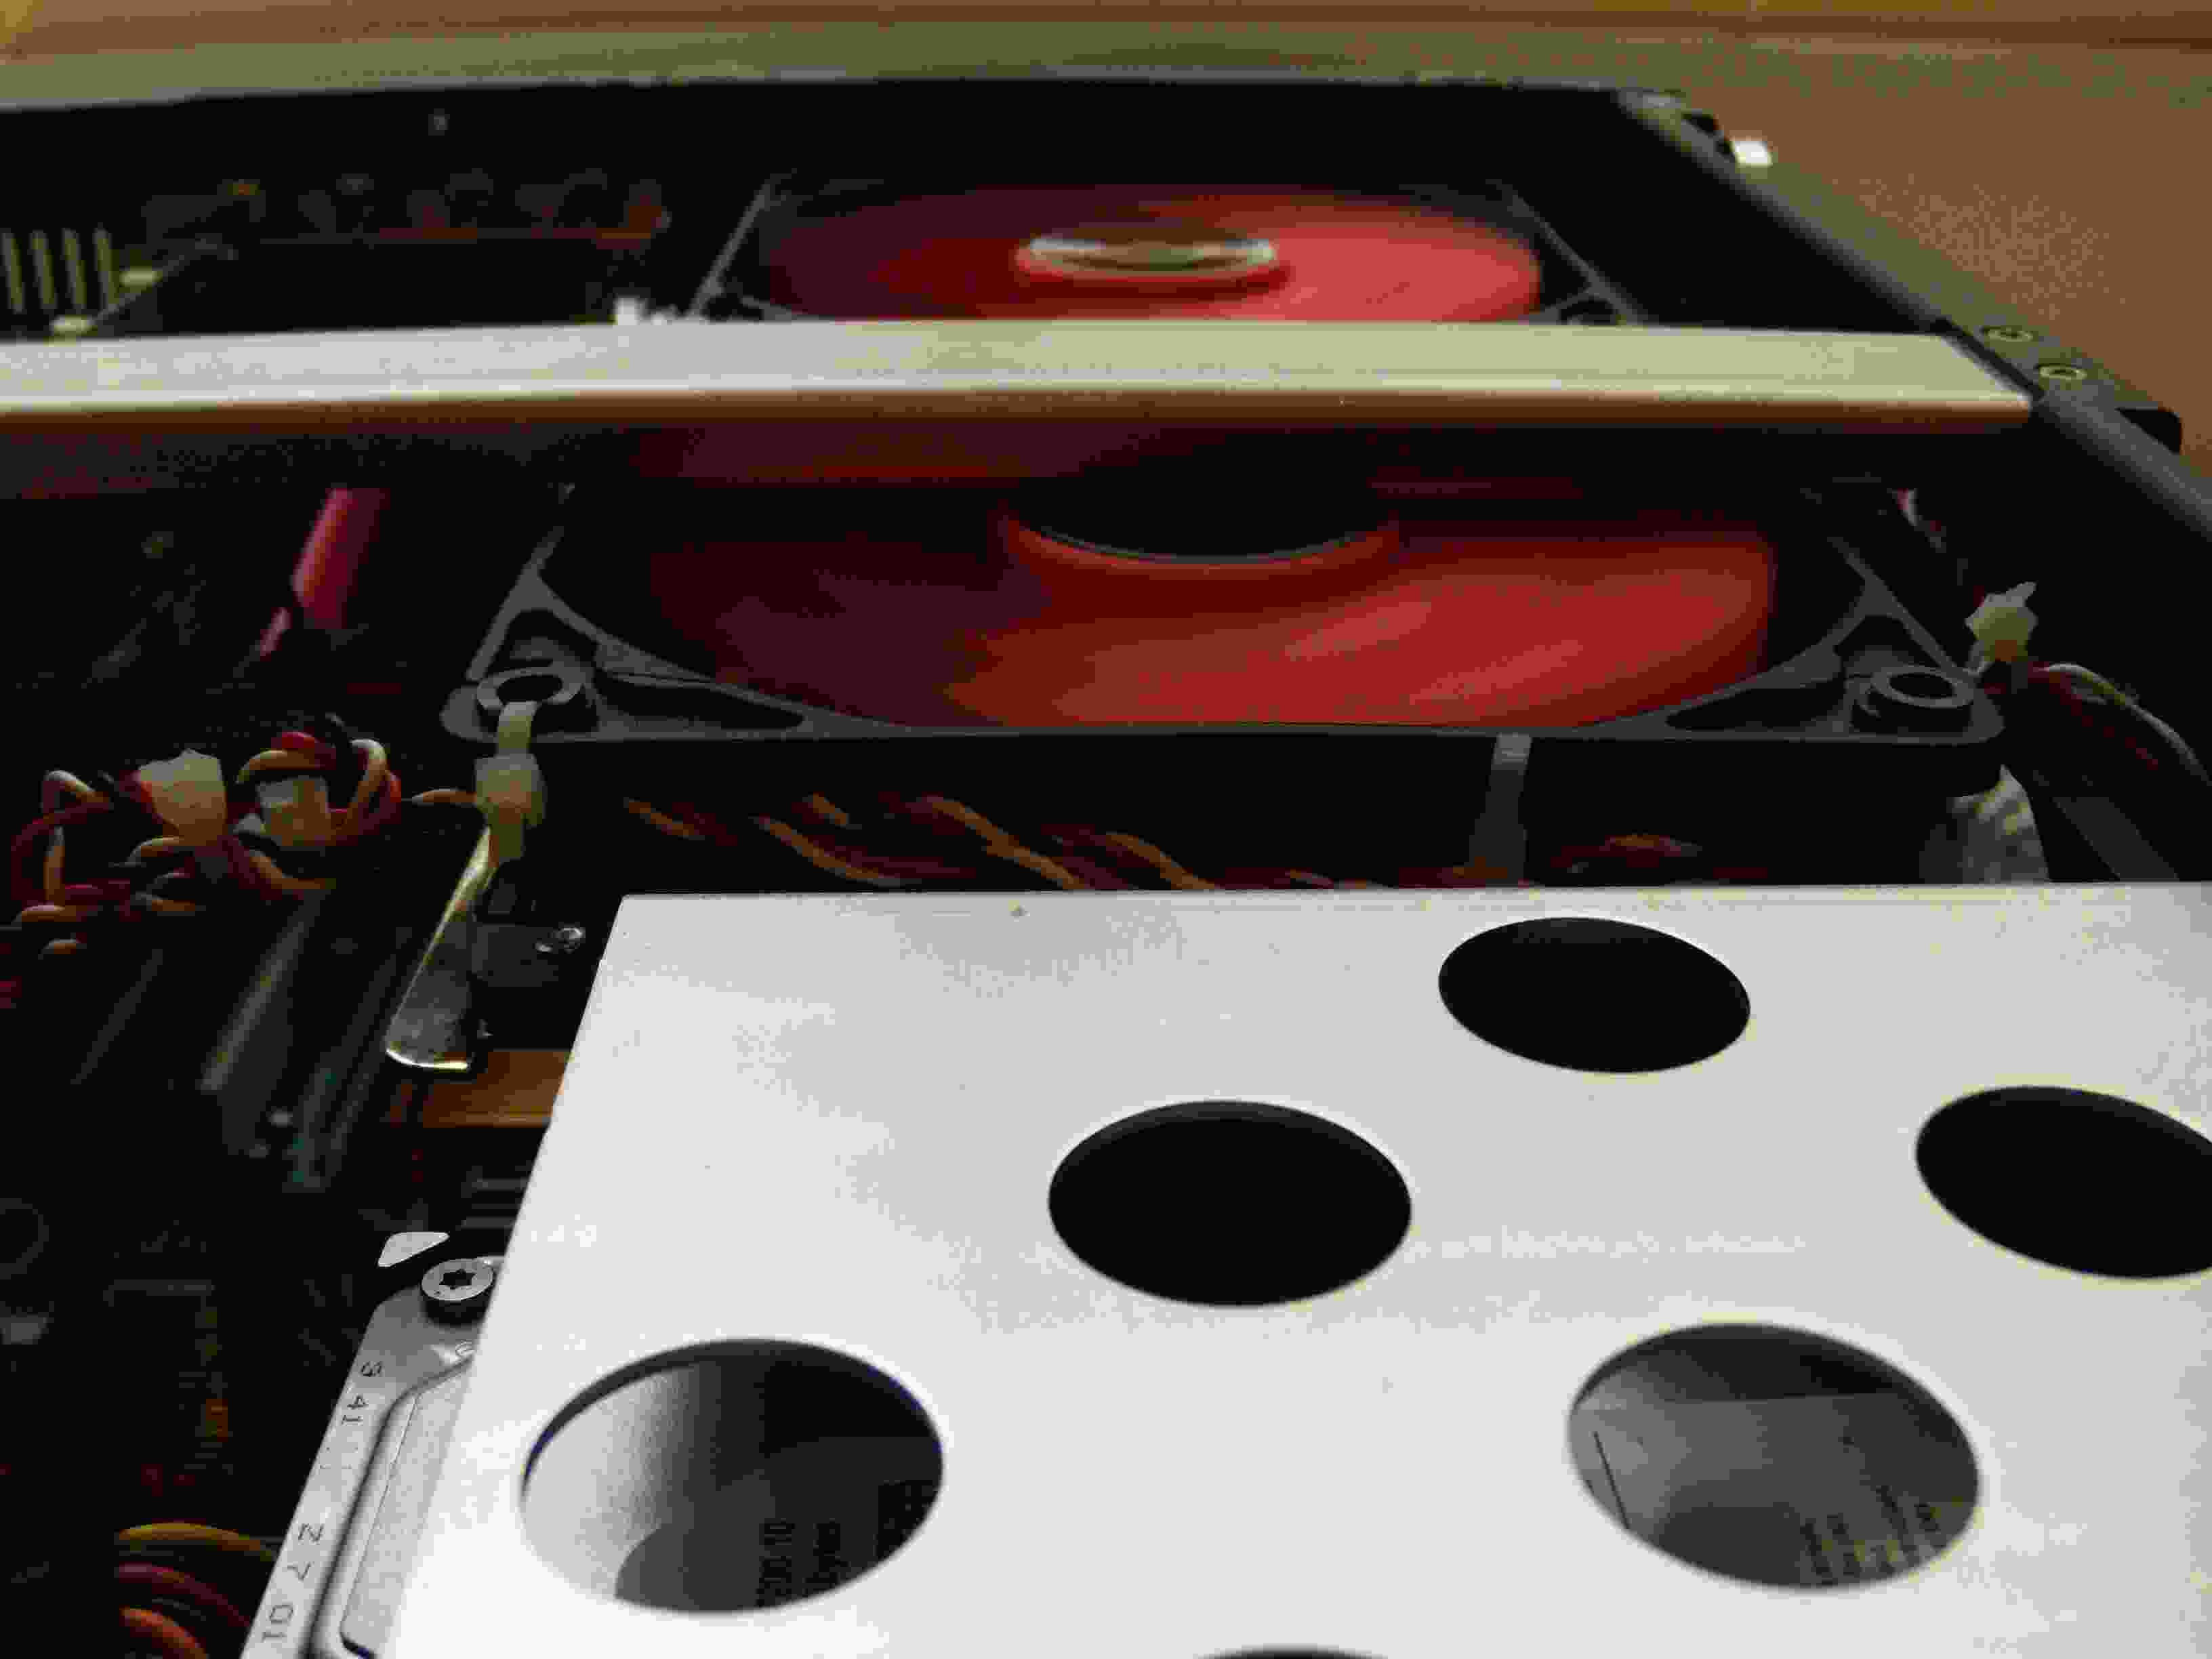
I have about 30mm clearance to the case support brace with the Cooler Master temporarily set in the case. A conventional 120mm case fan is 25mm thick, so this will be tight.
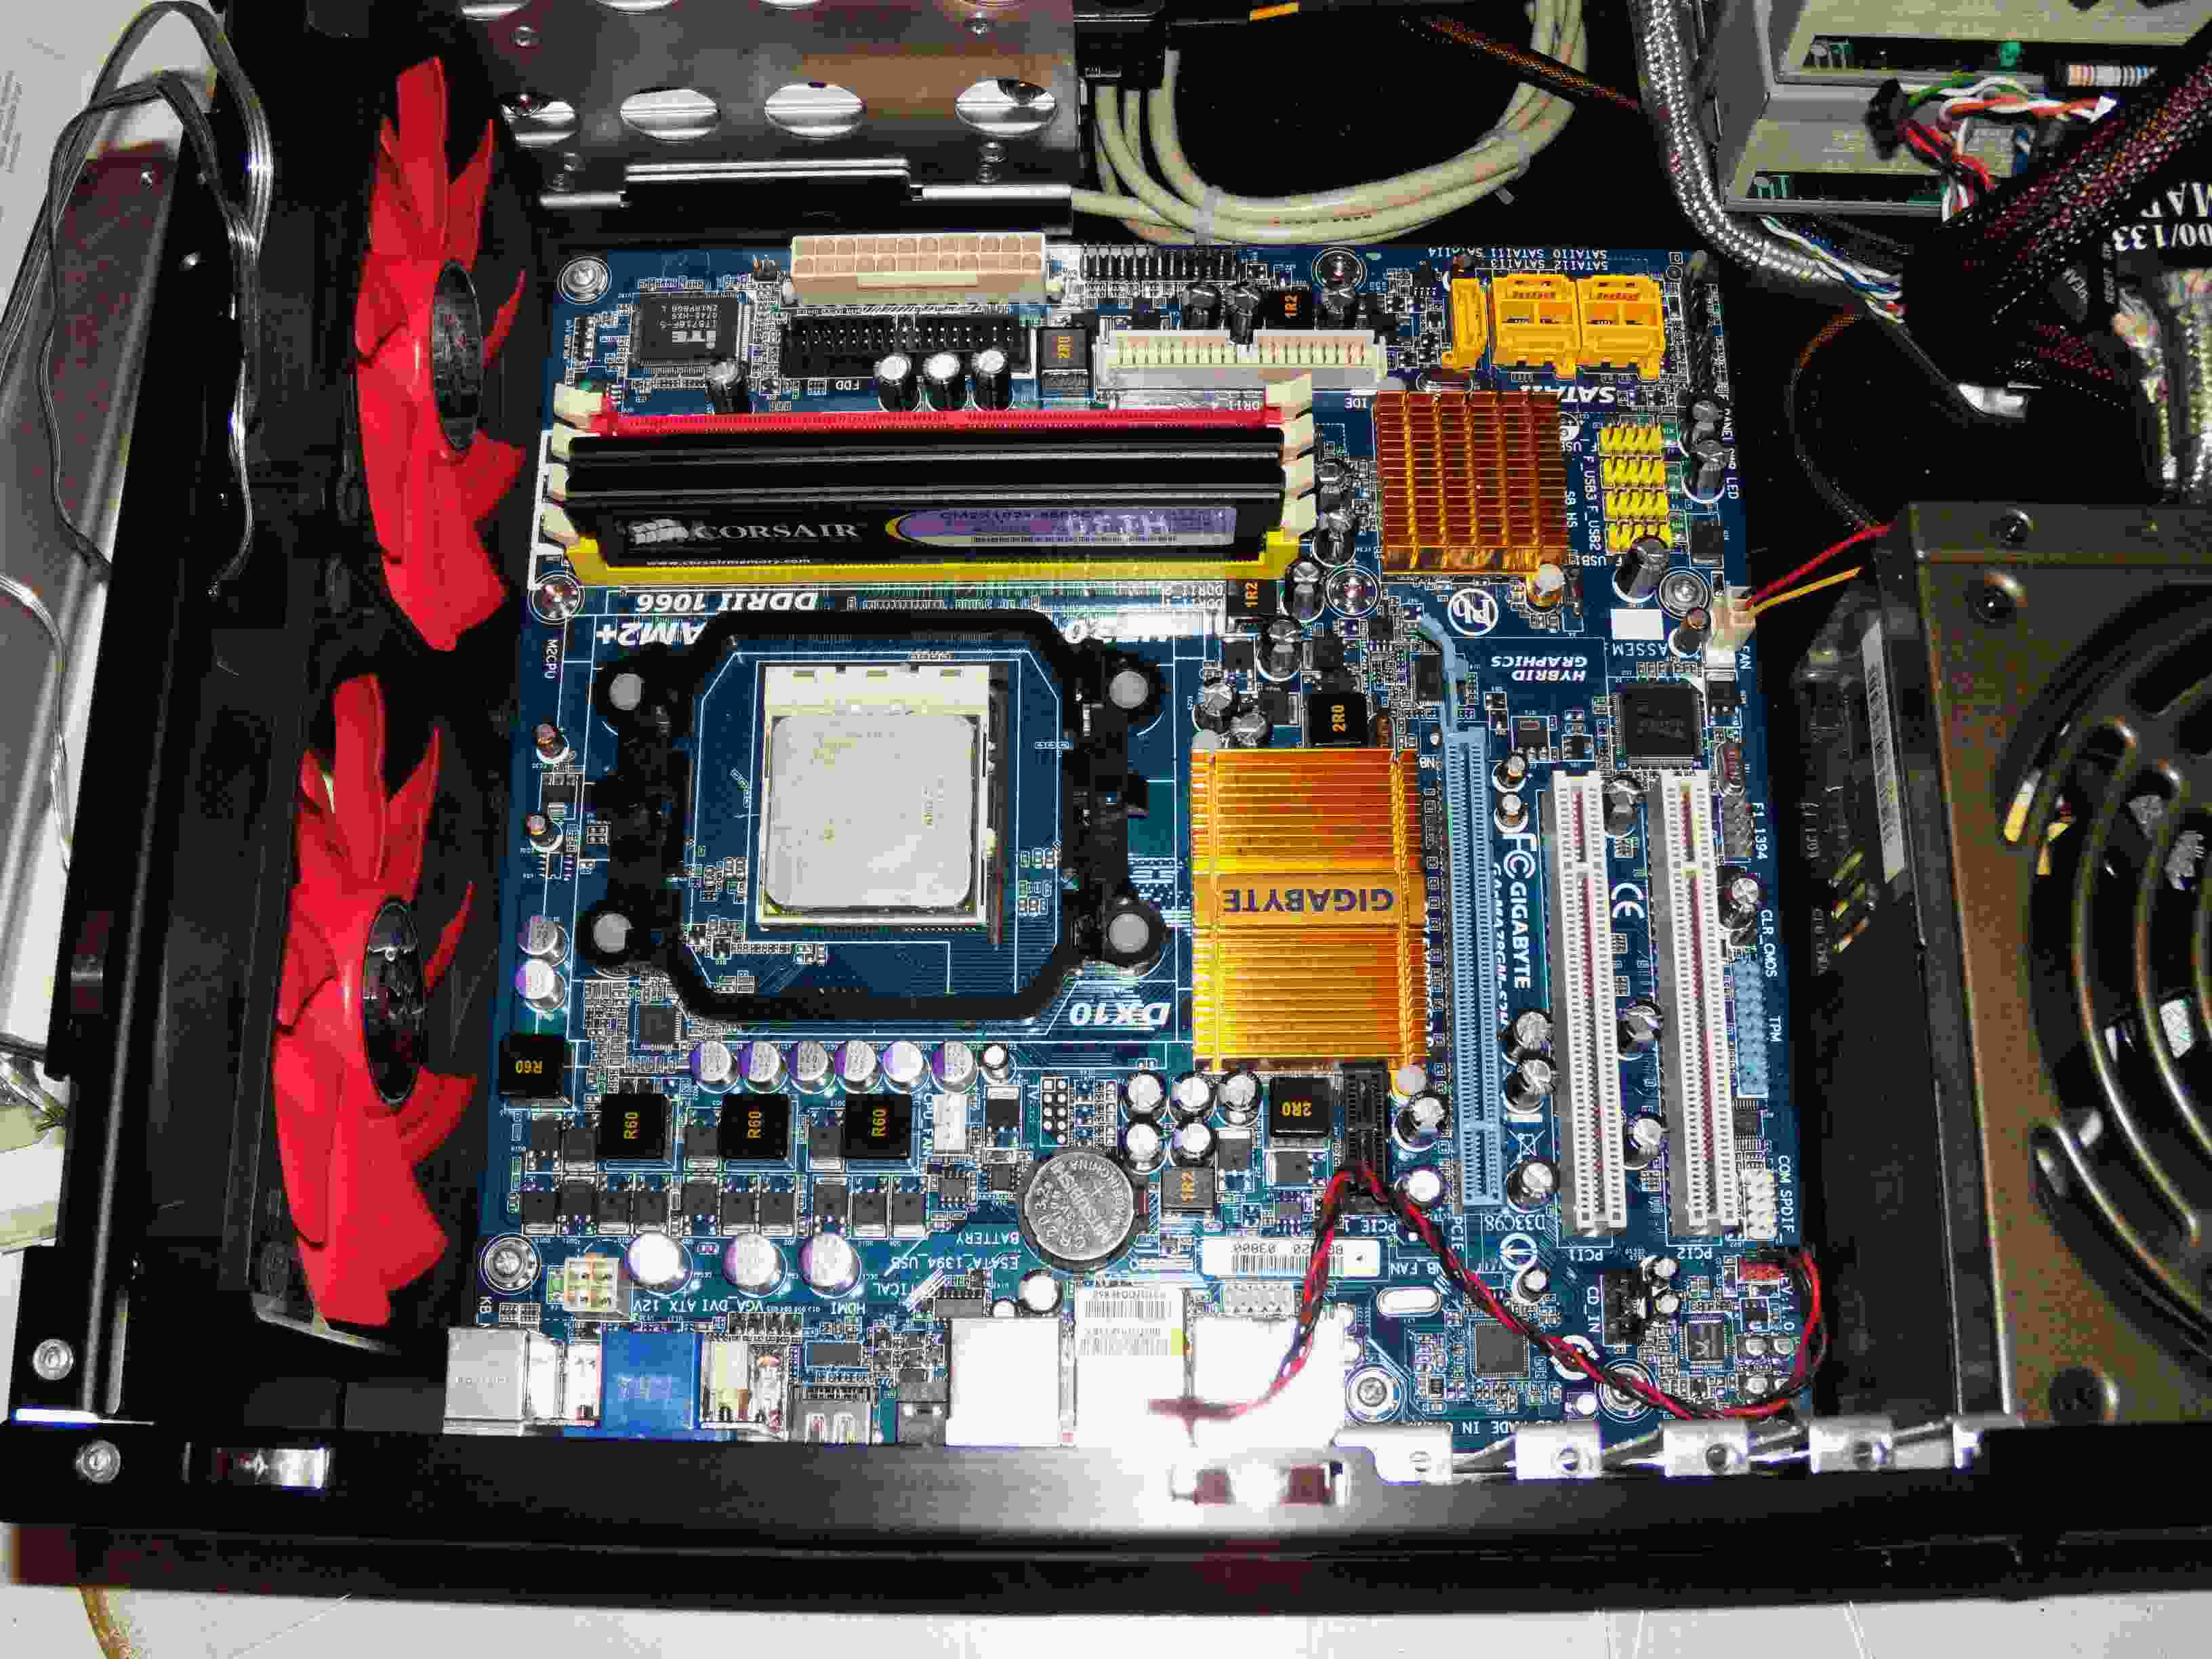
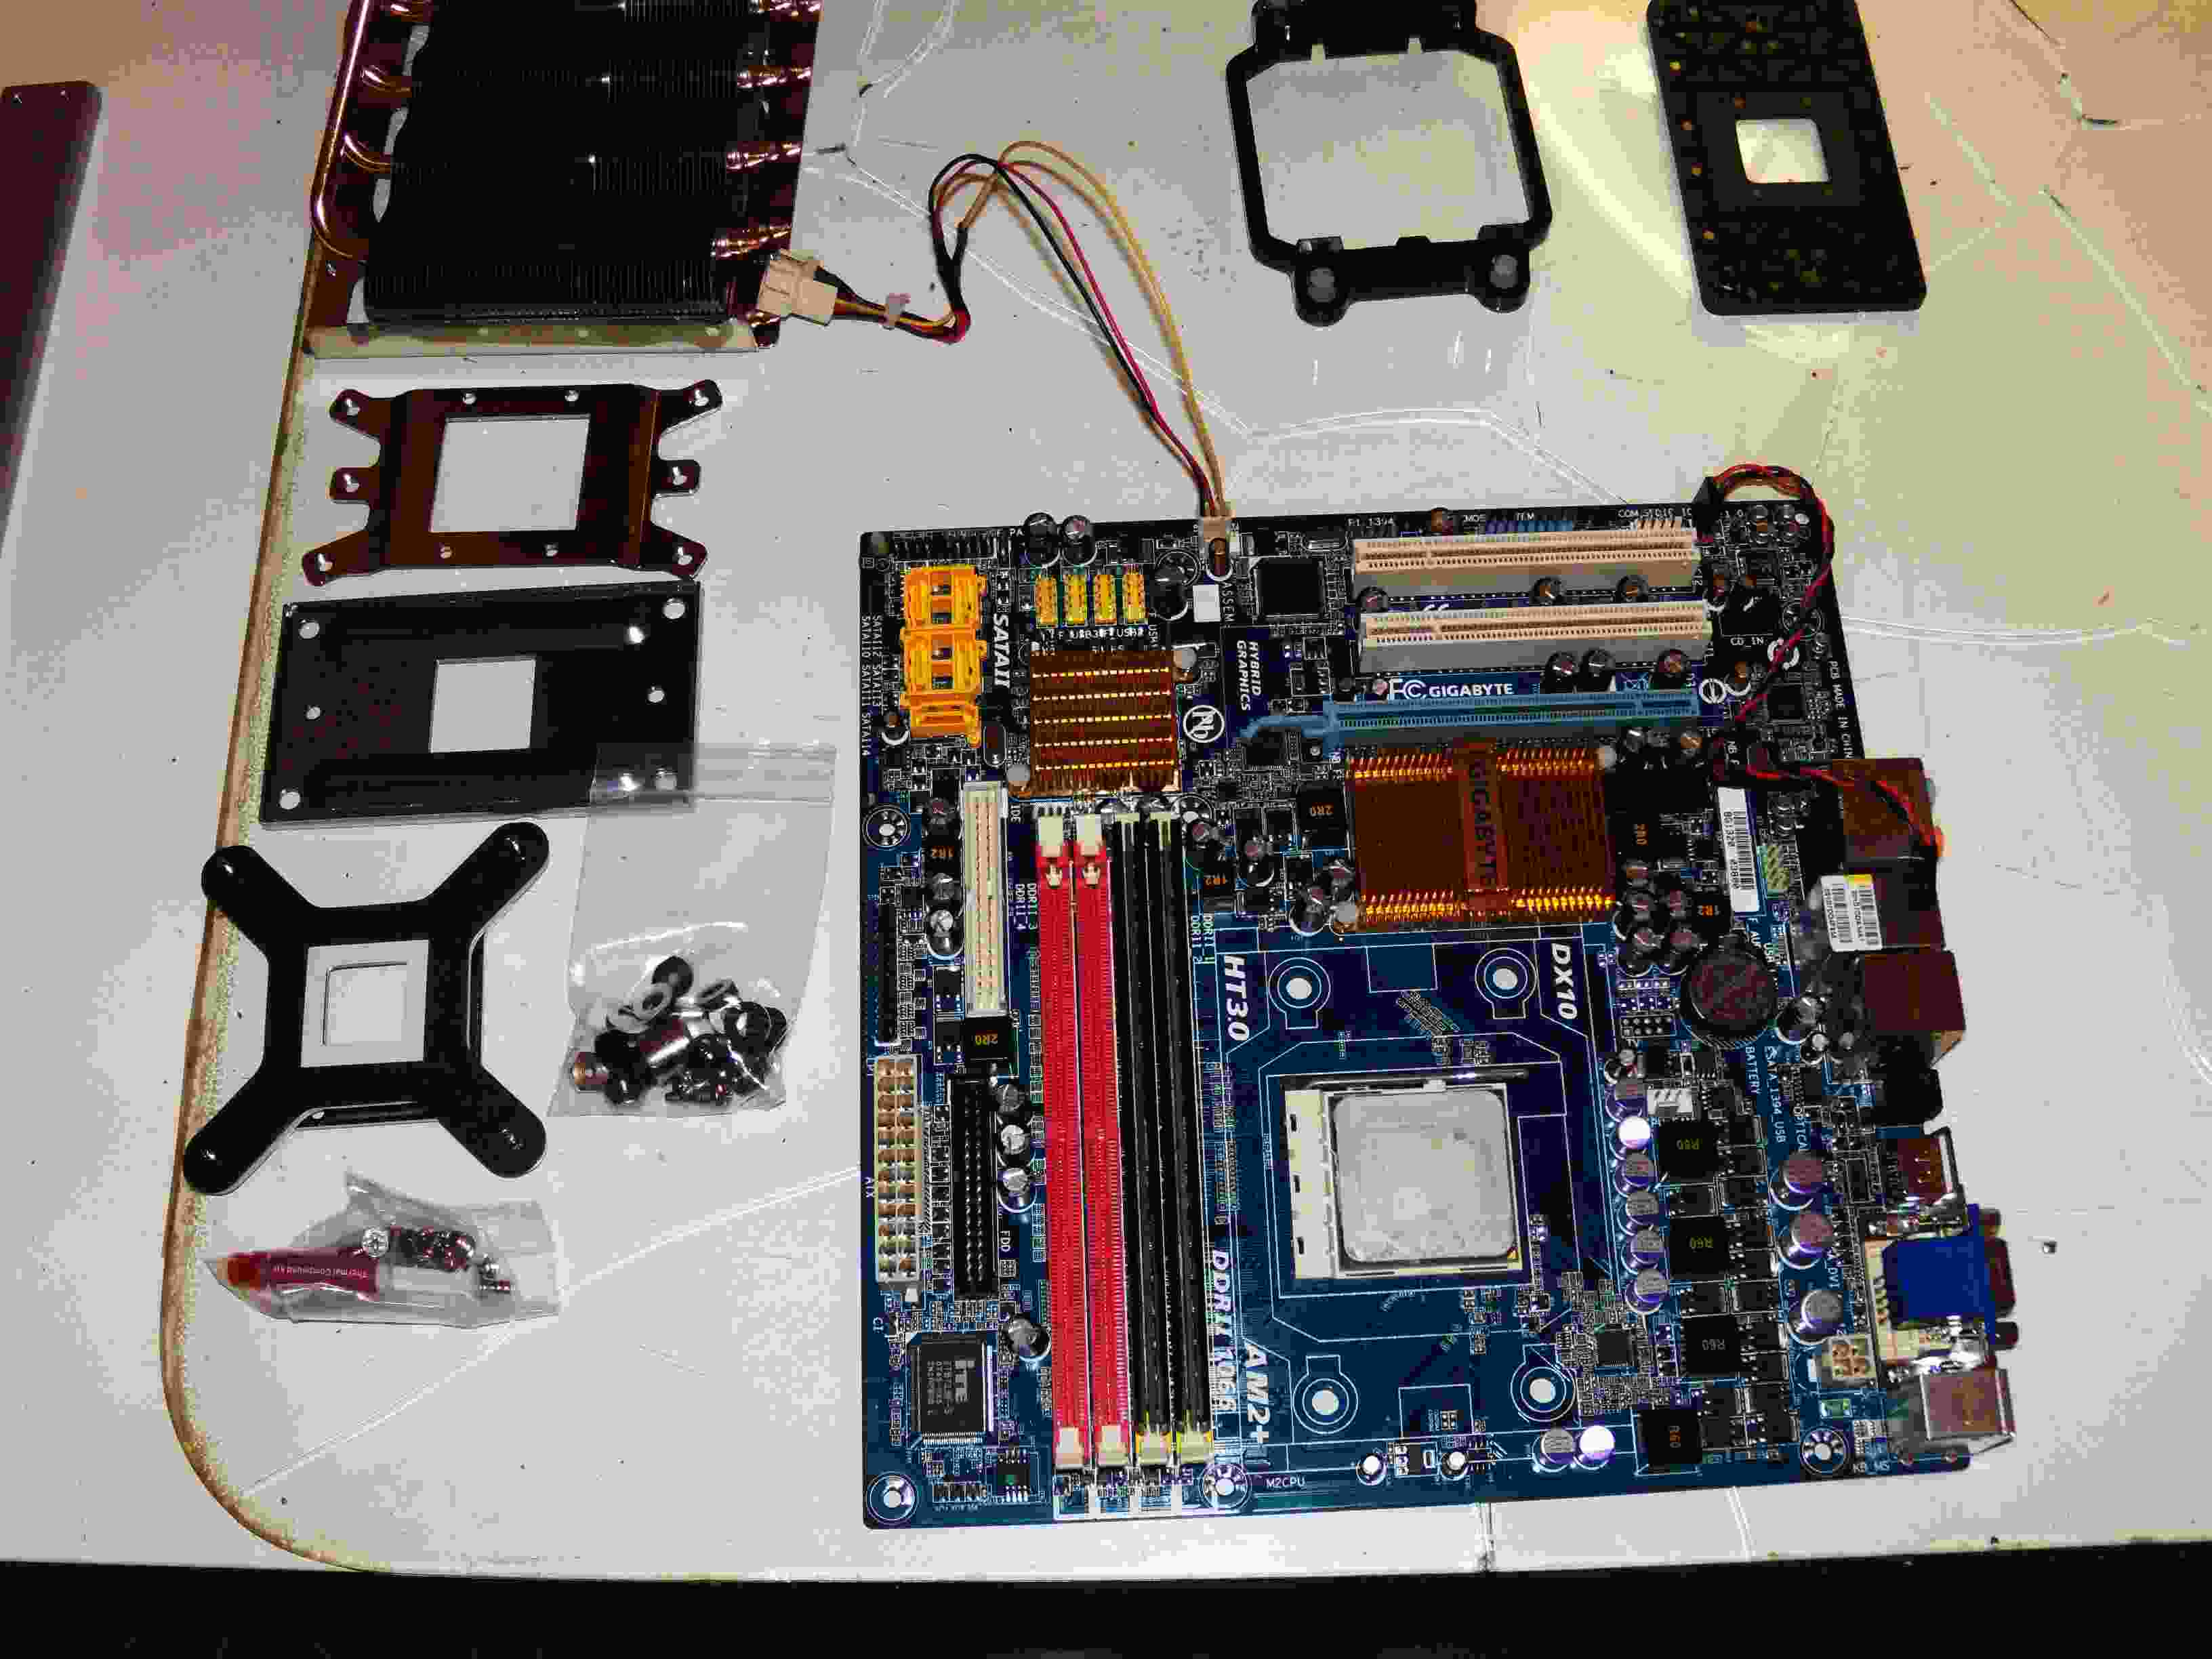
The MB with the Thermaltake HS, all cards and wiring removed.
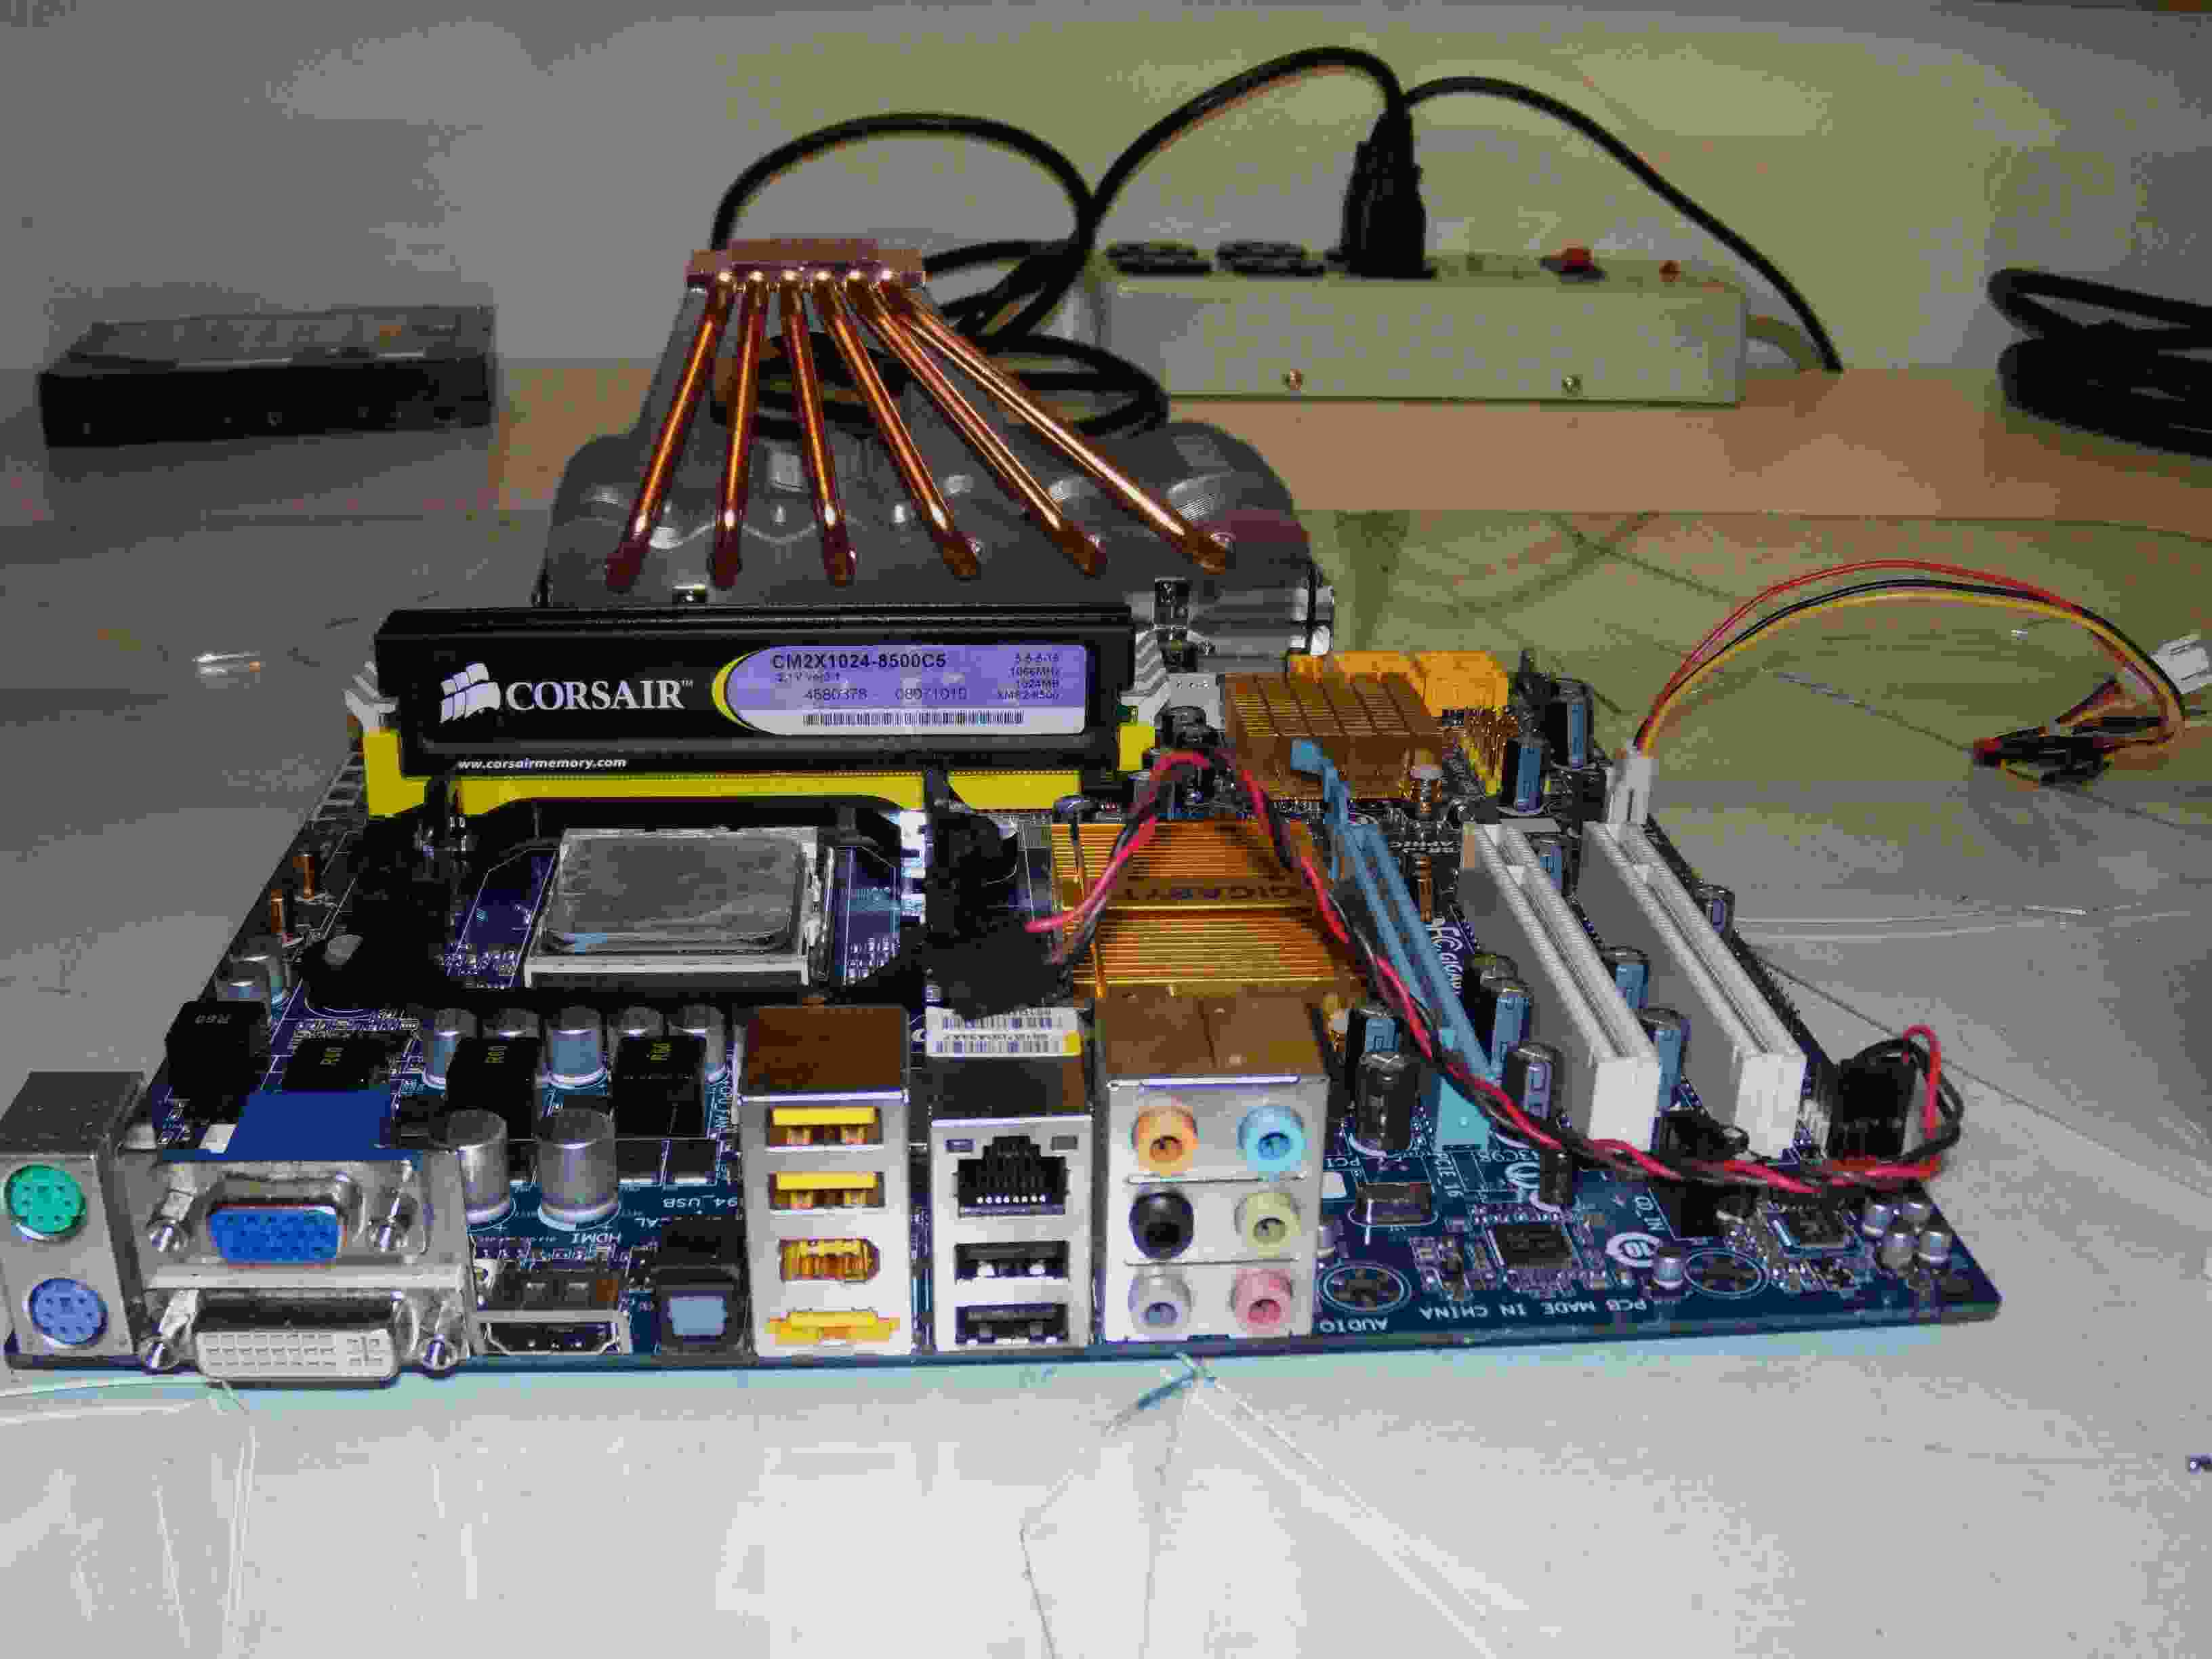
The MB on the desk with the Cooler Master behind it. :
The Cooler Master temporarily set on the CPU. It is huge.
To the left, the Cooler Master HS and the parts that come with it. It has adapters for AMD and Intel CPUs. It also comes with a fan bracket for two 120mm fans, fan screws and a tube of thermal compound. To the upper right is the AMD cooler mounts after they have been removed.
Just the parts needed for a AMD cooler install.
The AMD adapter mounted to the HS with four small screws.
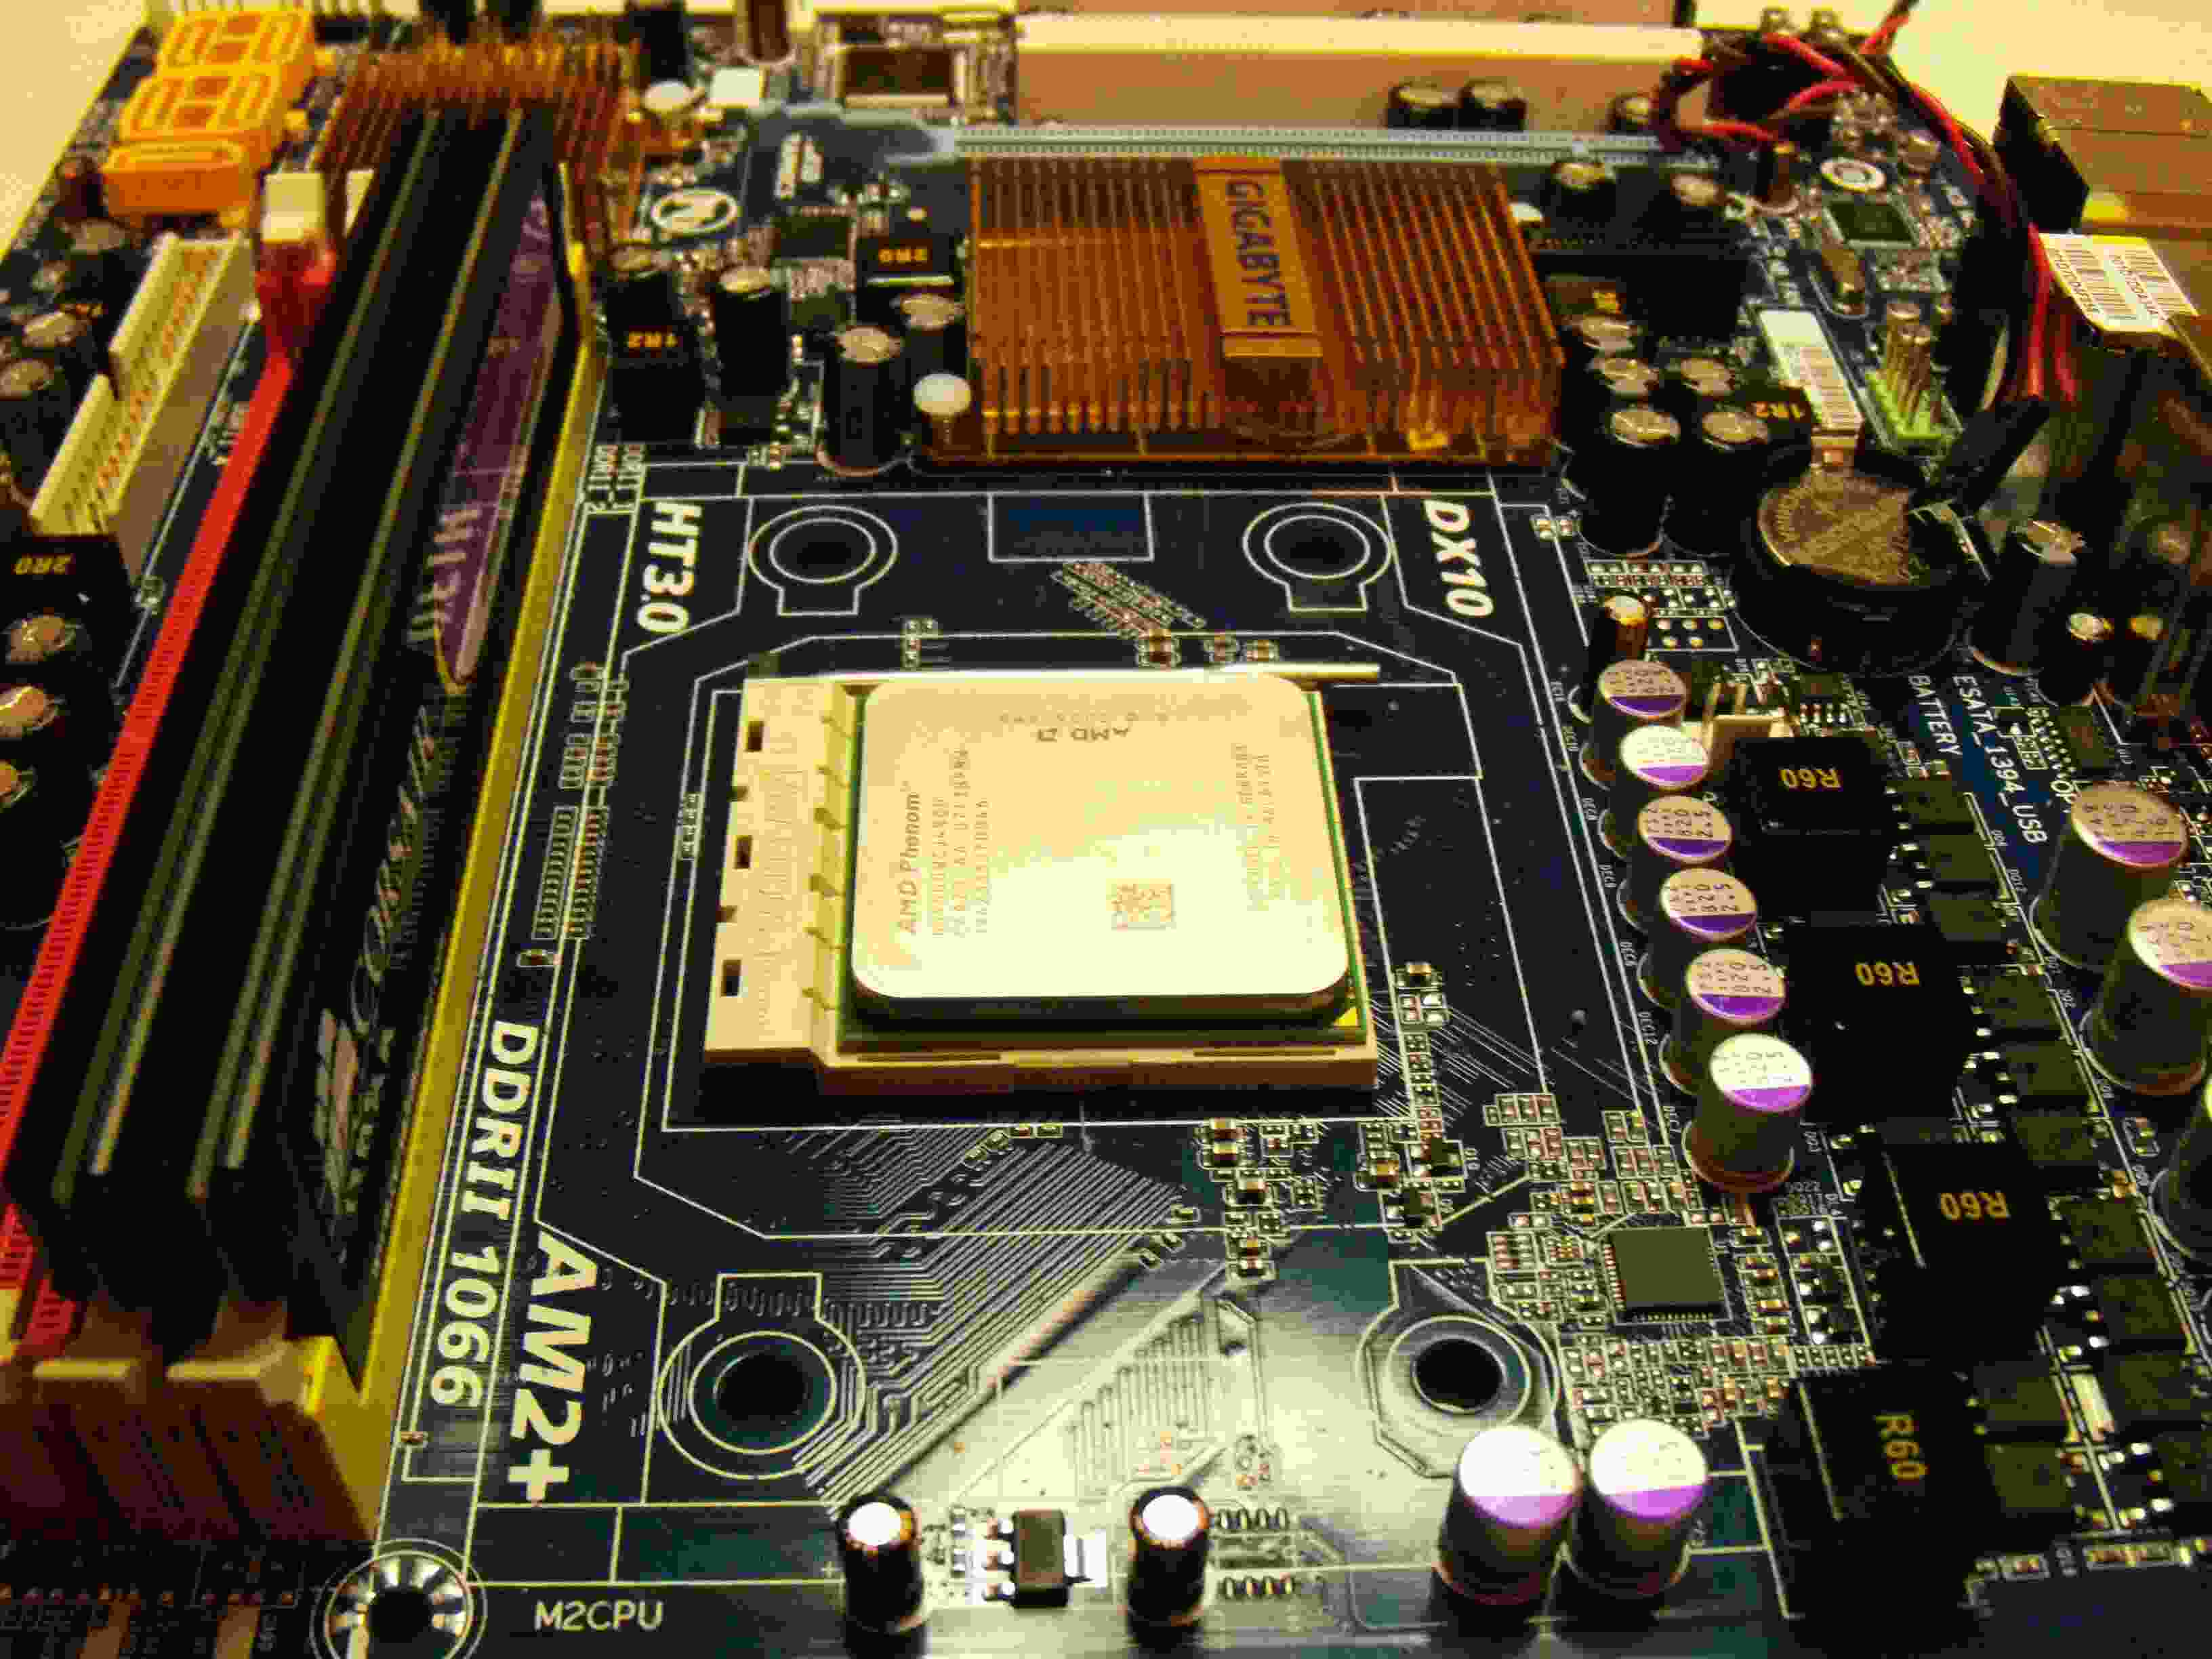
The Phenom CPU cleaned up with isopropyl alcohol and a few Q-tips.
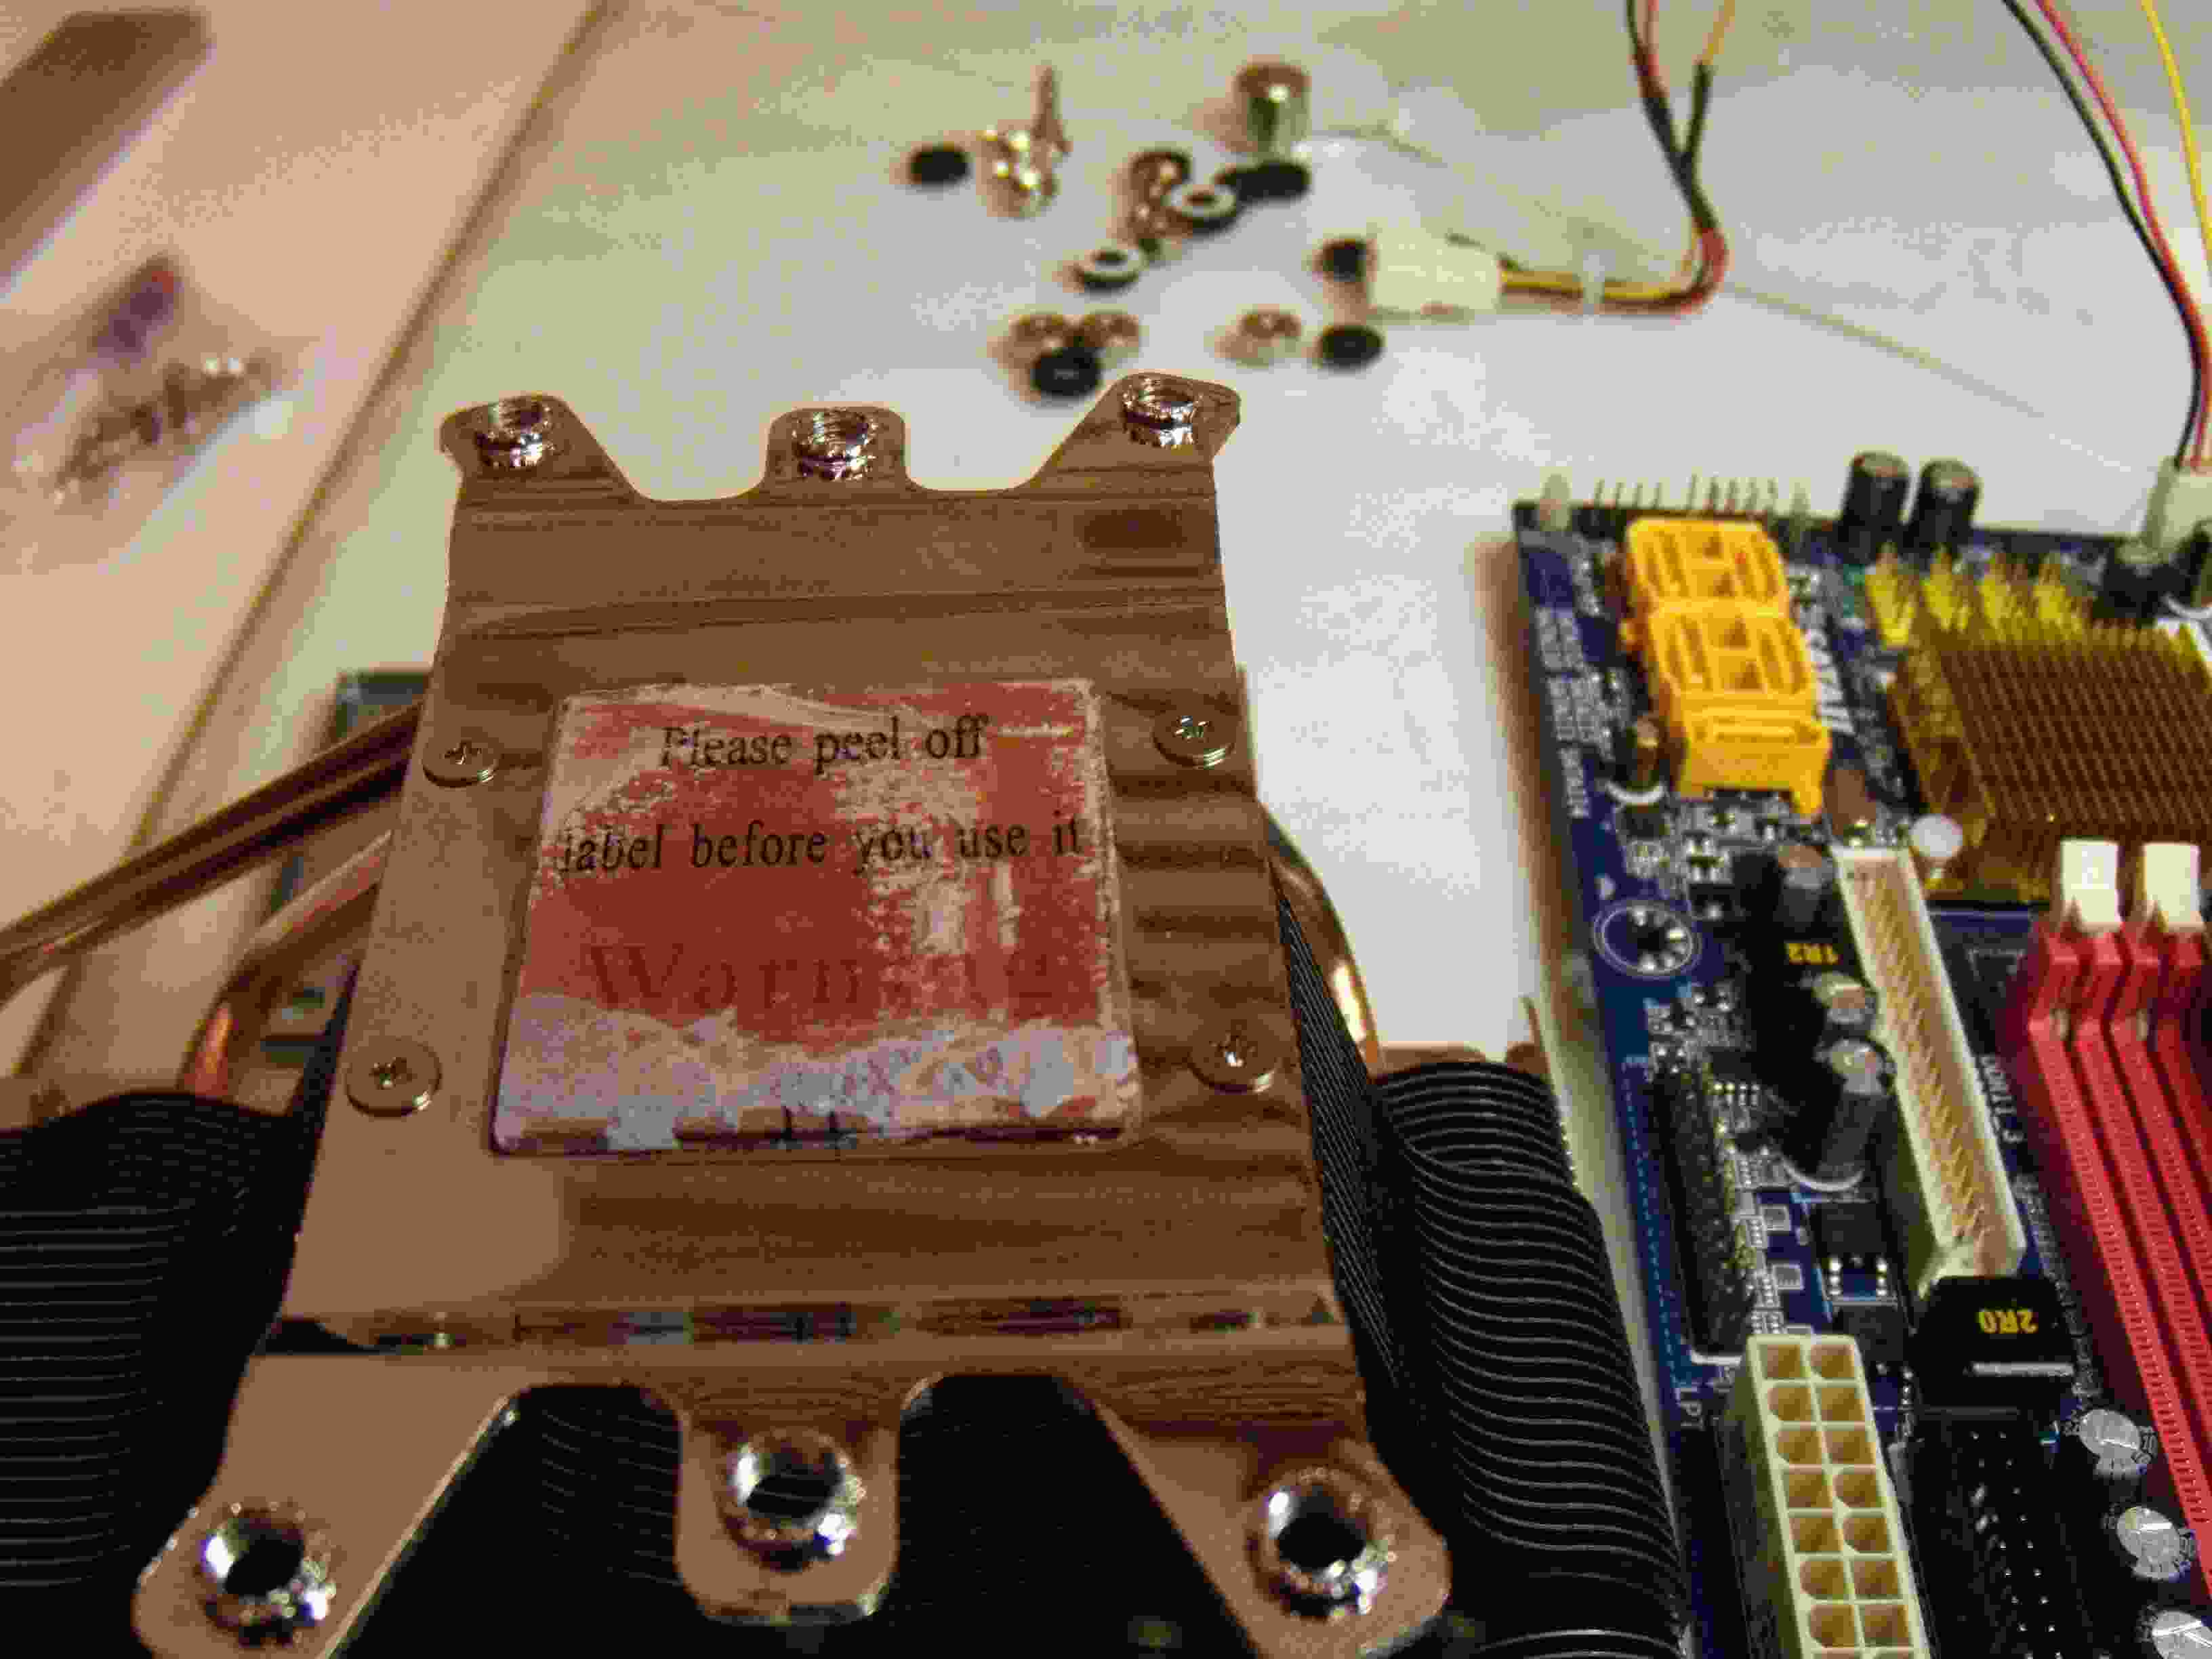
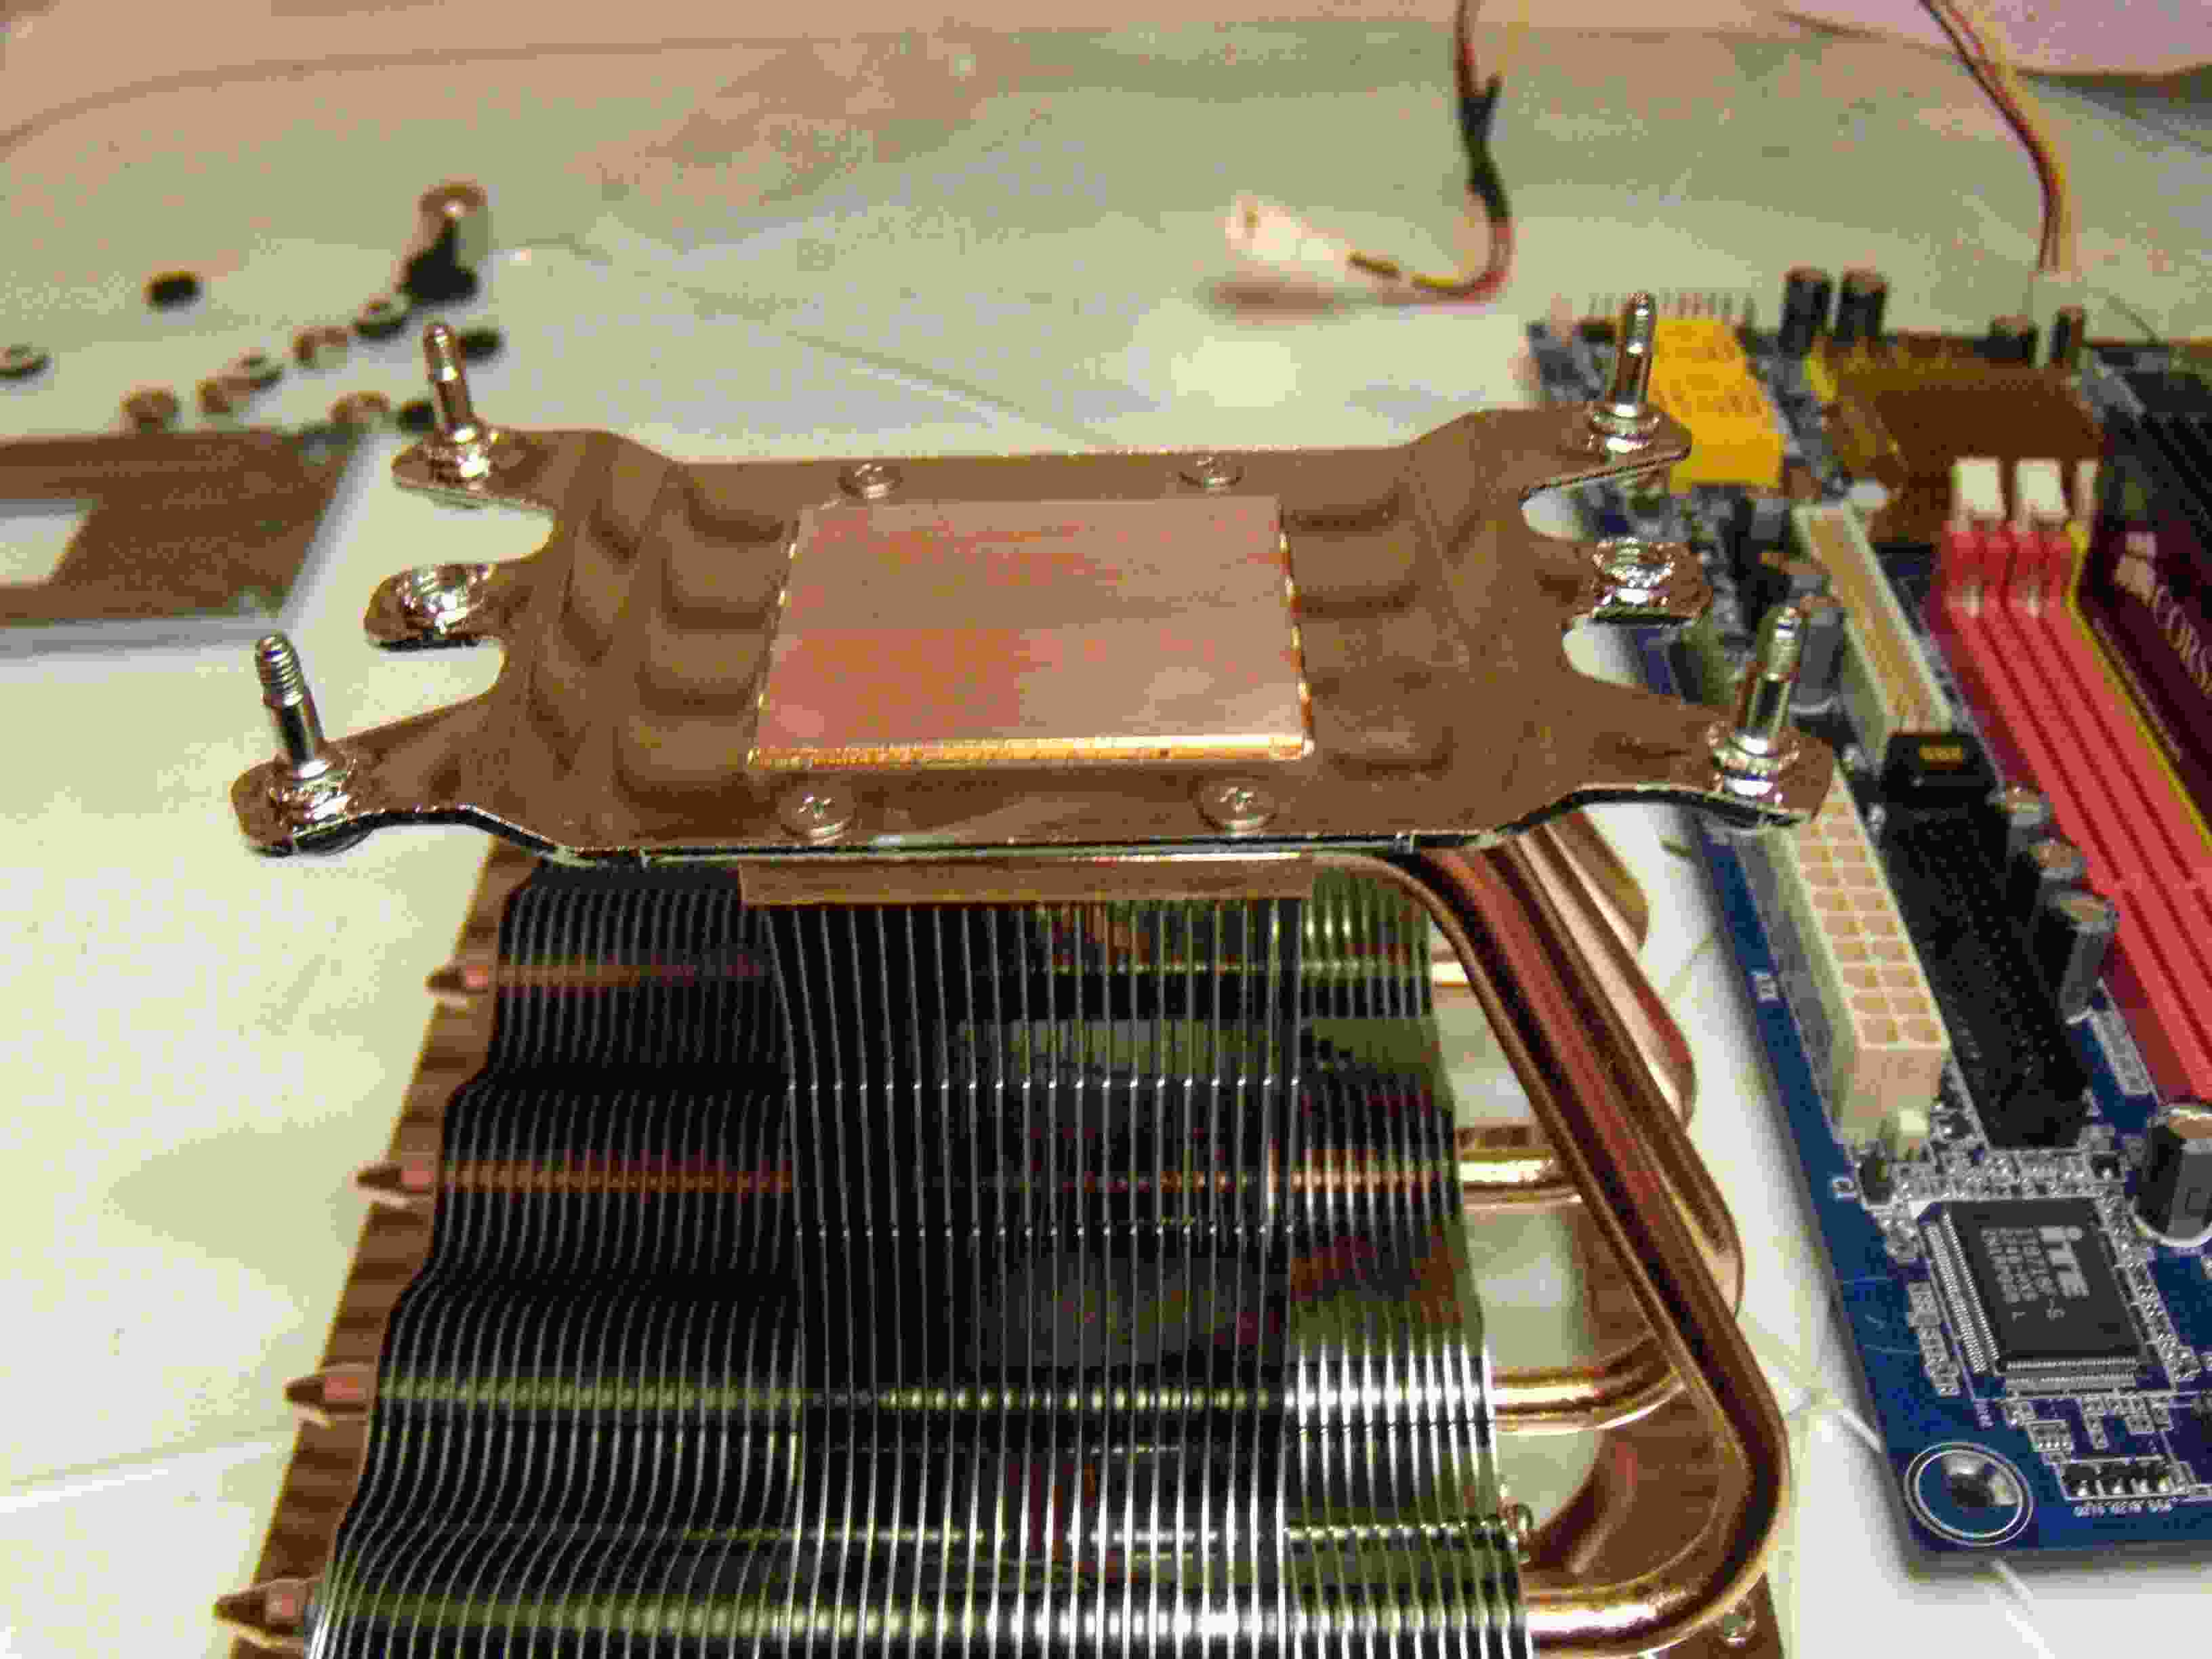
The AMD bracket in place with the four mounting studs installed. Four rubber washers fit over the studs, held in place by the adhesive side of the washers. The cooler surface is nicely finished to a high polish.
The CPU covered with a light application of the Cooler Master thermal compound.
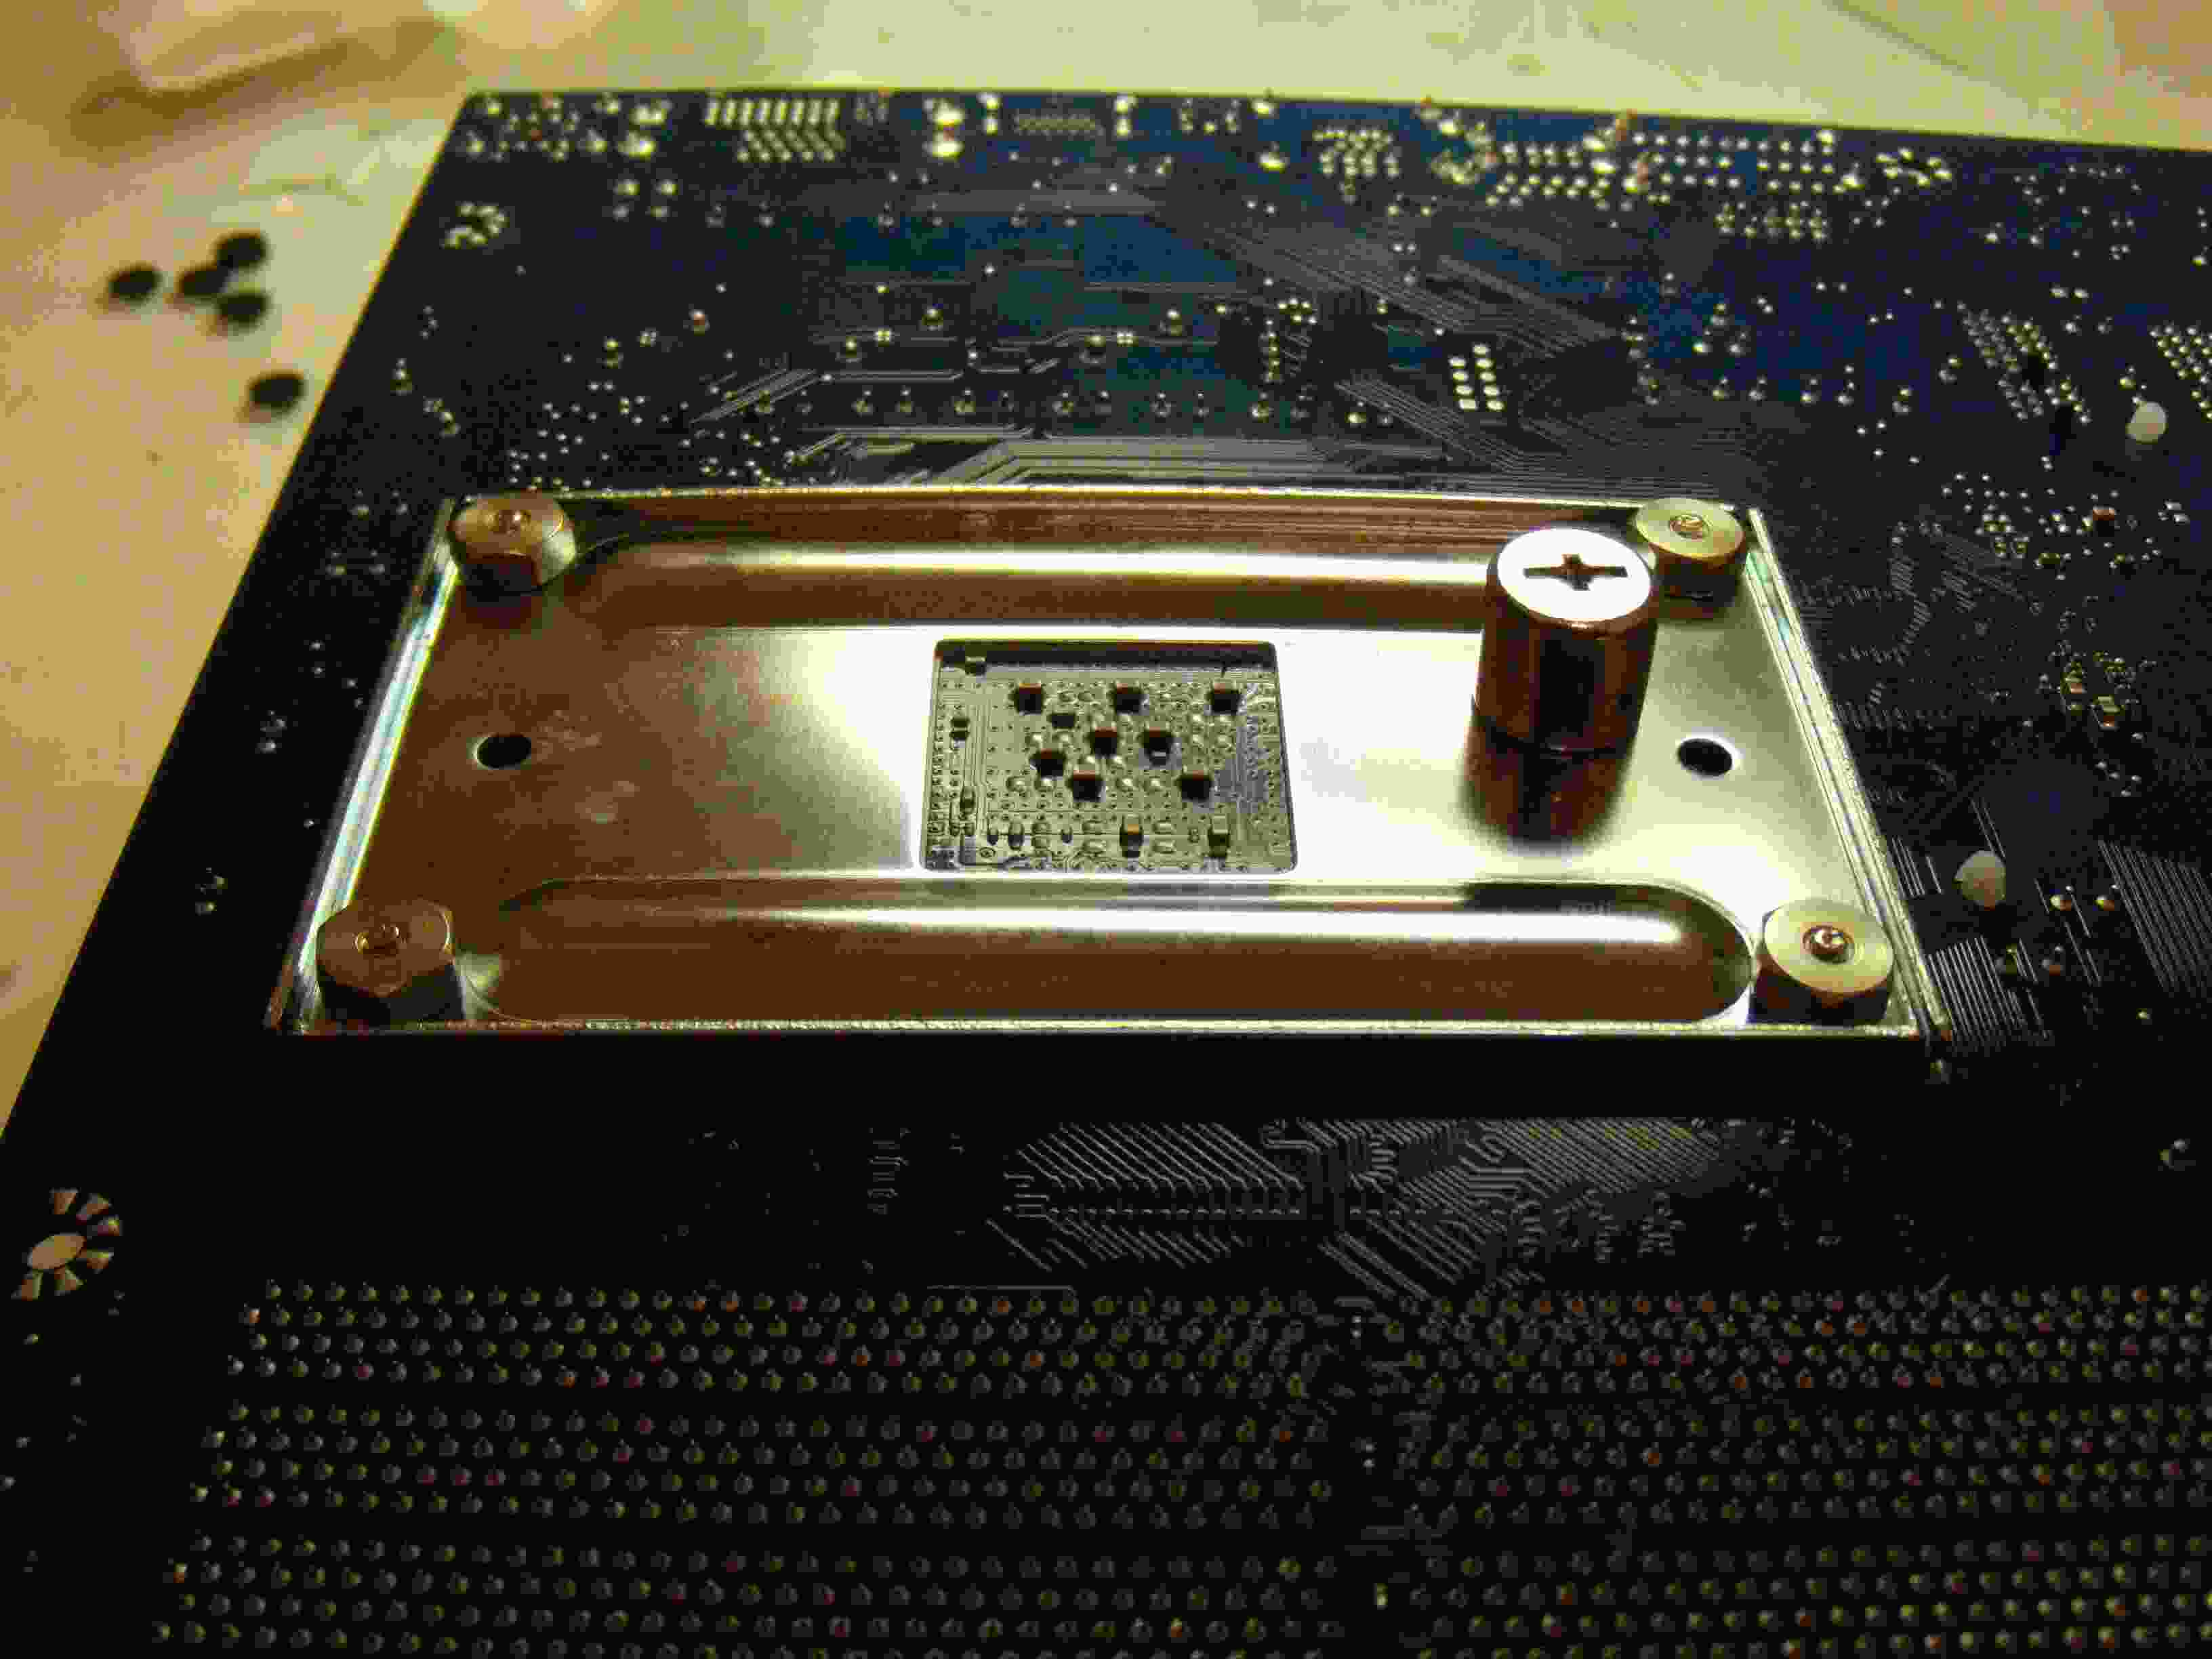
The cooler has been mounted on the motherboard. The studs go through the MB and then through this retention plate that has a plastic insulating layer on the bottom side. Four nuts hold it in place. The round object is a included socket adapter to tighten the nuts with a Phillips screwdriver. Very nice touch.You tighten them till they bottom out, then a little bit more torque to seat.
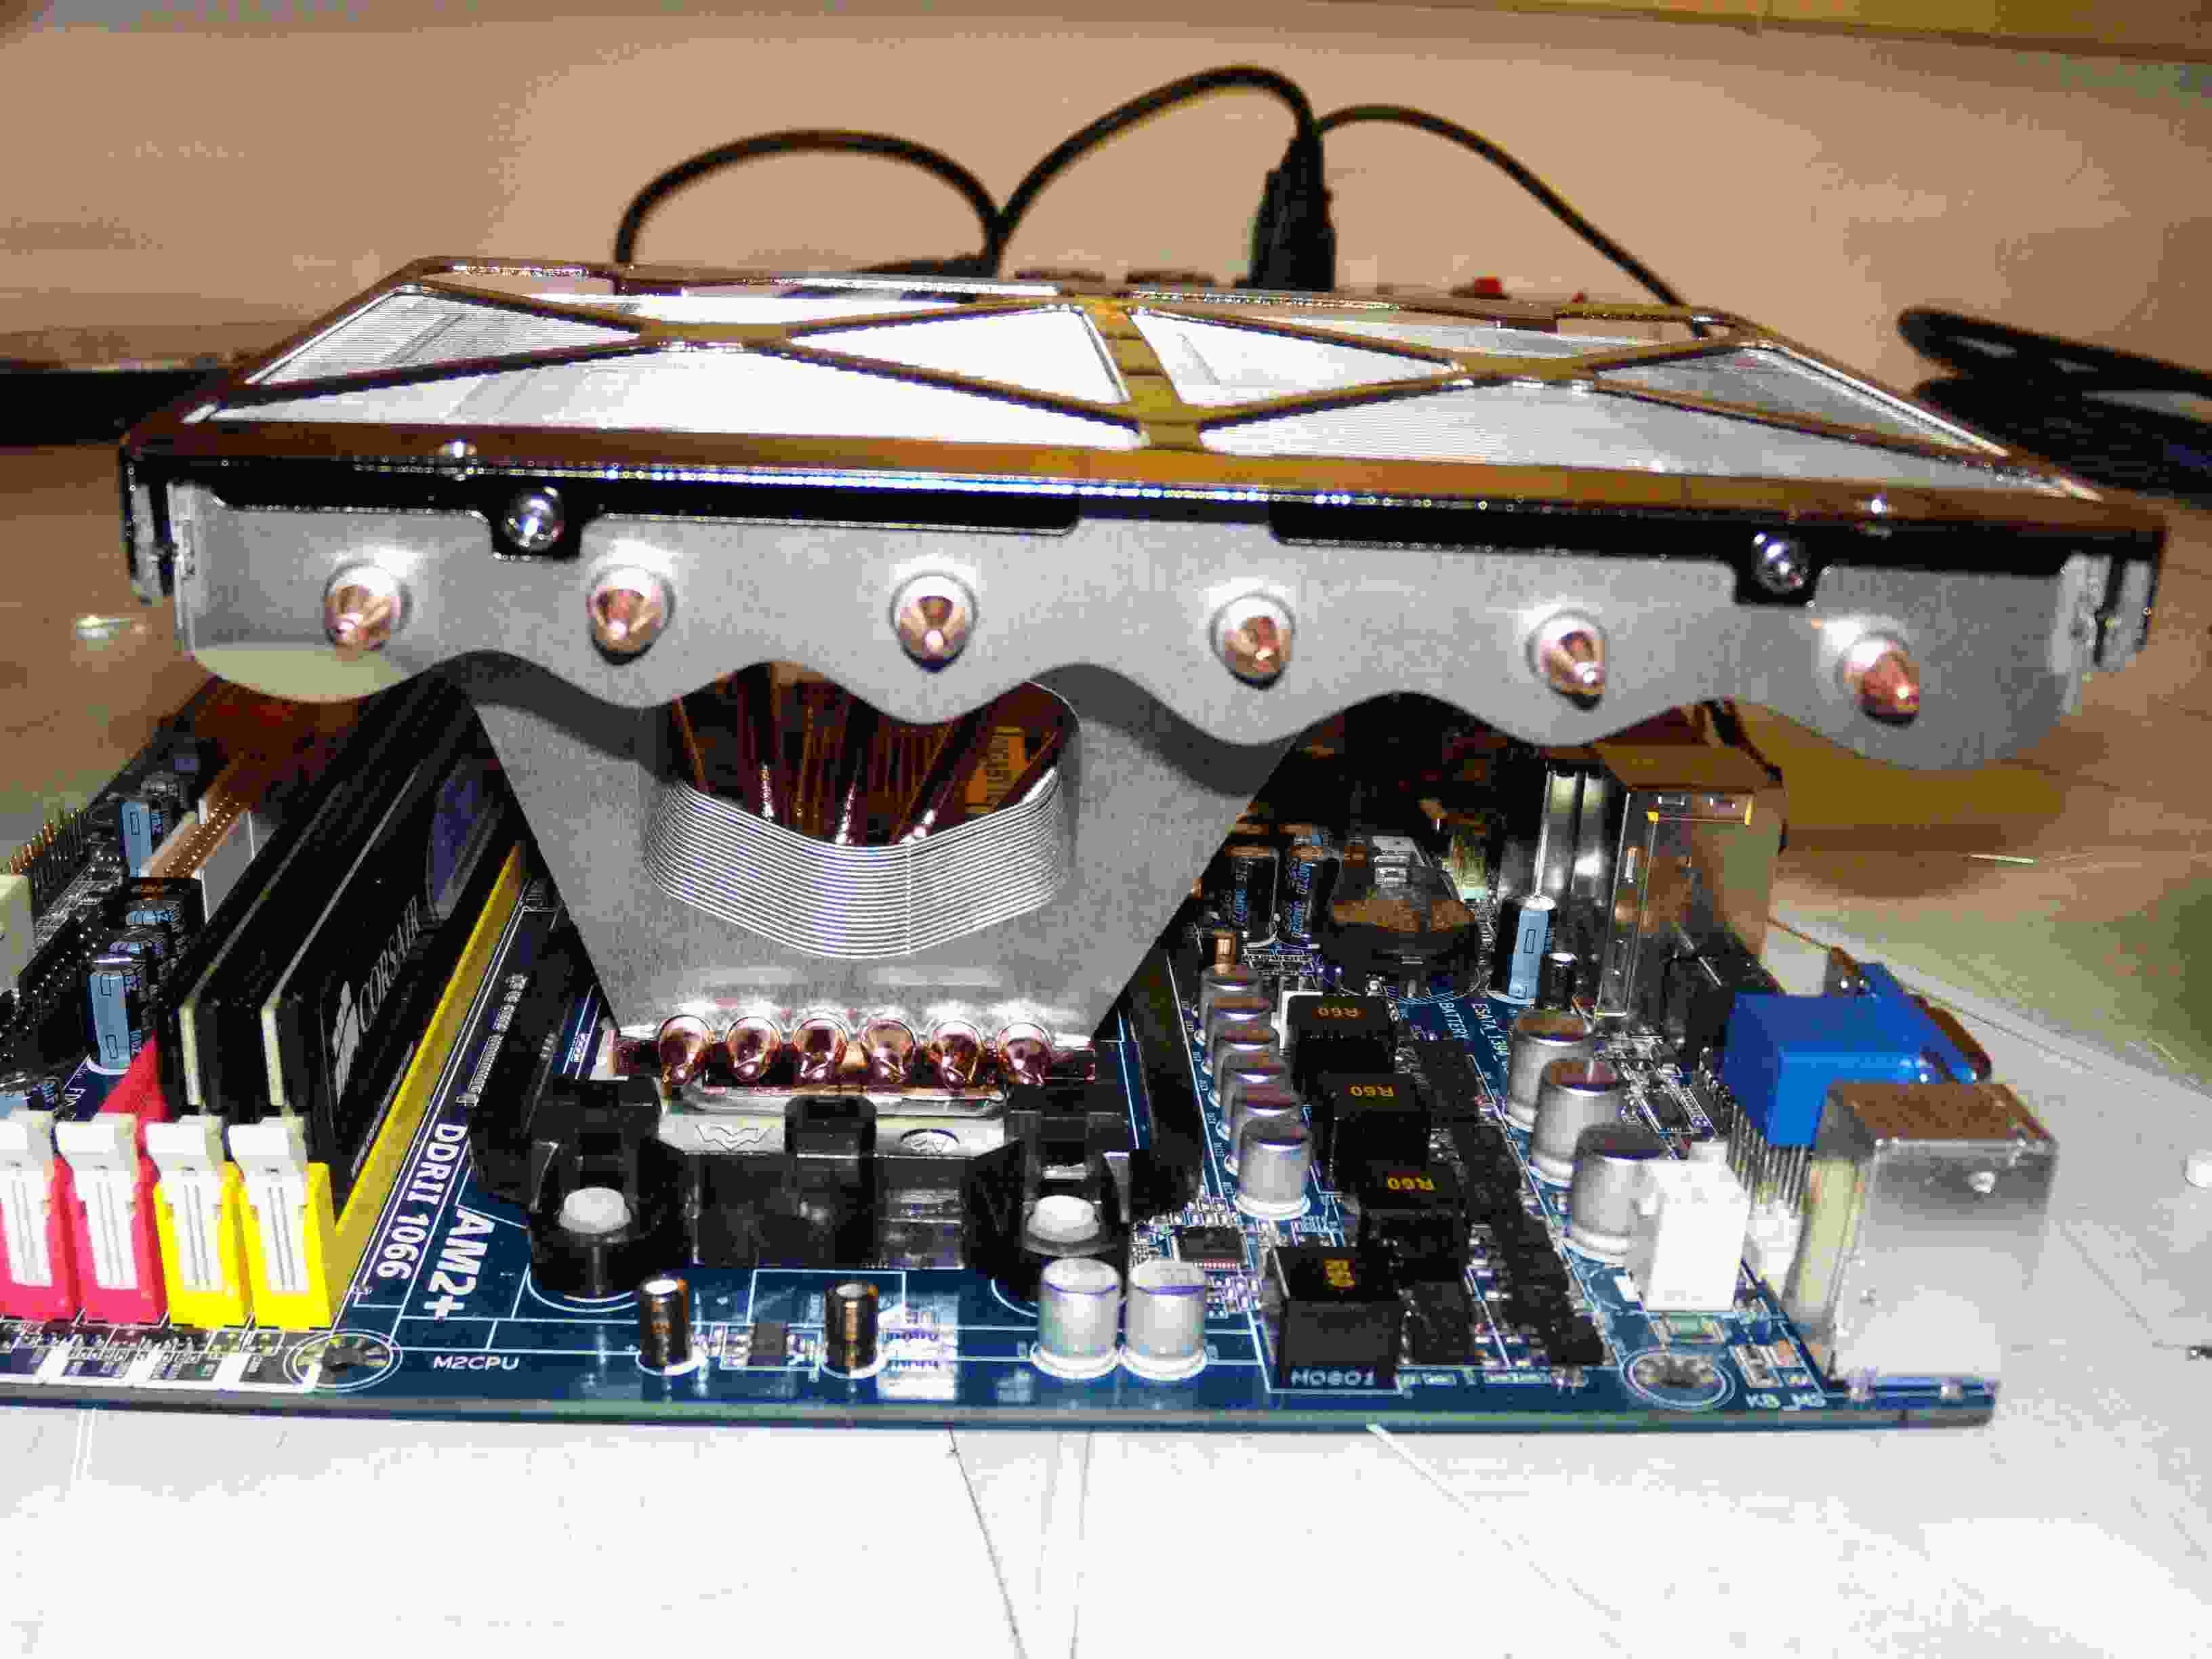
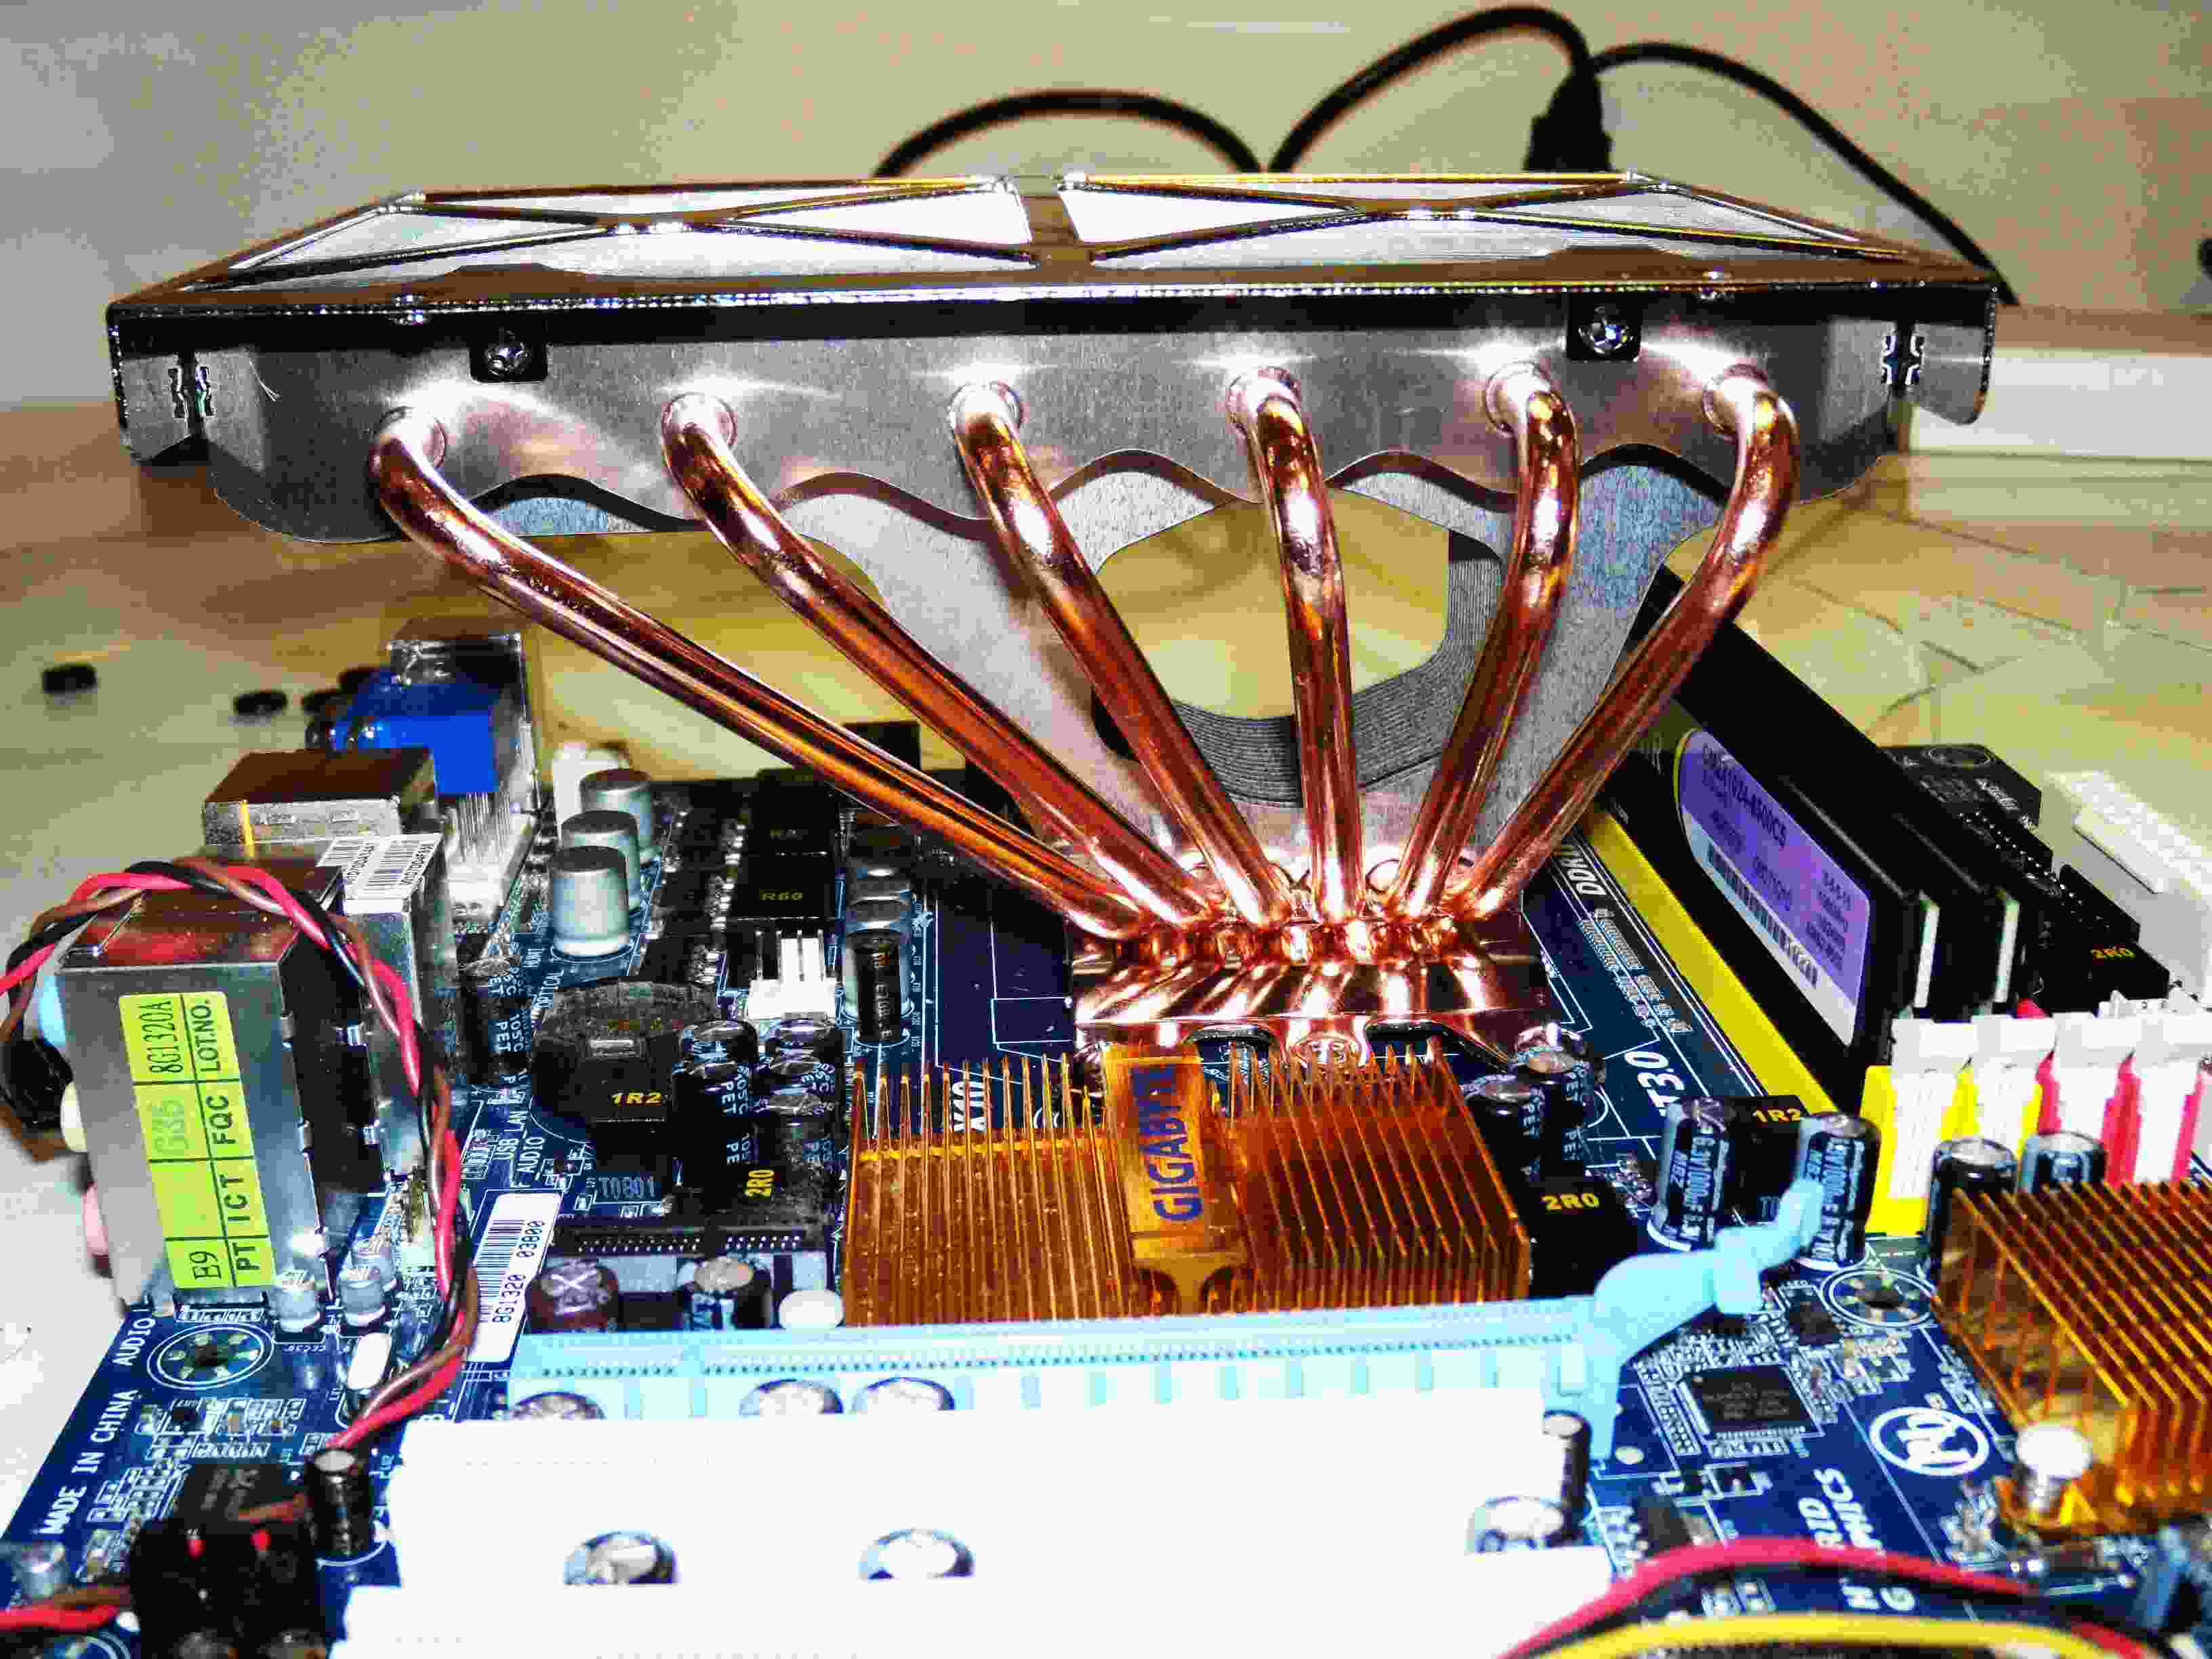
The cooler in place. Yes, it is huge. But it clears the RAM and other components with no problems.
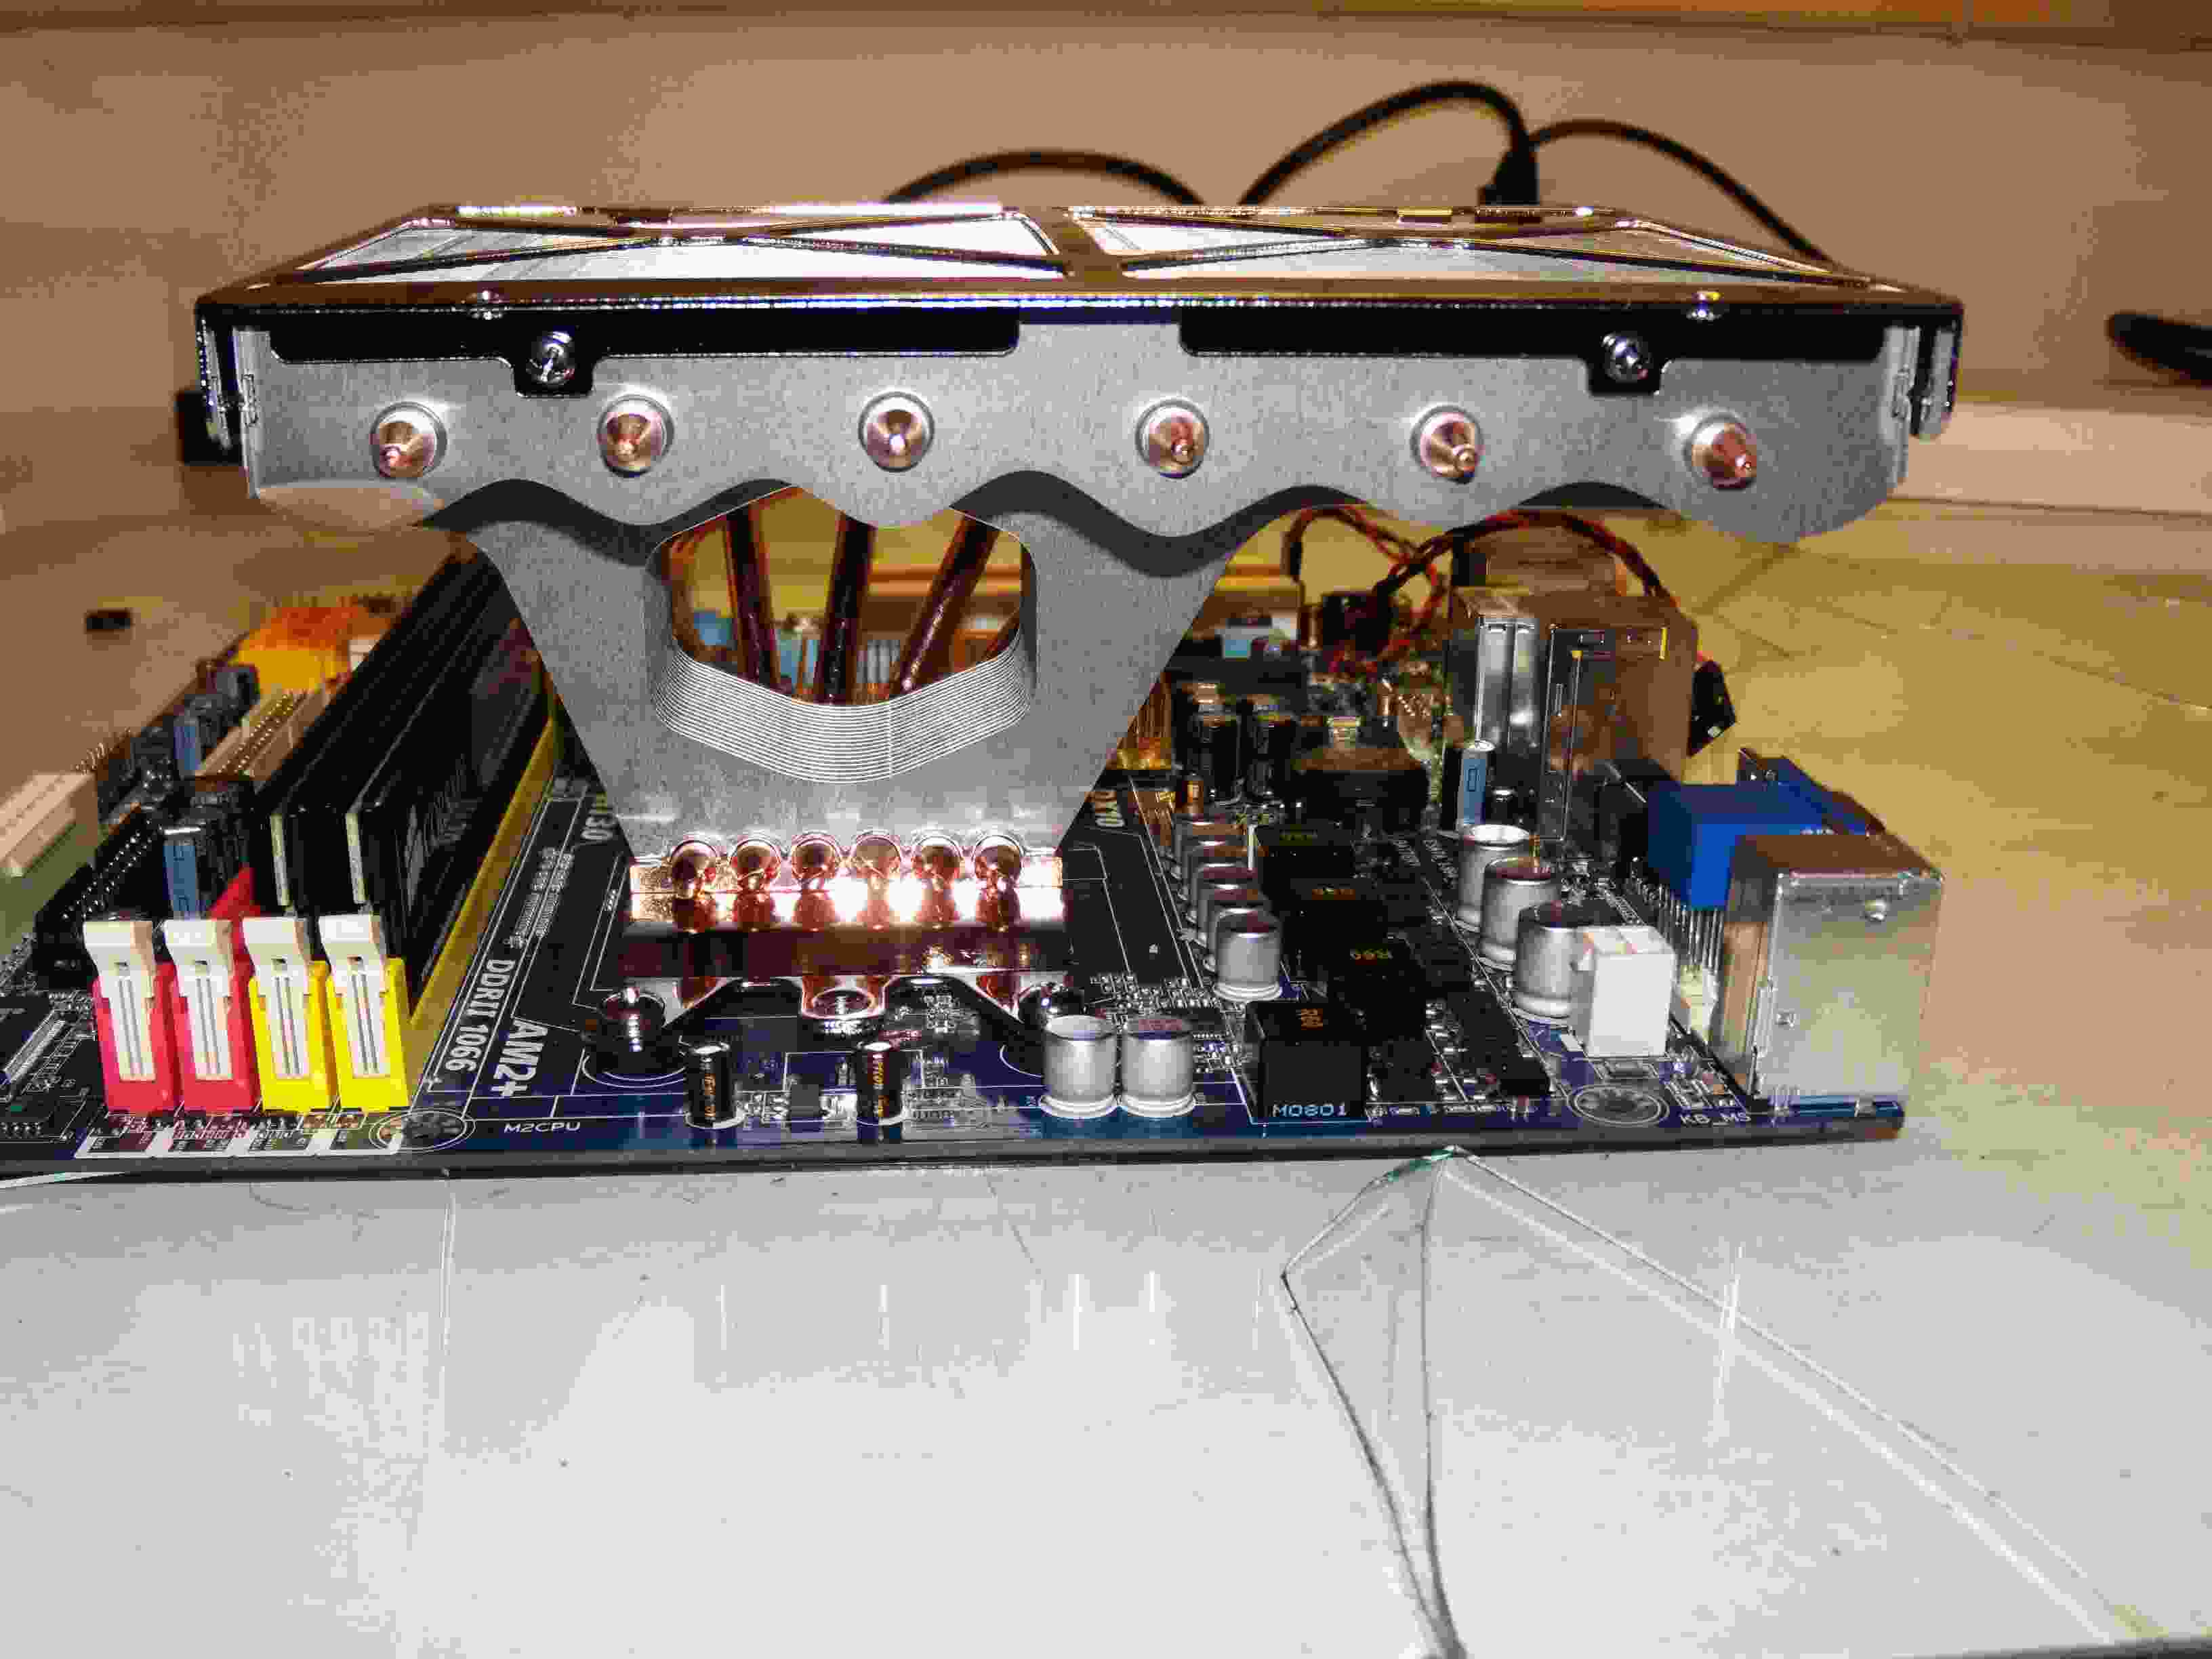
From the other side. It's a bit heavy to the right side, but the fan placement will balance it out.
Top view. The fan mount rails are laying there. I haven't changed out the case fans in this photo.
Case fans replaced with two Enermax low speed quiet fans. They run at 900RPM at about 16db. Don't move a lot of air, but very quiet.
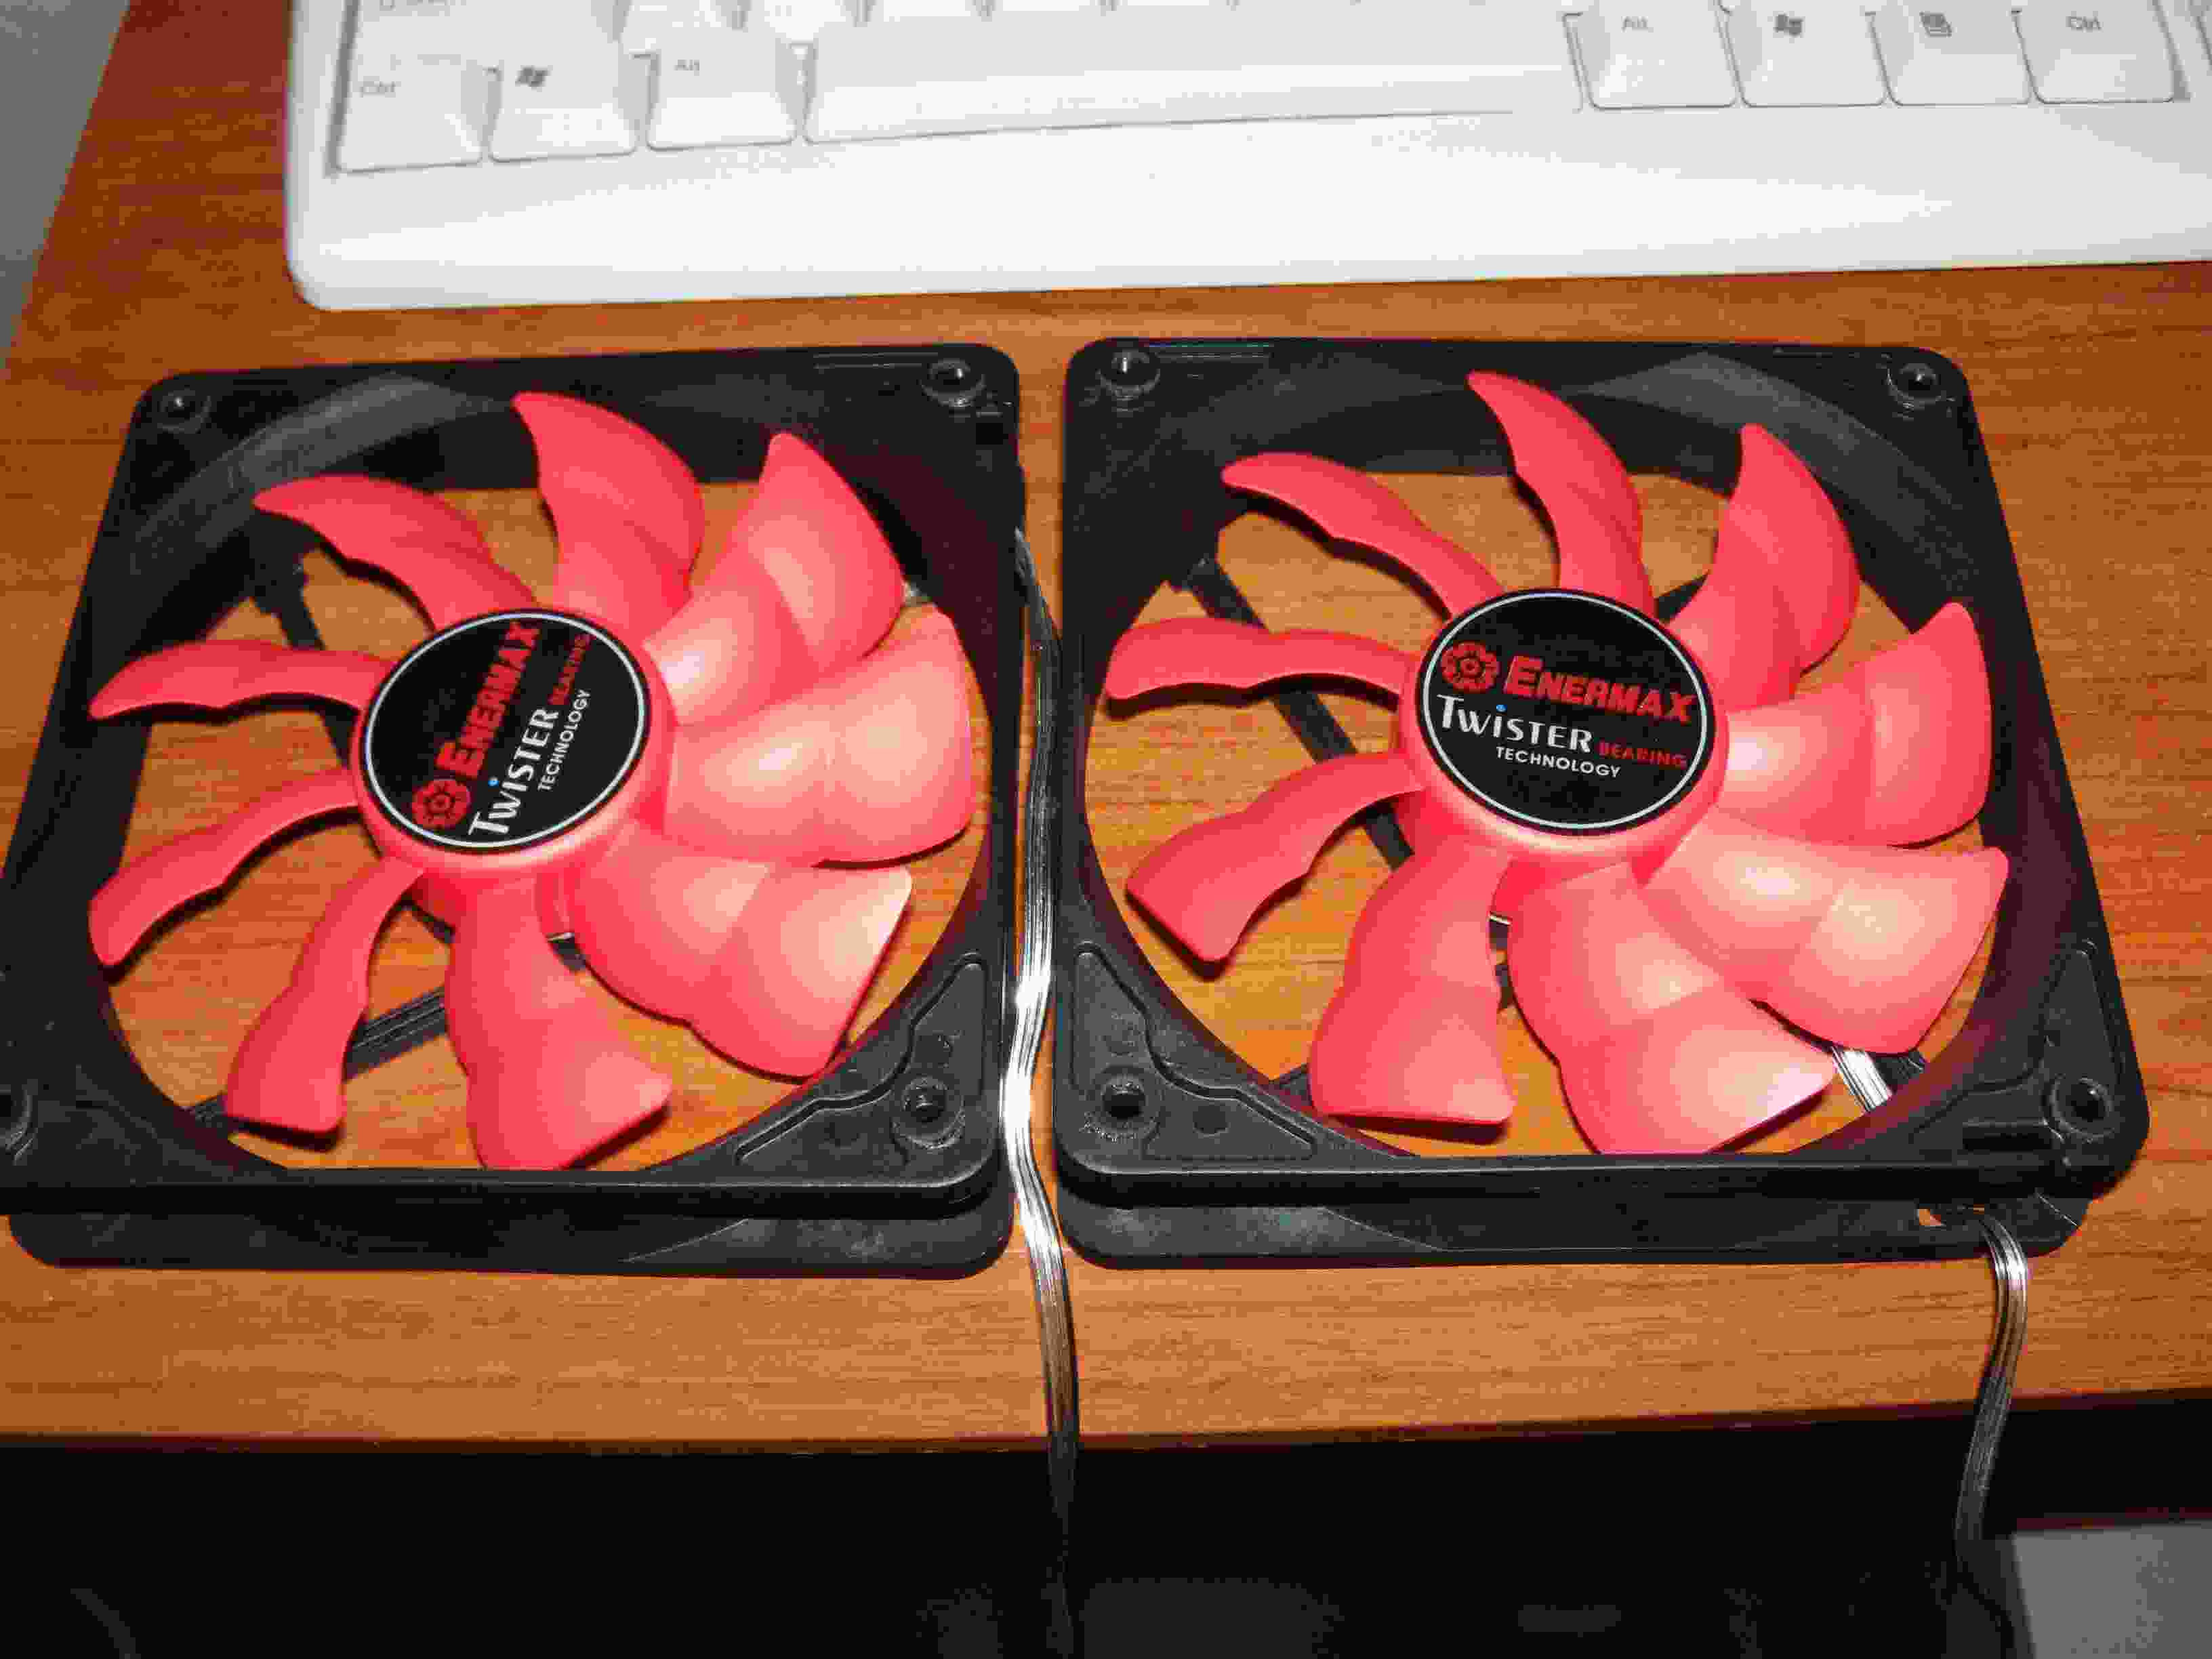
The two Enermax Twister 120mm fans. They aren't really quiet, about 18db at 70CFM. They really move a lot of air.
The fans in place before wiring, side view.
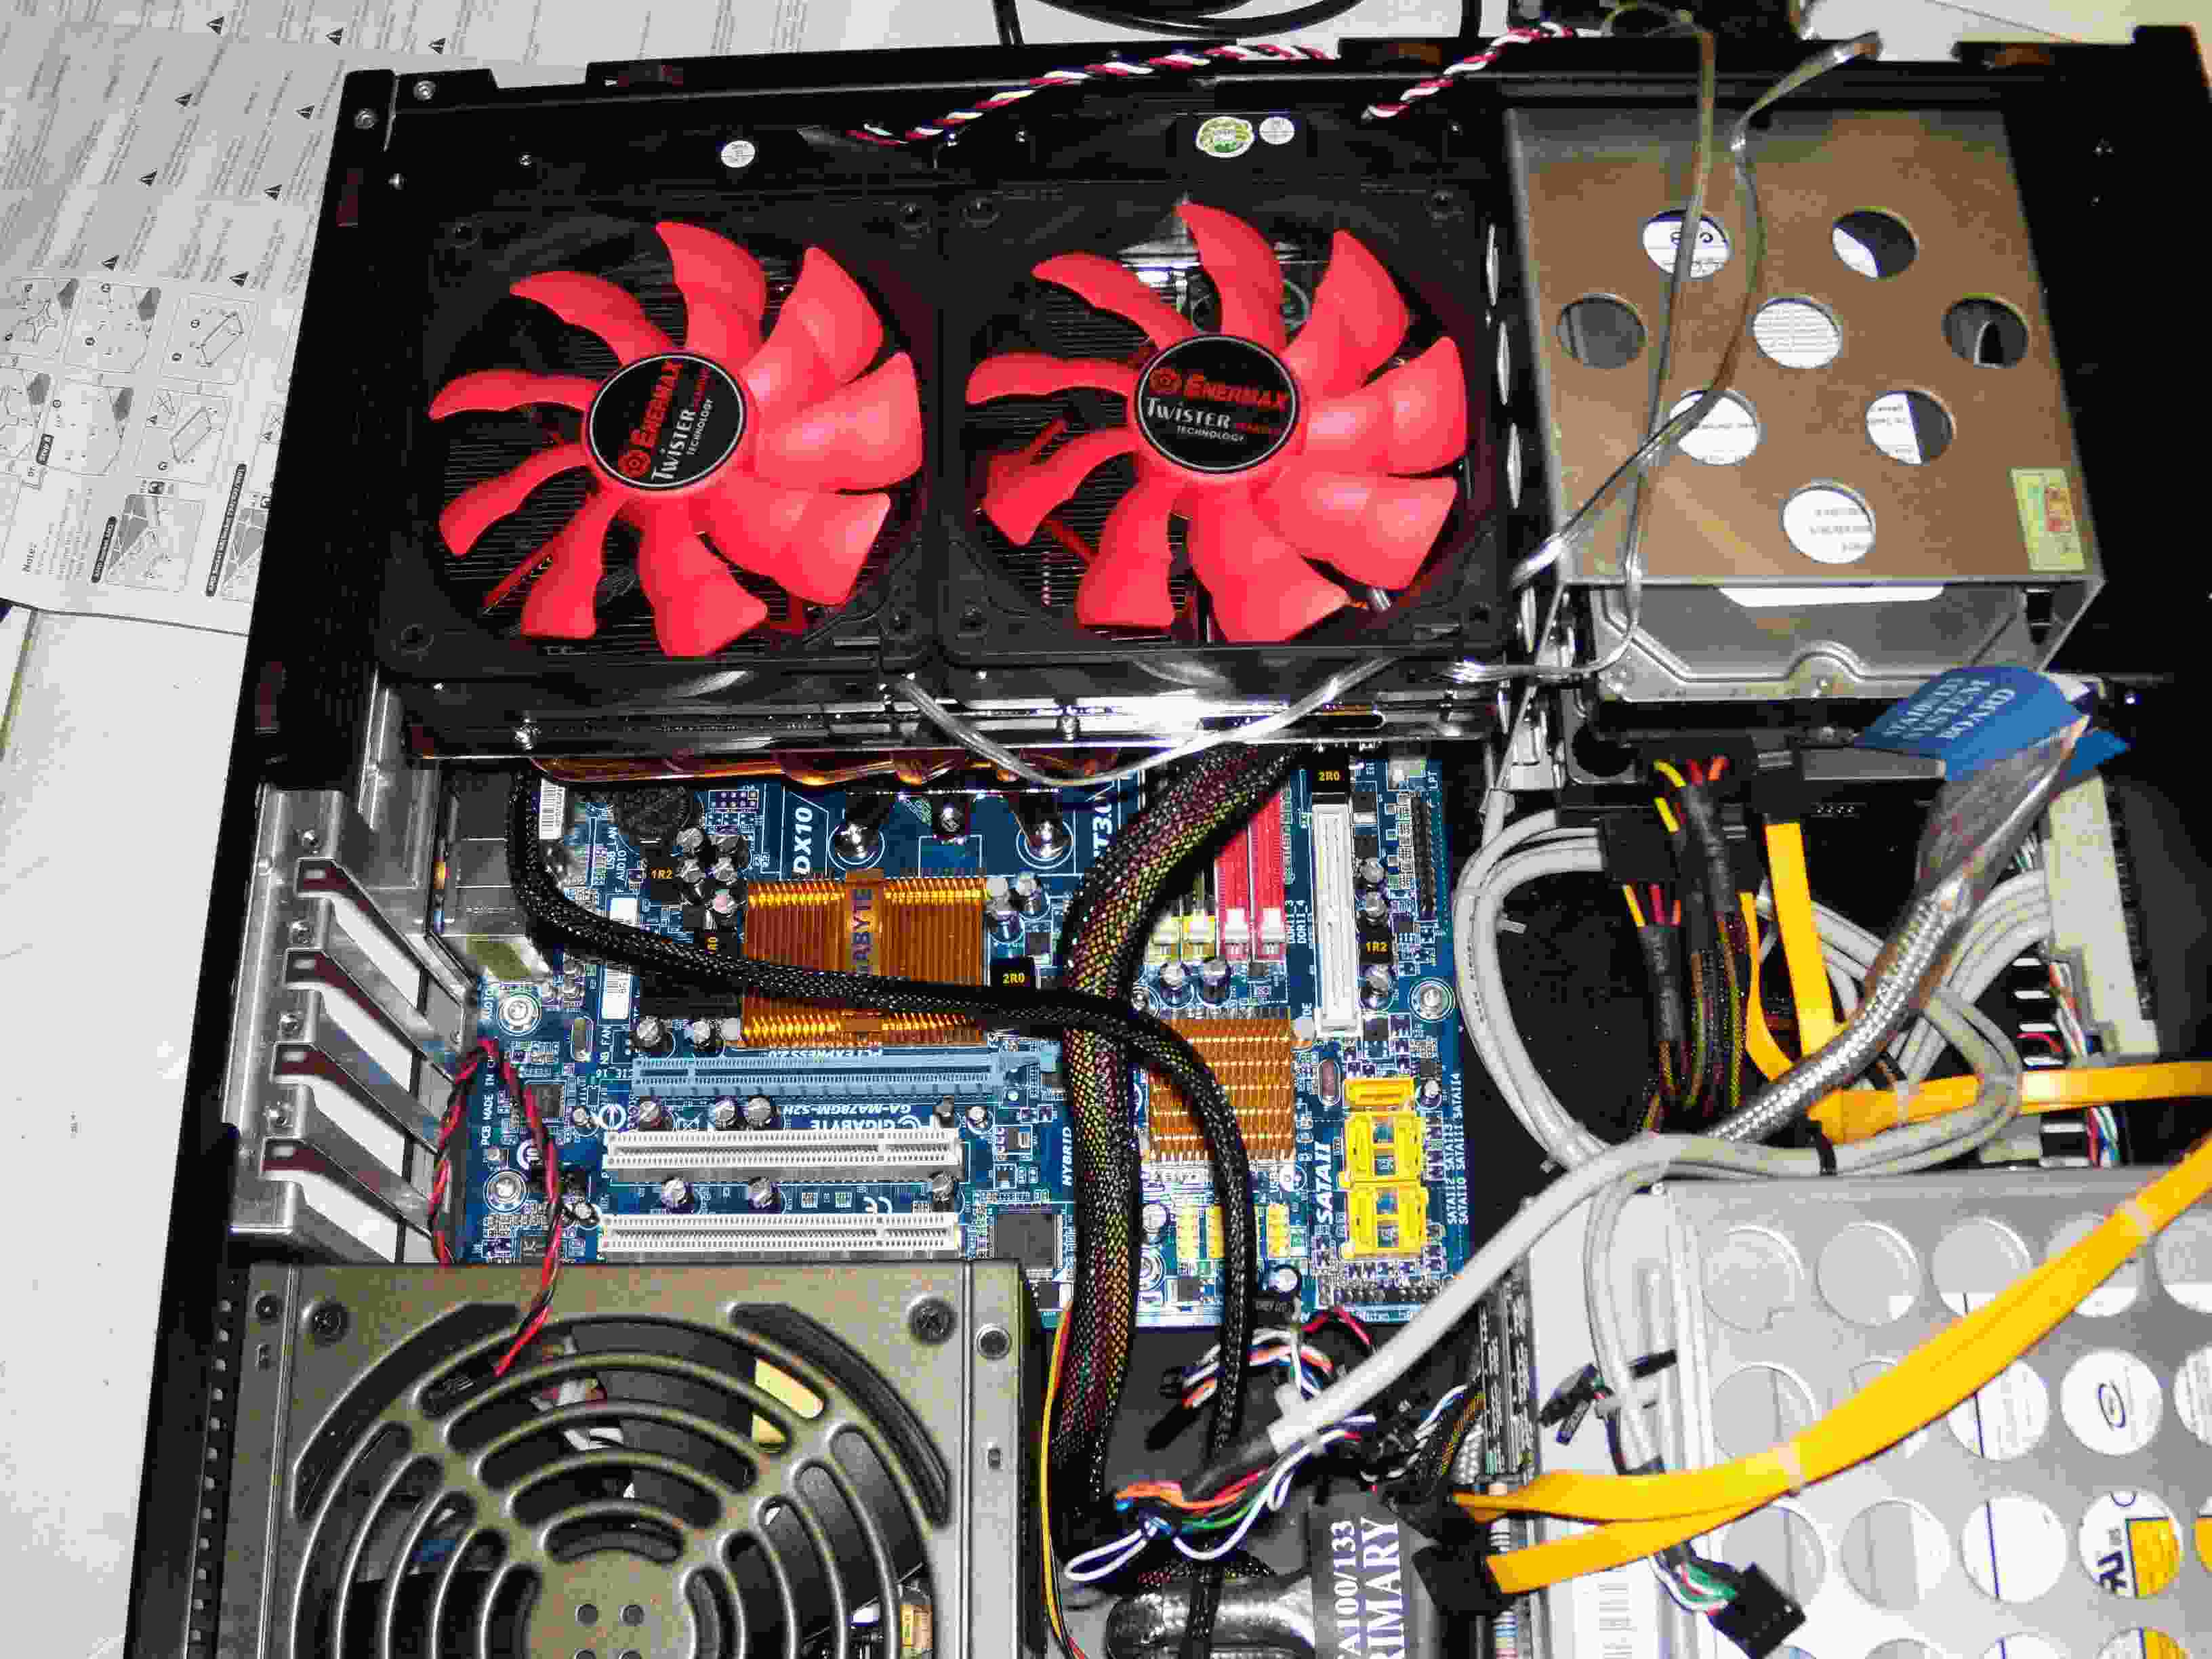
Top view. I've slid the fans over to the right to help with RAM and hard drive cooling.
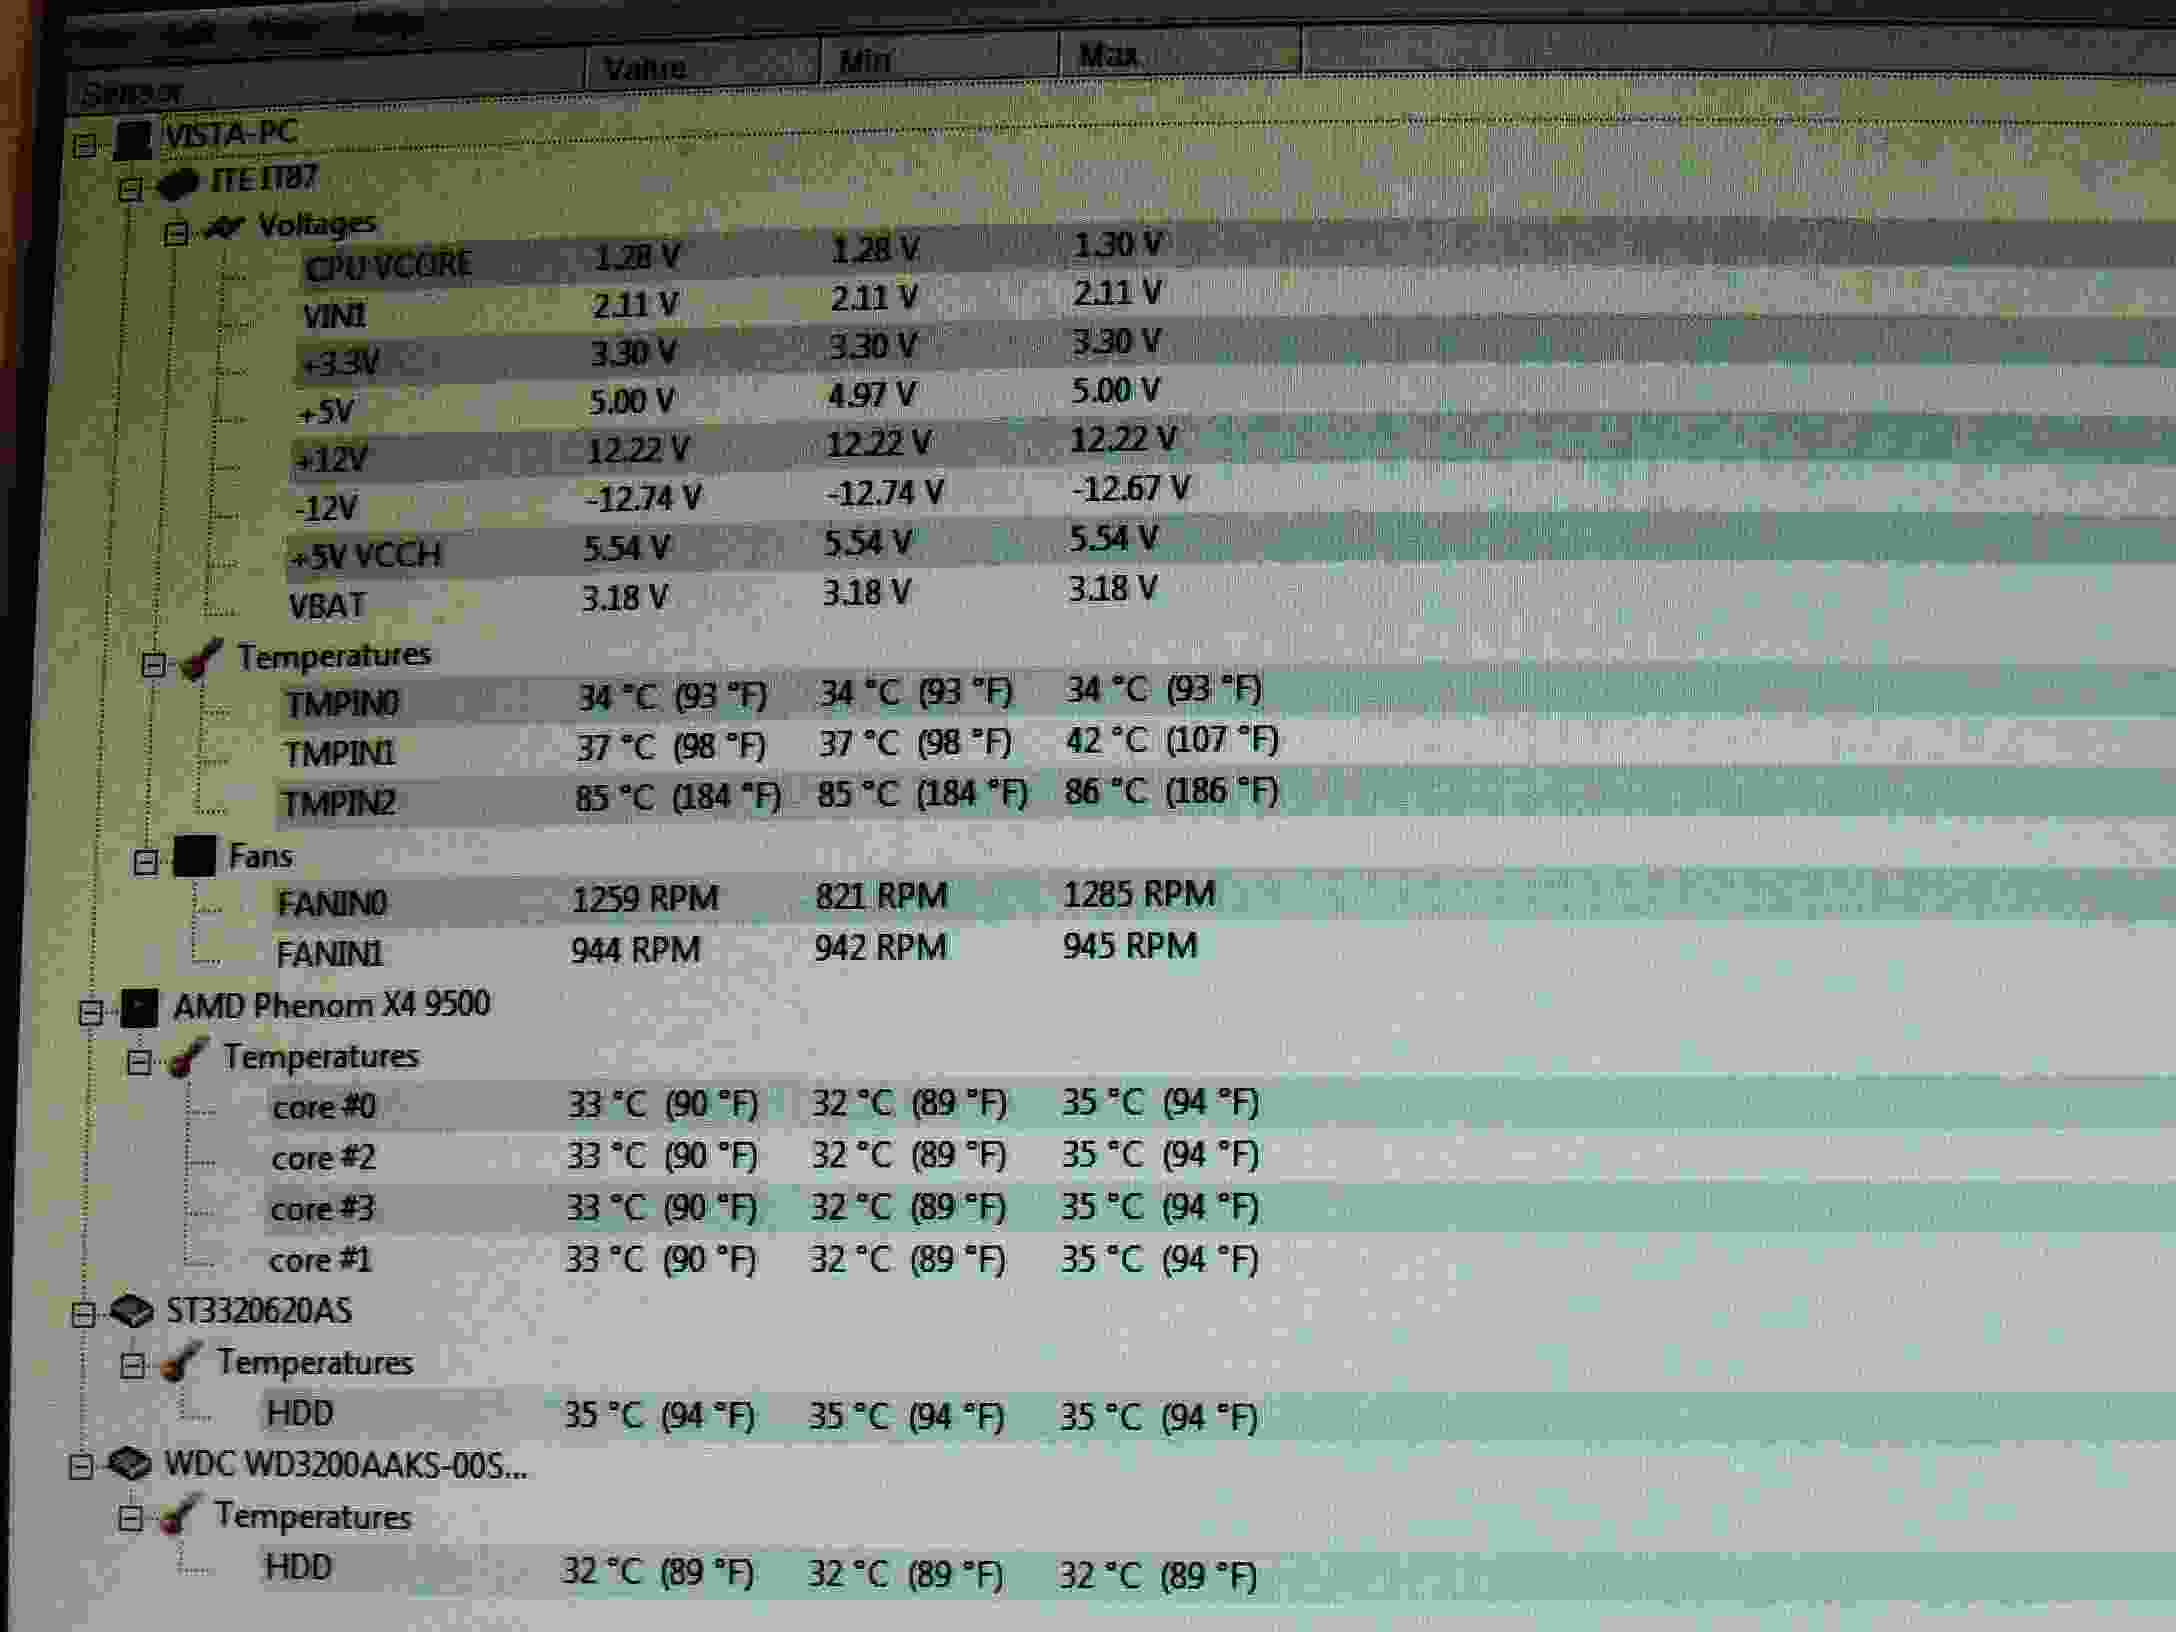
Fans plugged in, time to test. 34C CPU and 31C case, with the case top still off. The temps before were about 42C for both the CPU and case temps at idle. Big improvement so far.
The wiring cleaned up, the cross brace in place and the fans running.
Hard to see, but there is about 3mm clearance between the fan blades and the cross brace.
Plugging in the 4 pin CPU power connector and the CPU fan connector was a bit difficult.
The two low speed quiet fans with the added finger guards.
The Lian-li case, front view. Very well built case.It's actually brushed black aluminum and doesn't show finger prints.
Final check with the PC closed up and after running about ten minutes. The CPU temp is about 33C and the case 34C (Temp 0). That's almost a 10C drop in temp.
Bottom line, well worth the effort to install. The cooler is very good quality and all parts are included. The directions are clear enough, though small pictures. They are in several languages. so good there. The cooler doesn't come with fans, so you can add your own at whatever cooling level you need or noise level you desire. If you plan to plug it into the CPU cooler socket (Recommended) you need a 'Y' adapter for the two fans.
If my case had more room, this cooler would work better. It's a bit close to the top of the case and has a hard time getting air from the case vents. Even if I wanted to drill holes in the top of the case, my surround amp sits on top of it and supplies plenty of unneeded extra heat.
+ Reply to Thread
Results 1 to 6 of 6
-
-
EDIT: Update
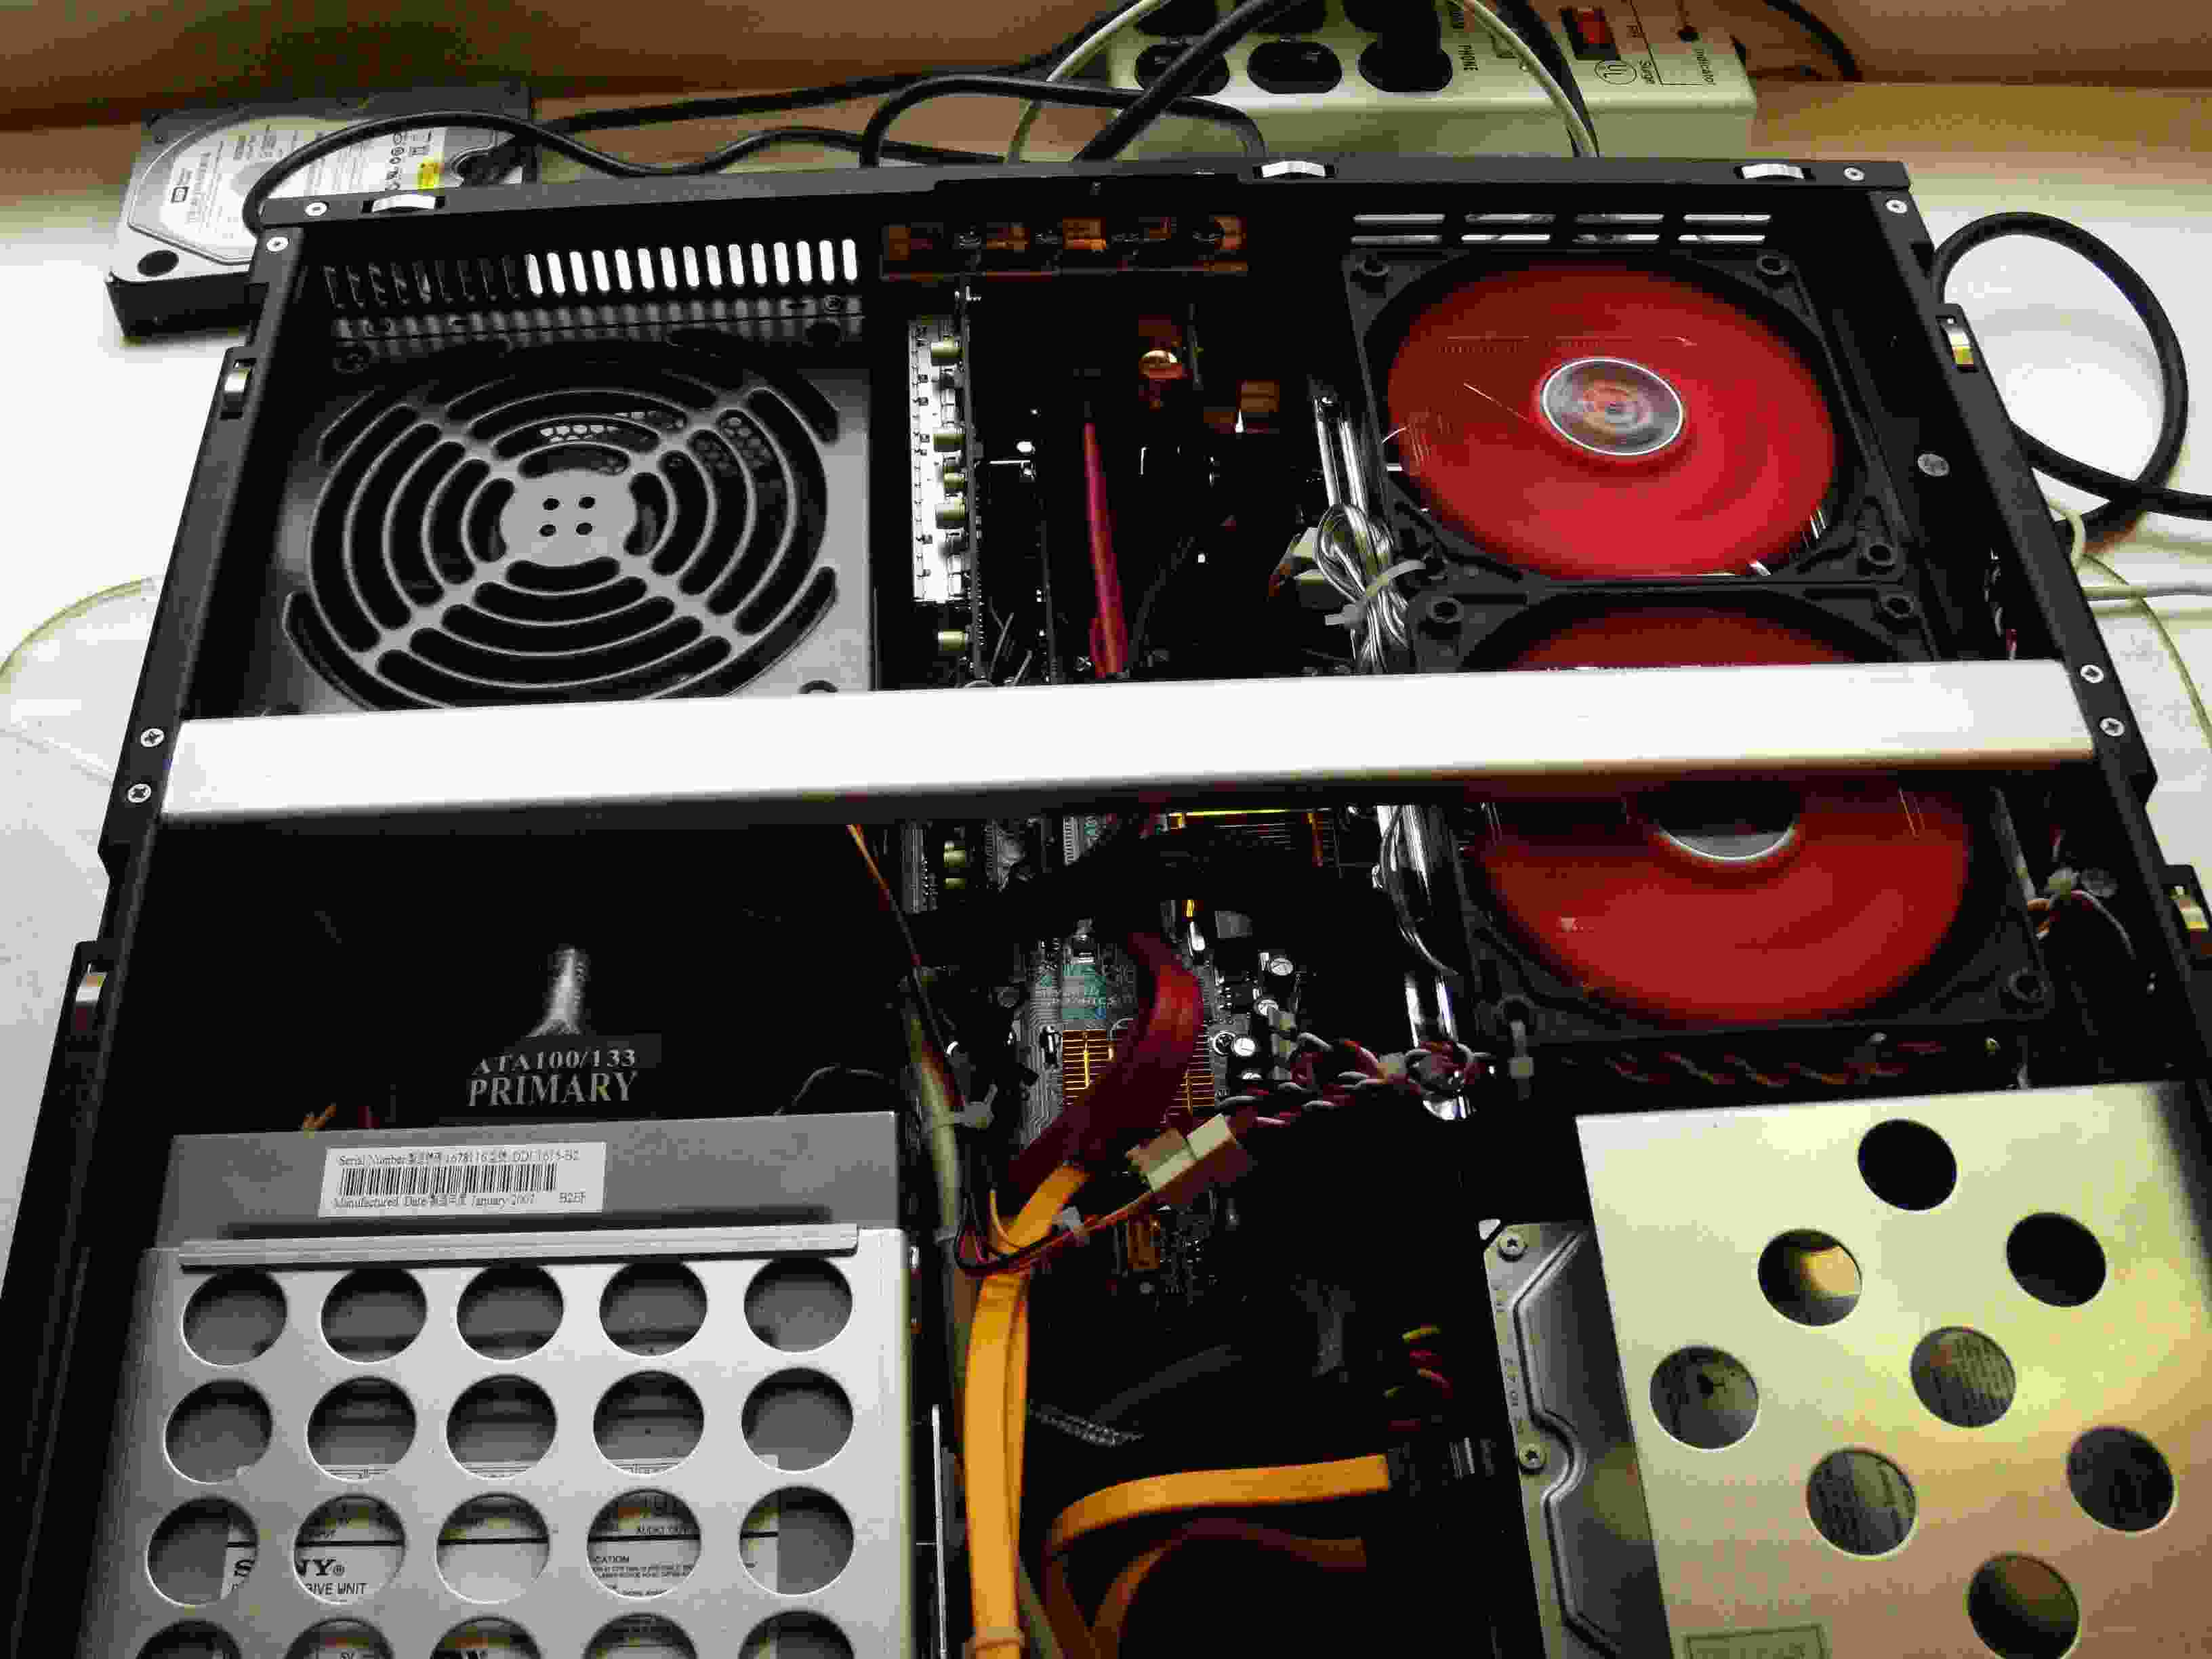
I was troubled by the fairly high 45C HDD temperatures after a couple of hours of encoding and finally determined the strong CPU fans were blocking the through case airflow. I decided to trade around the fans and use the low speed Enermax fans on the CPU and the Thermaltake fans for exhaust. Unfortunately, that meant pulling out the MB to get to the case fans.
I also wanted to try a lower wattage Brisbane dual core CPU to see if that would work better just for HTPC use. The other reason was that my CPU temperature was now running higher than when I installed the new cooler. When I pulled off the cooler, I found that my thin layer of thermal compound was a bit too thin.
  The base of the cooler was warped more than I expected. I leveled it up with some 1200 grit sandpaper and re-polished it.
I decided to leave the Phenom in there as it worked well with this motherboard. I also added a 80MM fan behind the HDDs. This had very little effect on their temps, but didn't add any noise to the system.
My present CPU temps are 30C at idle, with the case temps at 35C and the Northbridge at 38C after several hours of idle operation. During encoding, the CPU temp goes up to about 42C, still fairly low. The case temp goes to about 38c and the Northbridge about the same. The HDDs run about 40C, which is fine for this type of confined case. I added a fan controller to the two Thermaltake exhaust fans and run them at 1400RPM to reduce the noise level. This combination seems to work fairly well. Interesting that the CPU temps didn't change that much with a much slower CPU fan.
-
Geez Louise that's a big heatsink! You could land a plane on that thing!
-
Two 120mm fans fit on it easily.
I think it would probably cool about as well with no fans.
-
I've been eyeballing that monstrous cooler for a while now, just don't really have a need for it.
You may not have room in the drive cage for it, but I went for passive cooling of my main capture drive and it worked well. Two old slot-style P1 heat sinks fit perfectly with just a little crimping of the fins.
I've some HD coolers that would fit a bit tighter, passive radiator types.
Actually had some of my best passive cooling success with a very simple concept - Holes. Lots of Holes. Made more holes, made small holes bigger. Unfortunately your case is too pretty for much of that, but the bottom is hidden, isn't it?
Nice picture layout and tutorial. Good to know that thing actually fits inside a case. -
The aluminum HDD cage has large holes on all sides. But it sits back in a corner, so not much airflow there. The HDDs aren't really running that hot, but I would be happier if they were a bit cooler. Not much room between the drives, either. That case works on the principle of only using exhaust cooling fans. It draws in air from all parts of the case, mostly on the bottom. There is no intake fan. Good part is it never sucks any dust in. I haven't needed to clean it in about a year of use.
One of my other cases with 80mm fans in front of each two HDDs has them running at about 36C most of the time, so 40C may be reasonable.
The Gemini is probably overkill most times. I think it would also function better in a regular case with a bit more clearance above it. I have a 400W surround amp sitting on top of it, and that's part of the cooling problem. It runs cooler when sitting on the workbench.


 Quote
QuoteSimilar Threads
-
Do you have a htpc?
By yoda313 in forum PollsReplies: 26Last Post: 22nd Aug 2008, 22:16 -
XP on my HTPC is hosed, AGAIN!
By Xylob the Destroyer in forum ComputerReplies: 18Last Post: 18th Aug 2008, 17:26 -
To HTPC or Not to HTPC
By Bondiablo in forum Media Center PC / MediaCentersReplies: 8Last Post: 22nd Oct 2007, 05:50 -
Converting to an HTPC...
By hype88 in forum ComputerReplies: 3Last Post: 11th Sep 2007, 00:14 -
CPU-Z reading for Intel Allendale cpu
By budz in forum ComputerReplies: 11Last Post: 8th Jul 2007, 20:33