


User guides can include screen captures, but they’re required to be 30kbytes, or smaller. Here’s a simple to use (and free) utility that can shrink your images by reducing the color palette. (Probably not as simple as PSP, but it's free)
Required program – XnView from http://www.xnview.com/
1. Download and install XnView.
2. Capture images with your favorite capture utility. My utility captures BMP files, so I’ll assume all images are BMP’s from this point on.
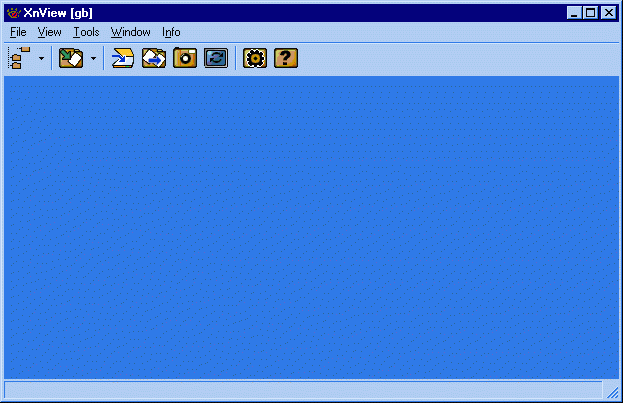
3. Start XnView
4. To load the desired screen shot, select:
4a. Select “File” / Click “Open” / navigate to the image / Select the image file / click open.
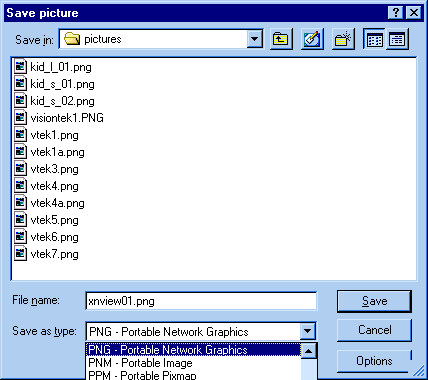
5. Save the file in the PNG format, by:
5a. Click “File” / Select “Save As” / Navigate to the desired directory / Enter the desired file name / click "Save".
6. Close the BMP version of the image (click the X to kill the image).
7. Open the PNG version of the image that you just saved (File / Open / etc).
8. Note the size of the file. Various pieces of information are displayed along the bottom of the display (file name, size in pixels, color depth, file size, zoom level).
9. Determine the number of unique colors used in your image.
9a. Select “Image”, then “Count Colors Used”.
10. Reduce the color depth by:
10a. Select “Image” / “Convert to Colors” / Select a color depth that is greater-than the “Count Colors Used” number, but less-than the existing color palette.
10b. The image shown here started as a 531kbyte BMP file, using the "True Color" palette. It's been changed to a "PNG" and reduced to a 256 color palette (most images I have experience with require more reduction, but still look fairly good)
11. Save the file / close the file / reopen the file to view its new size.
12. Continue to reduce the color palette until the file is smaller than 30kbytes.
13. Note – You may have to continue to reduce the palette to fewer colors in order to get the desired size. You can also try resizing the image, but it usually degrades the image considerably.
Try StreamFab Downloader and download from Netflix, Amazon, Youtube! Or Try DVDFab and copy Blu-rays! or rip iTunes movies!
+ Reply to Thread
Results 1 to 1 of 1
Thread
 Quote
QuoteSimilar Threads
-
Creating video from images WITH audio
By boyer in forum Video ConversionReplies: 13Last Post: 3rd Mar 2012, 02:01 -
Any guides on creating continuous bluray menu music?
By aciras in forum Authoring (Blu-ray)Replies: 0Last Post: 12th Oct 2011, 12:36 -
What is the best freeware player to play ISO images, mpeg, flv, etc
By avz10 in forum Software PlayingReplies: 0Last Post: 27th Jun 2010, 14:16 -
Proshow gold user looking for guides and tutorials
By rennie in forum Newbie / General discussionsReplies: 1Last Post: 13th Apr 2008, 03:54