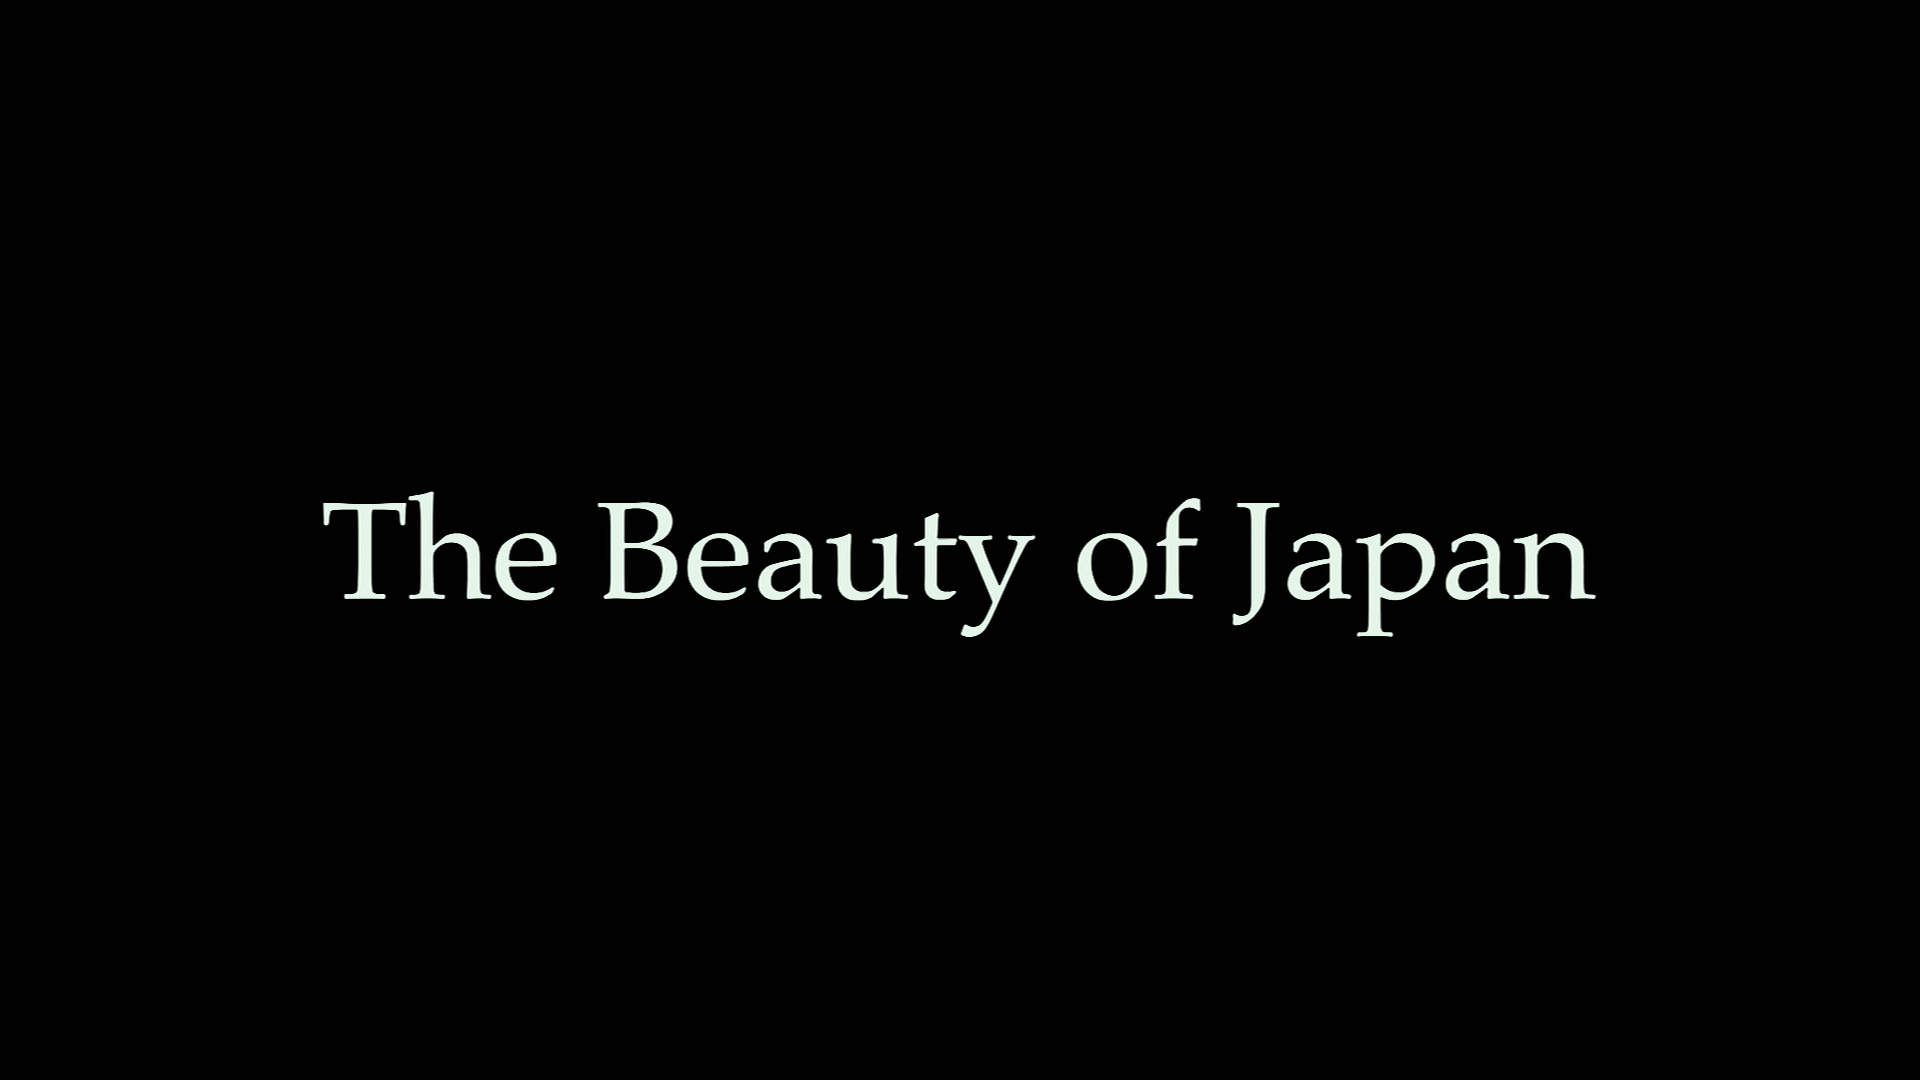
I was able to finally transfer my D-Theater tapes digitally, but I've noticed in my transfers that the whites are baby blue-ish and not white. I ran my D-VHS deck through a Samsung SIR-T165 via Firewire, then capped it in 1080i YUY2 through the Elgato Cam Link via DVI.
I'm using Avisynth+ and I've already got the contrast and the saturation down, I just need to fix the whites. I want it as close to the source as possible. I'd preferably want to be able to transfer the whole tape straight to my PC through Firewire so I wouldn't have to worry about all this but it's next to impossible because of copy protection
Code:SetFilterMTMode("DEFAULT_MT_MODE", 2) SetFilterMTMode("avisource", 2) SetFilterMTMode("audiodub",2) SetFilterMTMode("ffaudiosource",2) v = AVISource("F:\amarec\amarec(20210324-1922).avi", false, pixel_type="yuy2") a = ffaudiosource("D:\recordings\amarec(20210324-1922).wav") audiodub(v,a) delayaudio(-.100) assumetff() Trim(800, 59204) tweak(sat=1.15, cont=1.12) Prefetch(10)
I found another upload that's an alternate version and I want it to be as close to this as possible without screwing anything else up.
I don't want to do anything fancy like correct on a scene by scene basis, I just need to correct the whites. If anyone has any examples on how to fix it I'd appreciate it. I've tried some other plugins like CheapColorTemp, ColorYUV, and GamMac but I feel like I'm making it worse.
+ Reply to Thread
Results 1 to 11 of 11
-
-
I am not aware of any autowhite function that consistently can correct tint. I use the Color Corrector in Vegas Pro and use the eyedropper on the left side to sample a section that should be neutral. I do this for the shadows, the midtones, and the highlights. I save this as a preset. I then scrub through the scenes, and if my correction fails, I repeat the process, create another preset, and continue. Pretty soon all I have to do is apply one of the existing presets.
If you try to automate it, you will probably create as many problems as you solve. -
There are many ways to make that off-white text white. The problem is what happens to other colors. I need a sample with other colors and intensities in it. But here's one example:
And another:Code:ConvertToRGB() RGBAdjust(r=254.0/229.0, g=254.0/245.0, b=254.0/234.0) ConvertToYUY2()
Code:ColorYUV(gain_y=17, off_y=-2) # adjust levels bmask=ColorYUV(gain_y=20, off_y=-2) # an alpha mask based on brightness adjusted= ColorYUV(off_u=2, off_v=6) # shift U and V to purify whites (but discolors blacks) Overlay(last, adjusted, mask=bmask) # overlay adjusted colors over original colors via alpha mask #blacks are unchanged, whites are full changed, in between partially changed
-
According to Photoshop, your upper image leans slightly towards green.
Perhaps there's some more possibilities in Smoothadjust
http://avisynth.nl/index.php/SmoothAdjust -
That actually helped a lot!! Here's some more screenshots if you need it. Same script from the original post so no tint correction.
-edit 8:35 pm cst-
I've added that script to my other D-Theater transfers and it pretty much worked just as well!
Here's some comparison shots. This time I've done no saturation/contrast boost on the uncorrected image. The corrected images have slight saturation/contrast boost (since contrast is still quite low on the STB), albeit slightly modified to compensate for the RGBAdjust line, which is the same as what jagabo provided.
Last edited by ENunn; 26th Mar 2021 at 23:20.
-
Yes, the RGB adjust script looks to work well for your videos. The DTheater logo with the greyscale text ( and cyan background) shows good white balance over the full range of greys.
-
@jagabo: How did you find the parameters (denominators) for the RGBAdjust()? By picking the colors of the tinted text from the monitor with a color picker?
-
-
I'm finally able to let this rest as I found a setting that I'm happy with. I took a screenshot of a white text frame with no saturation or contrast boost and was able to pin point the lowest RGB value I was able to find. 201, 216, 206. Don't know why it was all over the place, I wonder if the tuner is introducing slight but not noticeable dithering?

So my final lines for the tint correction are
I went with 235 instead of 255 because the Cam Link is limited range only, and having it set to 255 clipped the whites (if I don't do contrast tweaking beforehand).Code:ConvertToRGB(interlaced=true) RGBAdjust(r=235.0/201.0, g=235.0/216.0, b=235.0/206.0) ConvertToYUY2(interlaced=true)
It's almost identical to the tweaked contrast line and code jagabo posted, and luckily I'll have one less step to deal with. I'll post some more comparison screenshots because why not :P
Thanks for the help everyone! -
Real video usually has a bit of noise. What I usually do is smooth it out with several blurs:
That way it's easier to get an average. I make the adjustments until I think it looks about right, then take out the blurs for a final test and the final product.Code:Blur(1.0).Blur(1.0).Blur(1.0).Blur(1.0)
Also note that is usually not that easy. There are often non-linearities and the three primaries are different. And sometimes you need to make fixes in YUV rather than RGB.
Similar Threads
-
Help: Intensity Pro 4k - Interlaced Source = Motion Artifacts
By videobackup in forum Capturing and VCRReplies: 10Last Post: 30th Mar 2020, 23:05 -
PAL interlaced DVD (Film source) Halo/Mosquito Noise
By camjac251 in forum RestorationReplies: 14Last Post: 5th Feb 2019, 19:29 -
Mixed progressive and interlaced source
By gamjerr in forum Video ConversionReplies: 2Last Post: 4th May 2018, 22:59 -
What is the proper way to deinterlace? Source: FPS is 29.970 interlaced.
By strawberryshortcake in forum RestorationReplies: 41Last Post: 1st May 2018, 11:49 -
Restoring resized interlaced videos
By Lirk in forum RestorationReplies: 10Last Post: 8th Jan 2018, 13:16


 Quote
Quote
