


1. Start
Launch Photo2DVD studio 3 http://www.photo-to-dvd.com.
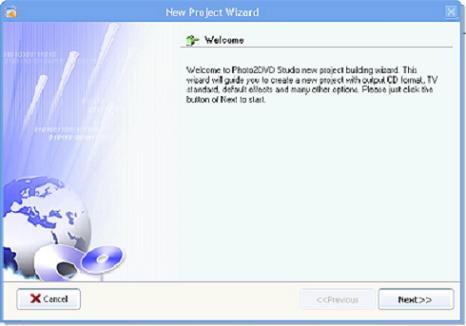
2. Set Preferences
When you first launch the program, you will see a “Welcome” window. Click the Next buttons to set preferences for your slideshow as you go. You can select an output format here.
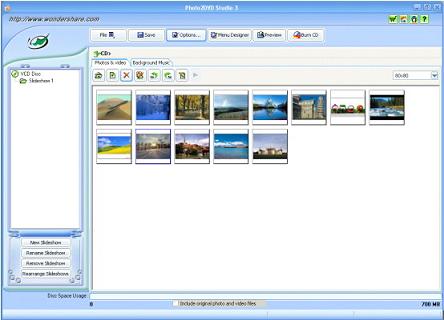
3. New Slideshow
After you close the “Welcome window”, the program will automatically create “Slideshow1” file in the left pane. If you want to create more slideshows, click the New Slideshow button on the lower left part of the window.
4. Import Photos and Video Clips
Click the Import photo & video files button under the Photos & Video button to add images and video clips from your hard drive to your slideshow. You can drag the thumbnail images to rearrange the order. You can also delete, rotate and edit the added files. Ken Burns effect to photos and transition effects are used to bring your photos and slideshows to life.
5. Add background music
Click the Background Music button and then click the Import audio files button to select audio files from your hard drive to add music to your slideshow.

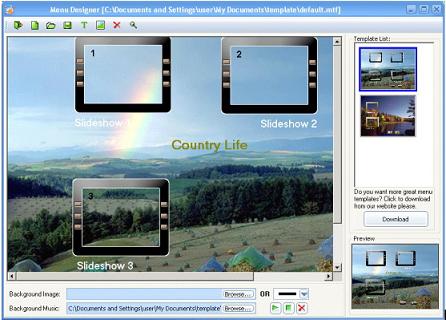
6. Select or Create a Menu Template
Click the Menu Designer button to select or create a menu template for your slideshow. You can add your own photos and texts to create a menu template of your own style.
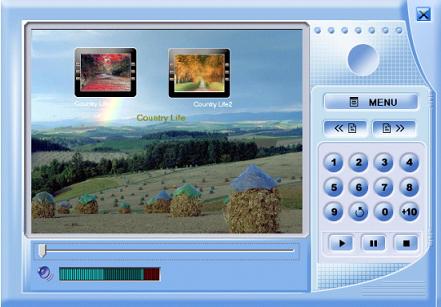
7. Preview Your Project
Click the Preview button to preview how your project will look like. You can use the buttons in the right pane of the window to navigate through the slideshow selection menus.
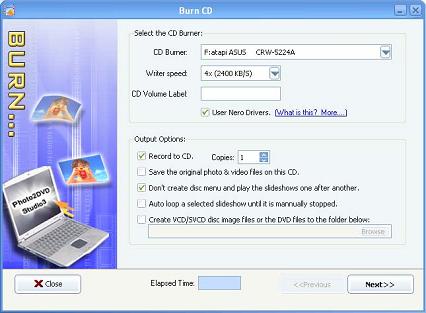
8. Burn CD
Click the Burn CD button on the main window to burn your slideshows. Choose your desired options and then start burning. You don’t need any additional tool to create DVDs using Photo2DVD Studio.
Now you can enjoy the professional slideshows you have created and share them with your friends and family.
Try StreamFab Downloader and download from Netflix, Amazon, Youtube! Or Try DVDFab and copy Blu-rays! or rip iTunes movies!
+ Reply to Thread
Results 1 to 1 of 1
Thread

 Quote
QuoteSimilar Threads
-
Attempting to create DVD from Sony Vegas Movie Studio 9 Platinum...
By Greg / MO in forum Authoring (DVD)Replies: 6Last Post: 7th Aug 2013, 12:37 -
Success (I Think) In Using Corel Video Studio Pro X3 to Create AVCHD DVD!
By bmccollum in forum Authoring (Blu-ray)Replies: 0Last Post: 22nd Oct 2010, 12:58 -
Unable to create DVD using Pinnacle Studio Ultimate 14
By avz10 in forum Newbie / General discussionsReplies: 0Last Post: 1st Mar 2010, 09:06 -
How to create DVD disk using Pinacle studio 12
By 1234567 in forum Newbie / General discussionsReplies: 4Last Post: 30th Oct 2009, 11:32 -
create menu for DVDs usin photo shop
By hellbound in forum Authoring (DVD)Replies: 6Last Post: 4th Jul 2008, 04:34