


SHRINK (TRANSCODE) MPEG-2 FILES USING REJIG
Introduction
This guide walks you through the steps required to shrink (a.k.a. transcode) an MPEG-2 file using Rejig. This method is an alternative to authoring your DVD then using DVDShrink, DVD2One or any other DVD-transcoding application. You can find Rejig in the Tools section to your left, or just click here. The output of this guide is an M2V file and an audio file, ready to feed into your authoring software. If you plan to keep this file solely for playback on your computer, you can multiplex the files together using TMPGEnc > MPEG Tools > Simple Multiplex, or any other tool that can multiplex.
Anyway .... on with the guide !
Open File
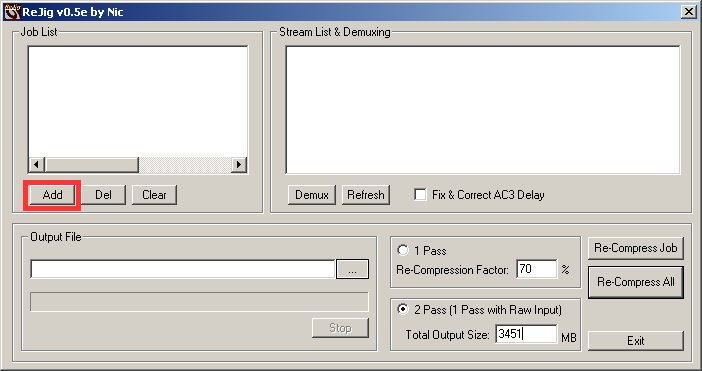
Open Rejig. Press the File Mode button:
Press the Add button:
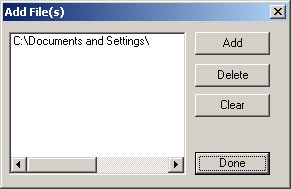
Navigate to your MPEG2 file and press the Open button:
Press the Done button:
Demux Audio
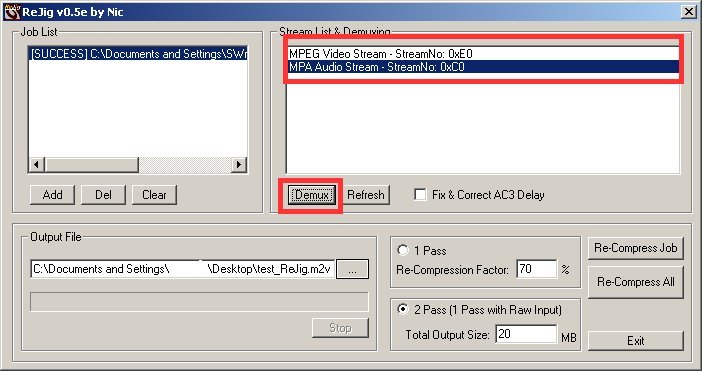
Select your audio stream and press the Demux button (your audio stream will be the stream that says "Audio Stream" on the end of it):
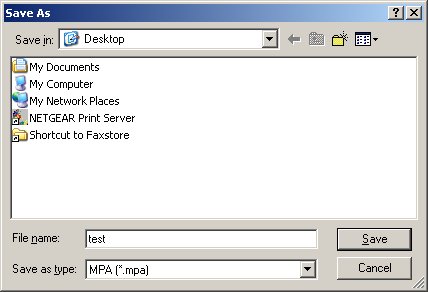
Navigate to where you want to save the demuxed Audio file on your hard drive, give it a filename and press the Save button:
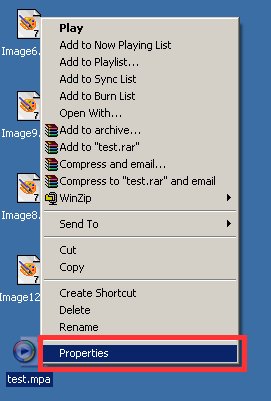
Use Windows Explorer or My Computer to navigate to where you saved the Audio file, Right-click on it and go to Properties:
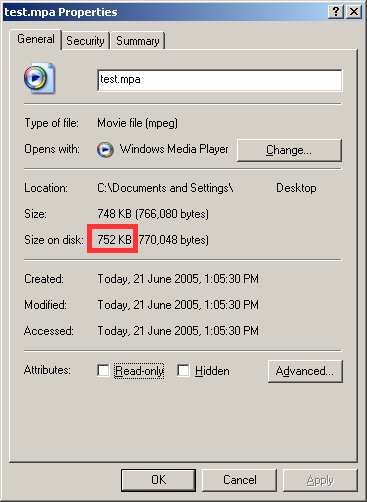
Take note of the size of the file (in MB):
Note: "Typical" size for a 90 minute film is roughly 130MB if @ 192kbps MP2/AC3, 300MB if @448kbps MP2/AC3 or 1000MB if @1536kbps (as PCM WAV audio generally is).
Transcode Video
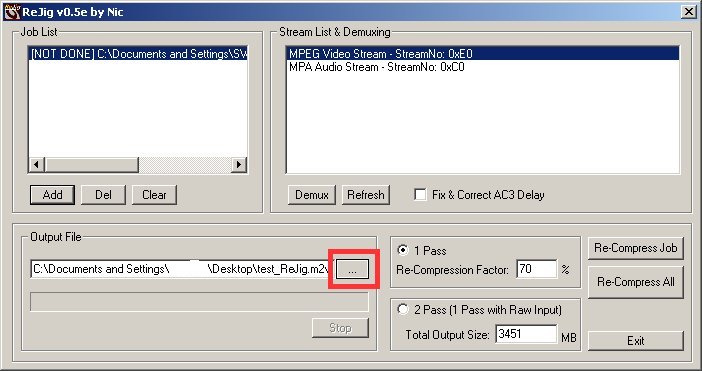
Now press the ... button:
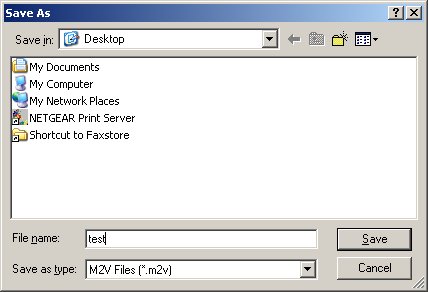
Navigate to where you want to save the transcoded Video file on your hard drive, give it a filename and press the Save button:
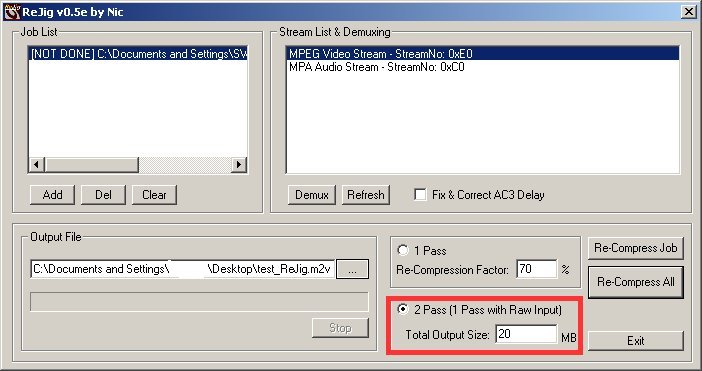
Select 2-Pass (1 Pass with RAW Input) and enter your desired output size:
Note: If you're transcoding this file to fill up one SL DVDR, I'd suggest using a figure of (4300 minus your audio file size). For DL DVDRs, use a figure of (8100 minus your audio file size). These figures should provide plenty of room for some simple menus, chapters etc when authoring. If you want to hit a specific size of your own choosing then feel free to do so, and just subtract the size of the audio file from the size you want to hit in the end and then use this remainder as your desired output size in Rejig.
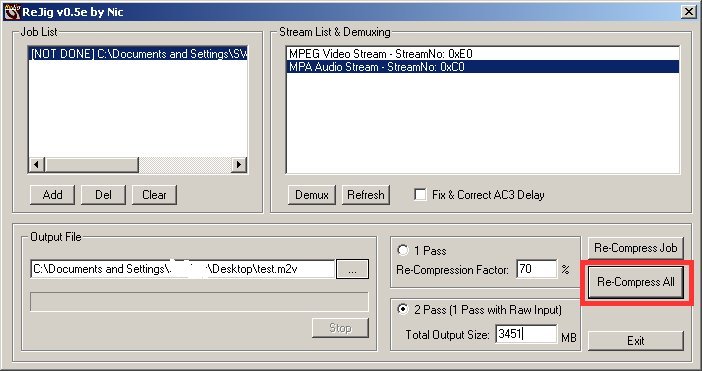
Now press the Re-compress All button:
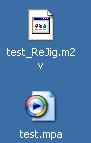
Navigate to where you saved your demuxed audio file and your transcoded video file, and you should see the following:
What to do next ...
Now you should have a M2V file and an audio file - either a MPA (which is exactly the same as a MP2 file, and you may need to rename the .MPA extension to .MP2 for some authoring or multiplexing apps to see it), AC3 or WAV file, depending on the type of audio your orignal MPEG-2 file had. All you need to do is import them into your favorite authoring software if you're outputting to DVDR, or multiplex the files together if you only want PC playback.
Batch Processing
As you may have noticed, Rejig also has batch functionality for transcoding so if you want to do multiple files, where I say to click the Done button (4th image from the top), just press the Add button, and go through the process of adding your 2nd (and subsequent) MPEG-2 files. Then once you're finished, click the Done button. You should find multiple entries in the Job List window, and you'll need to seperately configure each file's settings by selecting it in the Job List, then altering the settings, output directory, etc etc to whatever you want them to be. Once all settings are set to your liking, then press the Re-compress All button to start processing. Please note that you will have to demux each audio file separately - the batch function will only do the transcoding of the video file. Just work your way through your source files in the job list, then follow the instructions for demuxing audio for each file in turn.
Problems
If there's any terms in this guide that you do not understand, try the Videohelp.com Glossary.
+ Reply to Thread
Results 1 to 7 of 7
-
If in doubt, Google it.
-
Hi and thank you for your guide, I really am "thre new kid on the block" with this stuff - I found the majority of your instructions with rejig logical to follow - but I still cannot figure how to get the audio file (test.mpa) back into the finished product, I ended up with a satisfactory DVD, (video only)... would appreciate any suggestions.
-
He's saying that your DVD Authoring program have to be able to accept 2 separate files for audio and video. If your authoring program only accepts a single file (i.e. MPEG system file) then you need to use a MPEG Muxer to mux them together first.
-
-
From up the top ^:Originally Posted by ronnylov
I created this guide because it could be done this way, and so many people were asking about transcoding MPEG-2 files directly.
Personally I prefer to encode my MPEG-2 files properly, first time, without requiring any transcoding.If in doubt, Google it. -
I do DVB captures of digital TV which means I can't help how the files are encoded because I capture what is broadcasted. So I do use this method sometimes when recording longer than fits on one disc. It's about equal job to transcode before or after the DVD authoring. It's good to have choices of course.
-
Thanks Jim,
I'll give this a go
it is good to have choices


 Quote
Quote
Similar Threads
-
MPEG Streamclip to join files but not transcode?
By Corbey in forum Video ConversionReplies: 2Last Post: 12th Apr 2013, 12:18 -
multiAVCHD will not show files in transcode preview that it did previously
By Onceler2 in forum Authoring (Blu-ray)Replies: 9Last Post: 6th Oct 2011, 21:20 -
How do i use rejig?
By snafubaby in forum Capturing and VCRReplies: 6Last Post: 23rd Aug 2010, 02:42 -
MPEG II to MPEG (DVD): Transcode or reencode?
By Jeroen1000 in forum Video ConversionReplies: 8Last Post: 12th Feb 2009, 17:44 -
how to transcode video files into another MPEG format
By dzachau in forum Newbie / General discussionsReplies: 4Last Post: 3rd Jan 2008, 15:49