


source
How to edit video files with subtitles by SolveigMM Video Splitter
This guideline intended to help you understand how to easily save media file with subtitles using lossless video editor SolveigMM Video Splittter.
With version 5 Video Splitter allows saving multiple external and embegged subtitles from various file formats and save several audio tracks from video files.
The supported embedded subtitle formats are UTF8, ASS, SSA, GAB2 for AVI, MKV and WEBM files. External supported subtitle formats are ASS, SRT for AVI, MKV, WEBM, MP4 files.
Video Splitter allows to save all subtitle streams contained in the file or only selected streams, the same is for audio tracks.
Just follow these simple steps to find out how to easily save all or only selected subtitle streams for MKV file.
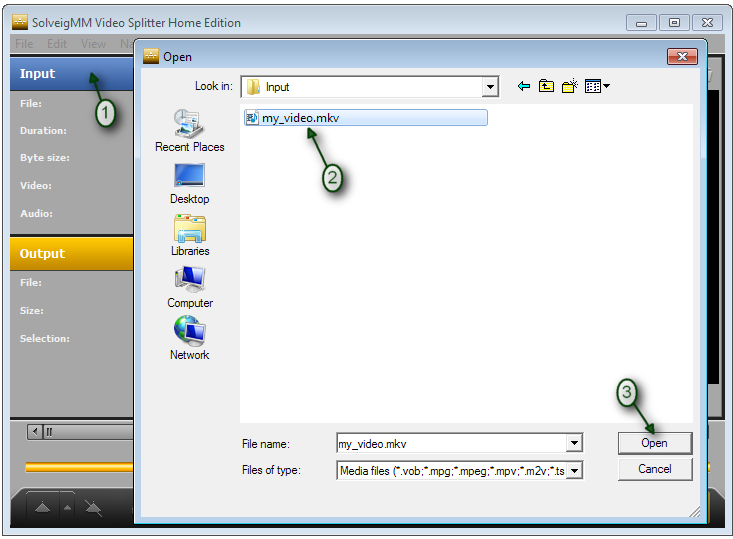
1. Open the file containing subtitles in Video Splitter. Possibly such file also has several audio tracks. Use "Input" button on the left side or move the file to Video Splitter main window using drag & drop or use the File -> Open Media File... menu item.
2. After opening the file the "Please select streams for preview & trimming" window will appear.
You can set the desired subtitle tracks for preview and editing here. The icon with an eye indicates the stream chosen for preview. The scissors icon next to the enabled icon indicates that this track is selected for editing and will be contained in the output video file.
By default Video Splitter selects all subtitle tracks for editing. If you want to save only one subtitle track out of several, disable all other tracks by clicking the scissors buttonto disable them
If you want to set another track for preview, set that track by clicking the inactive icon with the picture of an eye () to enable it (
).
In our example we save all subtitle tracks from the video file (all scissors enabled) and preview the first ASS subtitle track in English (eye enabled).
3. Click the "OK" button in the "Please select streams for preview & trimming" window.
The file will be opened in Video Splitter.
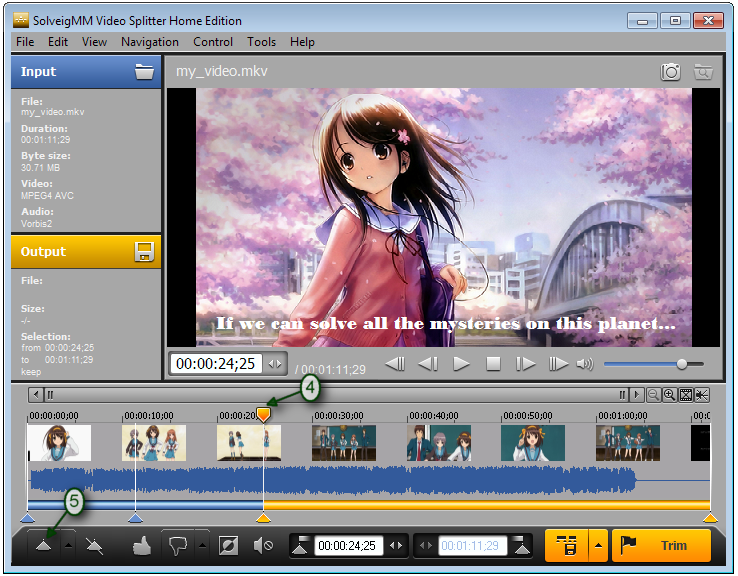
4. Now select fragments you want to be save to the output video file.
Use Video Splitter sliderand the marker button (
) to set time positions for fragments you would like to be saved.
Set the first marker to indicate the beginning of the fragment and then set the second marker to the right of the first marker to select the end of the fragment.
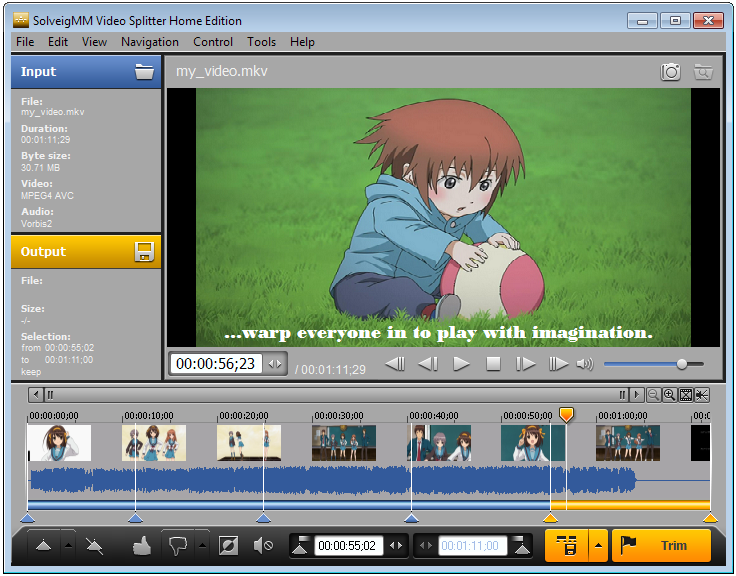
5. In the same way select start and end time positions of other fragments that you want to keep. You should get this view of the timeline (or similar, of course).
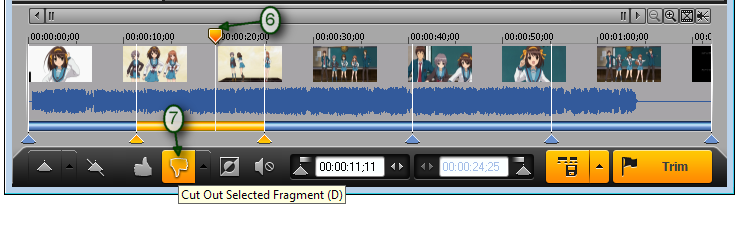
6. Select fagment you want to be delete by moving the Video Splitter slider. The fragments color will be changed to orange.
Click the "Cut out the selected fragment" button. The color of fragment will be changed to grey.
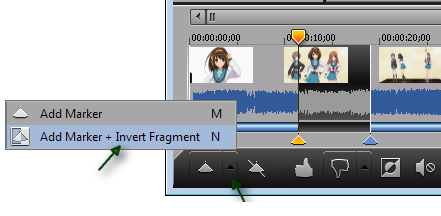
Note: Since version 5 of Video Splitter, new useful buttons were added that make the video even more convenient. They are "Add marker + Invert fragment" and "Cut Out Previous Fragment".
"Add Marker + Invert fragment" button () allows to set the marker on the timeline and invert the fragment that is right to this marker.
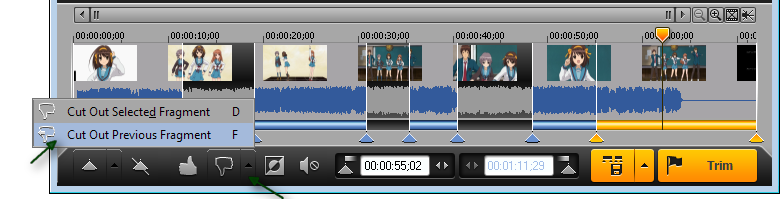
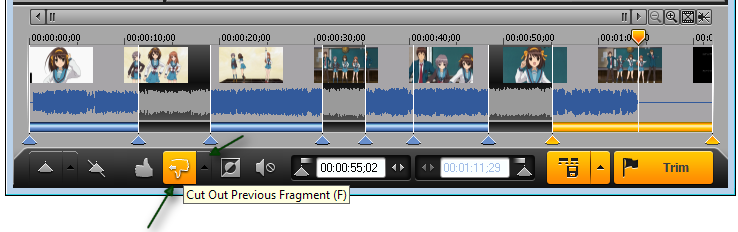
"Cut Out Previous Fragment" button () works like this: the fragment left to the selected fragement will be set to be cut out if you press this button.
After pressing this button, the timeline will look like this.
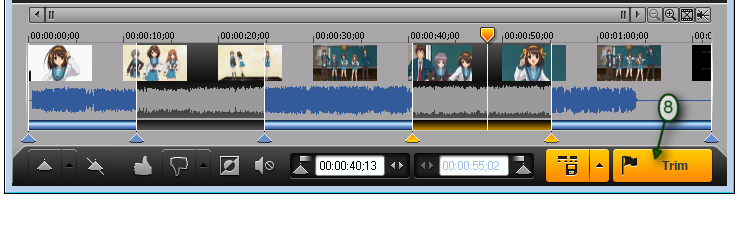
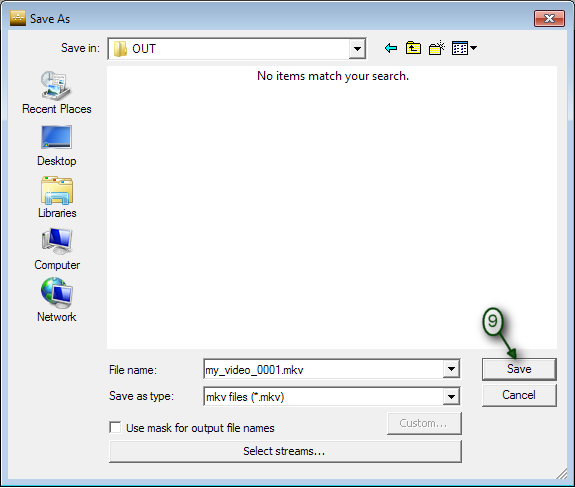
7. Now press the "Trim" button to start the actual editing process.
The Save as… dialog box will open. Now select a folder for saving and set the name of the output file.
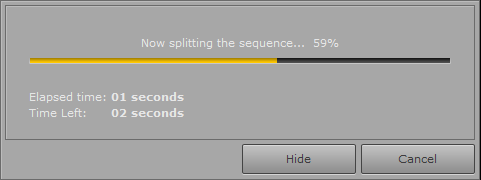
The editing will be started. You will see the appropriate window that shows the progress of it.
After the process is finished you will have a video file that contains all fragments you have selected, with all subtitle tracks the original video file contained.
That's all! Have fun with your editing projects and thank you for reading!
Try StreamFab Downloader and download from Netflix, Amazon, Youtube! Or Try DVDFab and copy Blu-rays! or rip iTunes movies!
+ Reply to Thread
Results 1 to 1 of 1
Thread
-
Member
- Mar 2006
- Russian Federation


Regards,
Dmitry | SolveigMM | Smart Video Editing (H624/MPEG-2/...)


 Quote
QuoteSimilar Threads
-
SolveigMM Video Splitter 5 release with subtitles and multiple audio
By DmitryV in forum Latest Video NewsReplies: 0Last Post: 22nd Mar 2015, 04:06 -
SolveigMM Video Splitter: frame accuracy not possible
By Freodon in forum EditingReplies: 3Last Post: 24th Jun 2014, 09:32 -
Need help on smart rendering in Solveigmm Video Splitter
By seymoria in forum EditingReplies: 3Last Post: 10th Feb 2014, 17:14 -
SolveigMM Video Splitter 4 release with FLV support
By DmitryV in forum Latest Video NewsReplies: 0Last Post: 31st Jan 2014, 10:50 -
Restoring sound to SolveigMM Video Splitter please?
By MarcMiller in forum Newbie / General discussionsReplies: 5Last Post: 17th May 2013, 13:11