


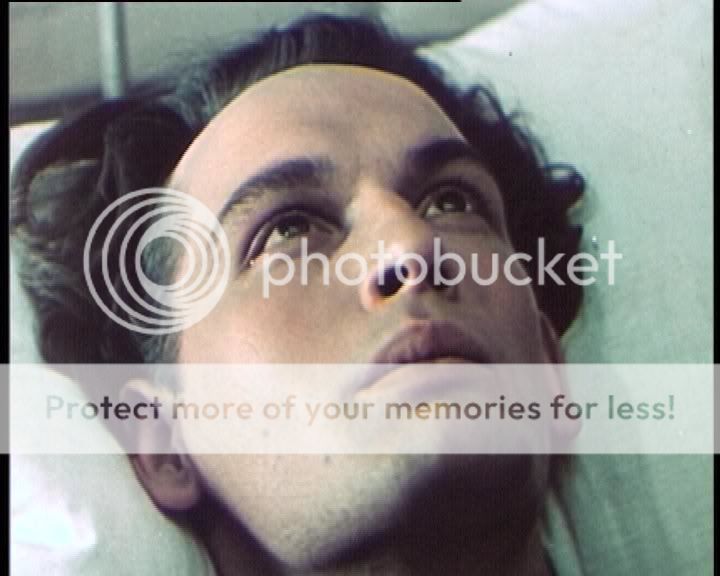
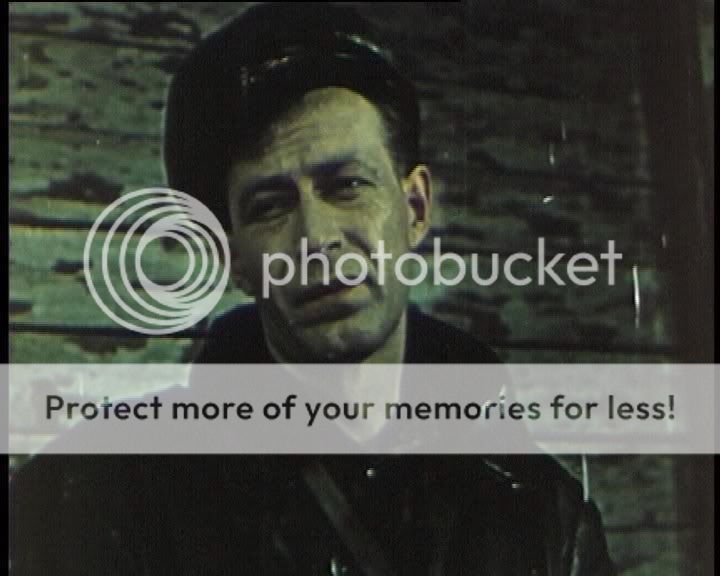
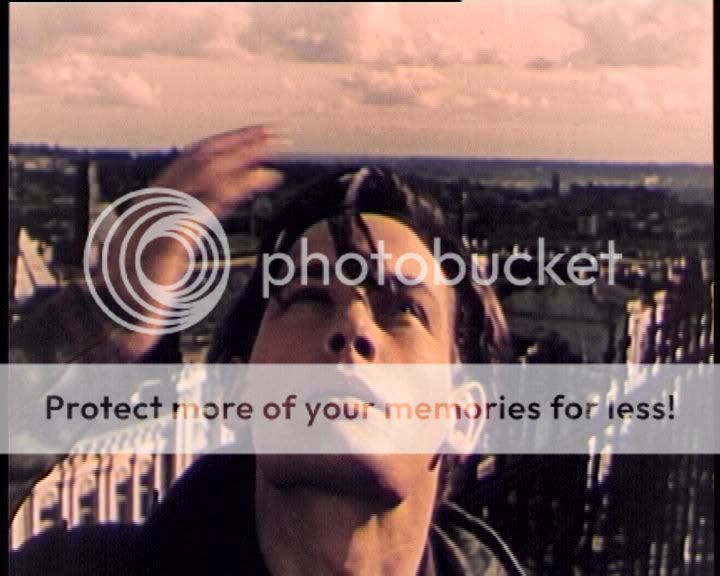
Attached a clip.
I would mainly like to sharpen the picture and remove some of the old film "noise" if possible.
I already tried the method on doom9, but my computer couldn't handle it, and I don't think it was the right tool for the job.
Could somebody recommend some Avisynth filters (I am using the version 2.5.8 RC5) and settings that would help to achieve the above goals?
Thanks!
Chipsndukes
sample.demuxed.zip
Try StreamFab Downloader and download from Netflix, Amazon, Youtube! Or Try DVDFab and copy Blu-rays! or rip iTunes movies!
+ Reply to Thread
Results 1 to 30 of 39
Thread
-
-
Can't come up with detailed settings off the bat, chips, but the Avisynth plugin you might be referring to is likely RemoveDirt at http://www.removedirt.de.tf/ . Using it is rather tricky, since it also must be run with RemoveGrain from the same website; documentation on RemoveGrain can be viewed if you go to the removedirt link and click on the link for "RemoveGrain" in the 2nd or 3rd paragraph. RemoveDirt is a temporal (time-based) filter, RemoveGrain is spatial (frame based).Originally Posted by chipsndukes
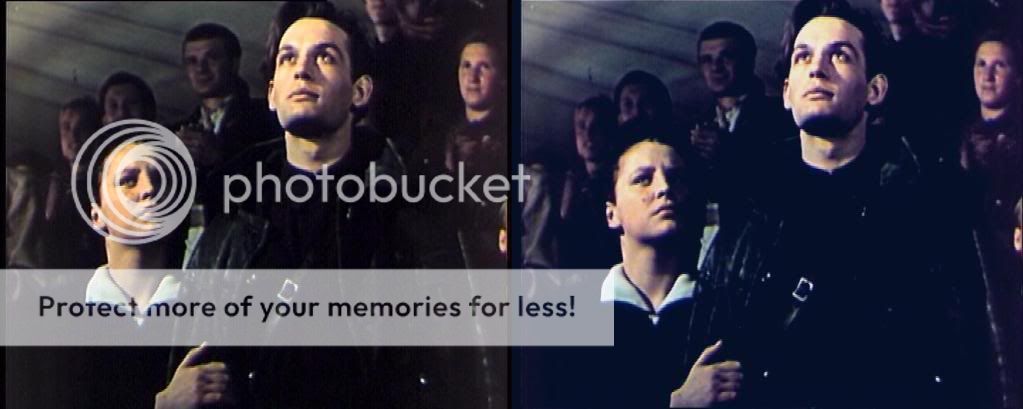
Some info about the source of the M2V clip might be helpful to those who encounter this post. Frankly, I don't see much "grain" in the clip you submitted, at least none that couldn't be removed with VirtualDub's temporal smoother. The real problem is film discoloration, most of it in the Blue layer, and some messy digital compression artifacts. Once this sort of damage and block noise gets into a compressed video, it's extremely difficult to eliminate. Removing the Blue contamination will also remove a lot of blue from the film, so color correction follow-up will definitely be needed (as it is, the clip viewed in VirtualDub looks too green). I spent about an hour playing with this clip tonight with NeatVideo (which removed most of the blue block noise but took a whole lotta detail with it and left subtle gray "blobs" where the blue noise used to be! ) . I've no doubt something similar will happen under Avisynth. My experience with AviSynth is that many of its filters either just don't work or can sometimes do more harm, than good (Are we just not being overly optimistic here, or what?). At this late-nite point my eyes likely won't stay open much longer -- just reading about AviSynth for any length of time is enough to wear you down. I remember experimenting with RemoveDirt a couple years back; it didn't meet my expectations, but many others swear by it. Worth a try.
Last edited by sanlyn; 20th Mar 2014 at 10:55.
-
I'm very fond of MC_Spuds()... maybe something like MC_Spuds(frames=3, strength=5). I find it extremely effective for denoise & sharpen without losing detail.
-
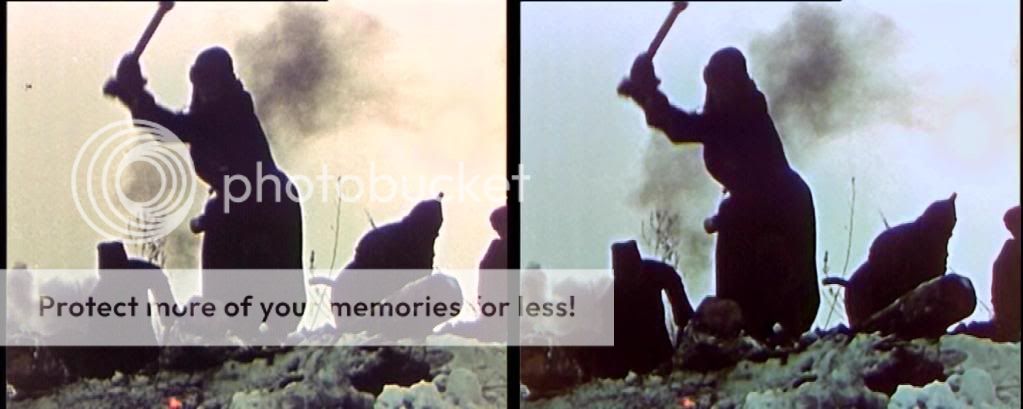
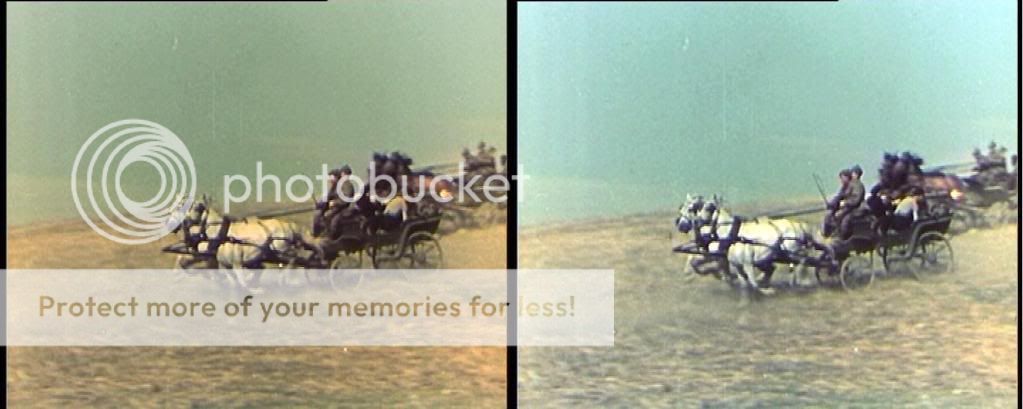
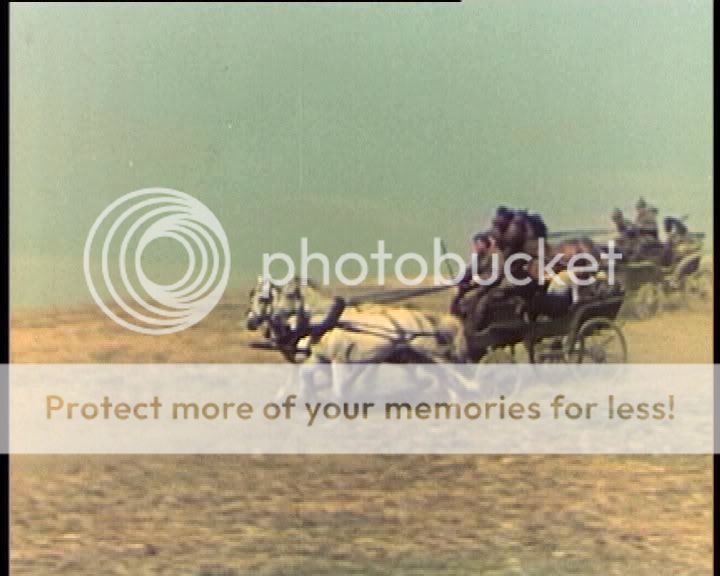
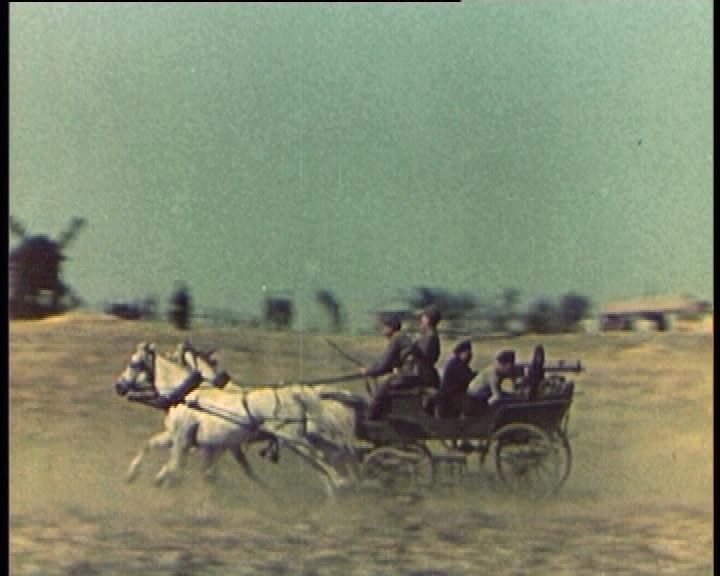
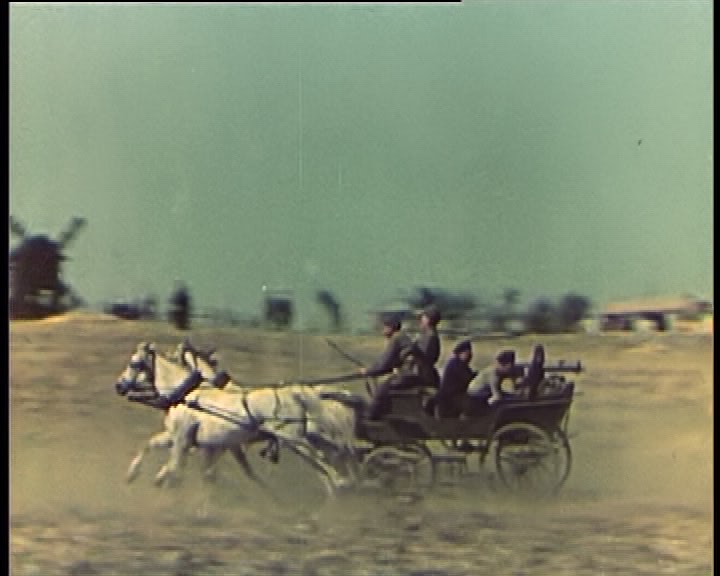
I can't do white balance in YUV so I converted to RGB. Assuming the horses were white:
before and after:Code:ColorYUV(src, off_y=-16) ConvertToRGB() RgbAdjust(r=0.54, g=0.65, rg=1.29, gg=1.21) ConvertToYV12() ColorYUV(gain_y=100, gamma_y=-50) Tweak(sat=1.8)
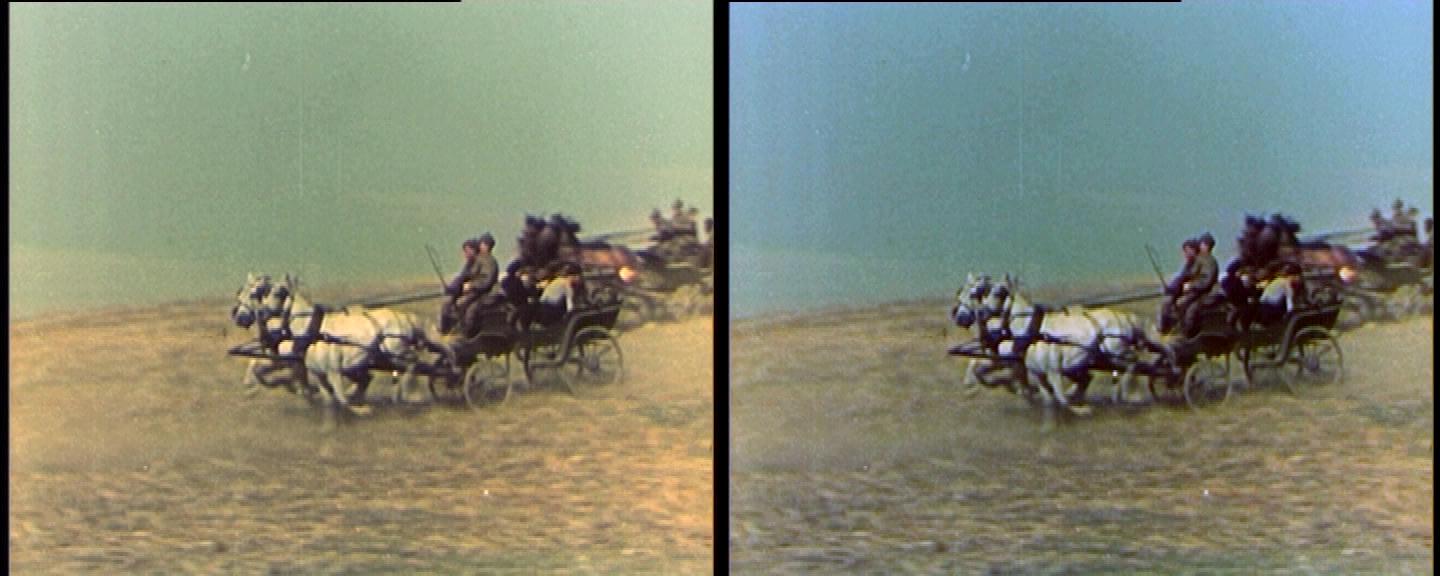
It doesn't look as good in the other shots though. You'll need to make further adjustments based on a variety of scenes.
I agree with sanlyn, the noise is going to be impossible to fix without destroying real details in the picture. -
Some of the discoloration seen mostly in clear areas every 4 or 5 frames appears to be a combination of digital artifacts and physical damage to the original source. One problem with this kind of distortion is that to most filters it doesn't look like "noise", because in many respects it really isn't noise, it's what the source really "looks like". I also have VHS tapes of some early 1990's cable broadcasts in which similar noise was present in the original cable signal, likely because the broadcaster's source was corrupt to begin with.
You could first run a few filters to eliminate as much of the "real" random junk (grain, and most of the white or black speckles) as possible. This might not eliminate every critter, but in most cases the video will look cleaner most of the time. But the physical damage, well...that's a real chore. In pro shops they break the worst damage into frames and paste clean patches "borrowed" from previous and succeeding frames.
I'd do as much cleaning as possible before trying to correct the color. Many nosie filters will affect the color balance one way or another. Avoid repeated changes in color space; choose a color space to work in and stay there until your final stages.Last edited by sanlyn; 20th Mar 2014 at 10:55.
-
Its always a good idea to mention the origin of the source: commercial dvd or home capture or other means. The reason is that this helps us to understand the nature of the video and what can/might be accomplished with the source you have to work with.
Is this a PAL source of NTSC source ? I was just asking in case there is another area of concirn, pal->ntsc and vise versa, if there are sections in that video source, it might be better to work that part out first--get it to a clean consistant framefrate and then perform any necessary restoration work. Its just that this might look like a documentary and may have a mixture of region content plus framerate conversion as well. Also, if the source is full progressive throughout the whole source, that will may restoration work that much easier and quicker. Anyway.
Anytime a video is slated for some aspect of "restoration" work, no matter how great or small or little, it is imperitive to obtain the video in its raw-est form: usually in a yuv colorspace or a lossless codec--ie, huffy or lagarith. Or, if HDD's space is not the issue, then a raw avi in YUV 422 colorspace. Obtaining (capturing) a video in the raw-est form will give maximum impact in the restoration work.
The posted demo clip was an .m2v (mpeg) clip. And the clip had a lot of pixelation. In fact, the whole clip had nothing but Pixelation which does add to the interferences of the restoration process in many respects--ie, the grain does not line up (in various areas) in the 8x8 to 8x8 blocks--they [8x8] should flow floothly from block to block. And when you have this in every frames, the grounularity is not so good. For instance, the grain from a Pic A to Pic B should flow evenly--through out the video.
As for the clip and grain: I would keep the grain (whatever master source you obtain in your possion) and concentrate of other aspects of noticable issues, such as color restoration for instance..as was already suggested by other here.
The issue with the color levels is a horrible one. It shifts from one level to another in various scenes. If you feel the clip is worth the minute fixes, the work would envolve hunting down and noting each scene with these issues and then later, break them up into segments to work on indivually through the avenue of avisynth scripting. The reason for this is because (in your clip) there will be some scenes (segments) that have varying degree of dark-to-light levels and that may require adjustments to parameter values for each segment. I'm not sure of the exact proper way to script segmented videos because I have found that there are possible issues with this such as instaniation (when calling many plugin functions in each trim, I think) and whatnot. But the bare bones would go something like this:
clip01=trim(0,100).darken(parm)
clip02=trim(101,1000).brighten(param)
clip03=trim(1001,1200).darken(param)
clip04=trim(1201,2000).brighten(param)
clip01++clip02++clip03++clip04
return last
* of course, you would ignore the darken() and brighten() and use the actual plugins for that work.
-vhelp 5165 -
I agree. But I don't grok how to get the color changes I want in YUV. I was just giving the OP some idea what could be done.Originally Posted by sanlyn
-
Hello Gentlemen,
Thank you very much for your help!
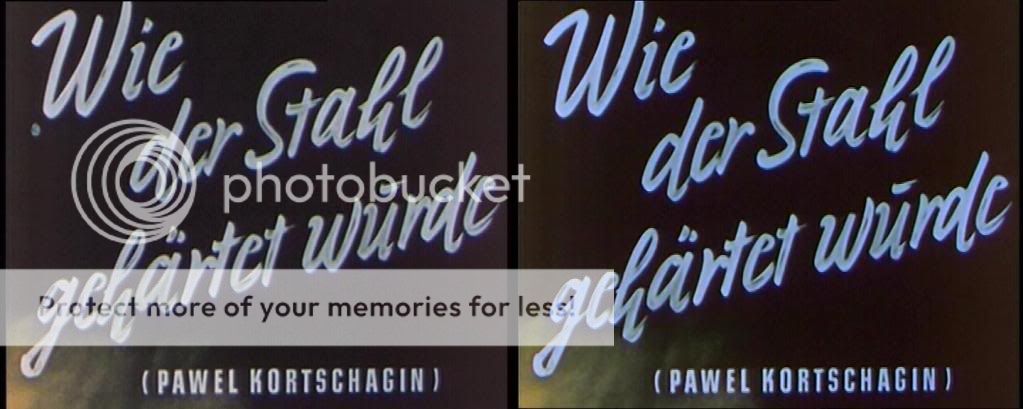
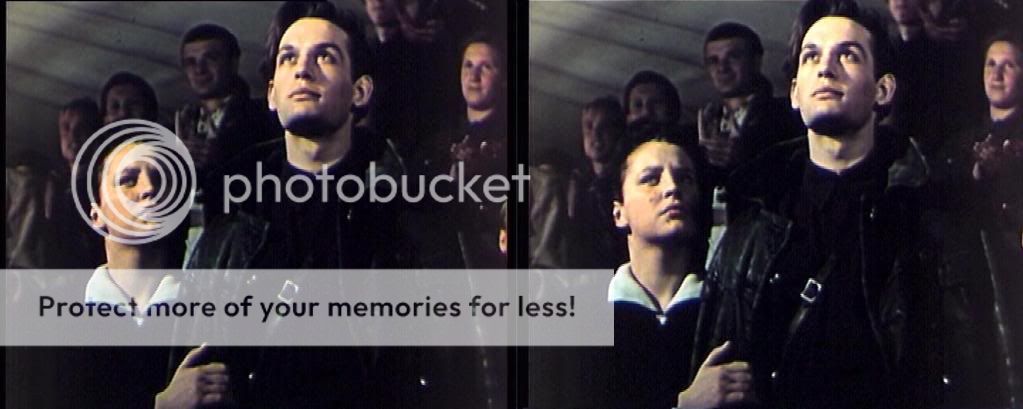
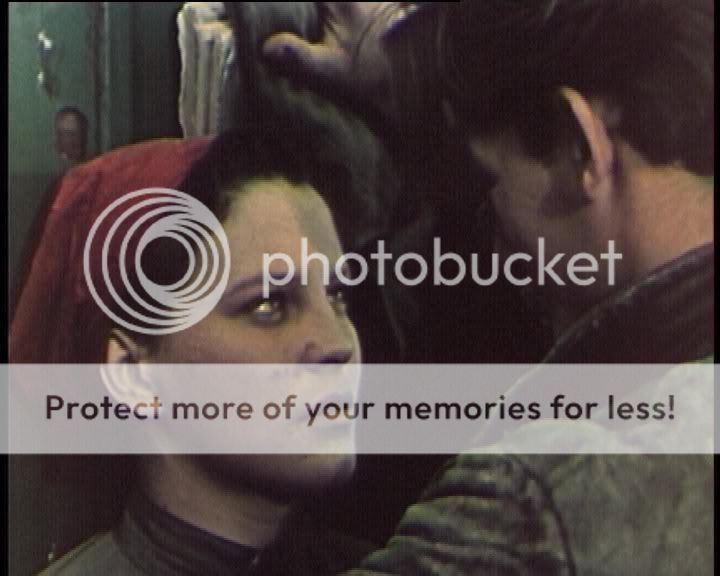
The source is a commercial DVD, progressive, PAL (picture attached). It was a Soviet-made film dubbed by the East Germans. I apologize for not providing this information.
Sanlyn, thank you all your efforts, I really do appreciate it. From what you posted, I think any really good result (given the time I am willing to invest) is probably not feasible. I appreciate you opening my eyes to this. I did add the RemoveDirt() function to my script and was very impressed with the results, thanks again for your help!
Jagobo, thank you for bringing up the issue of color. I did not mention before that the film was to be converted into black and white, NTSC. But your "magic" convinced me otherwise. I tried to duplicate your settings with other functions, but could not. I was very impressed, and copied them into my script with minimal modifications.
Hi ZQX, thank you very much. My computer couldn't handle MCSpuds(), it was similar to the situation with the doom9 post. Not your fault.
Hello vhelp! Thank you for the information regarding what would really be necessary to make this restoration right. I honestly didn't know what I was getting into. I suppose that, if it were clear the source was a commercial-DVD that would have helped. That limits the possibilities, correct ? 
Here is the current script. It includes MSharpen, RemoveDirt, jagobo's color changes and the conversion to NTSC:
Import("RemoveDirt.avs")
LoadPlugin("DGDecode.dll")
MPEG2Source("F:\SOURCE.d2v")
AssumeFPS(24000, 1001)
BilinearResize(720, 480)
MSharpen()
RemoveDirt()
ColorYUV(off_y=-12)
ConvertToRGB()
RGBAdjust(r=0.54, g=0.65, b=0.86, rg=1.29, gg=1.21)
ConvertToYV12()
ColorYUV(gain_y=100, gamma_y=-25)
Tweak(sat=1.75)
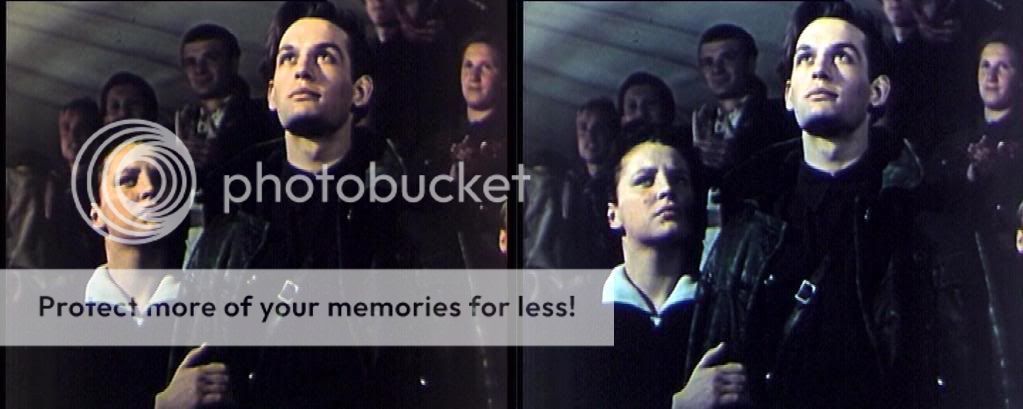
Here are the results:
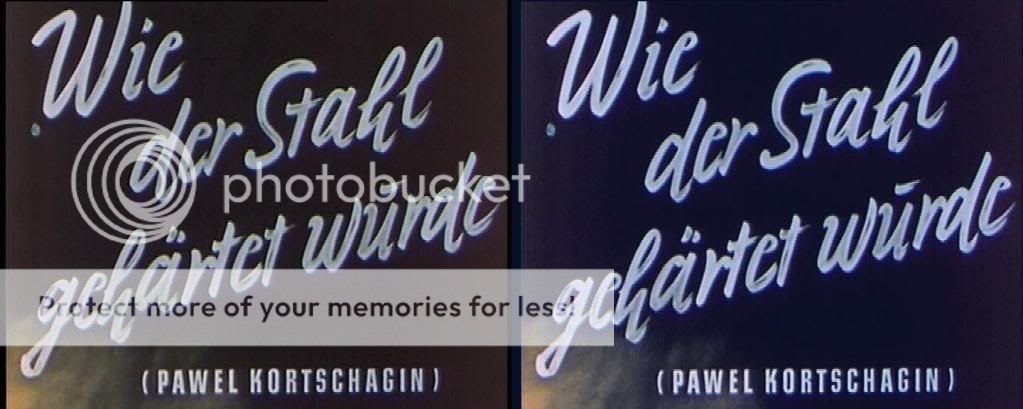
I am happy with it like this, but what do you all thinK ?
Chipsndukes
wdsgw.png -
Here is the encoded result, attached.
Thanks!
Chipsndukes
sample.demuxed.new.zip -
Good work, chips! Ya got more patience that I have at the moment, as I'm REALLY bogged down with a VHS restoral that makes your Russian film look like BluRay (looks like an interesting flick tho). Thought I'd add:Originally Posted by chipsndukes
Convert to RGB24 instad of RGB32 (isn't '24' the default? The extra bits for transparency in RGB32 are ignored). Makes a smaller file.
I used NeatVideo on the blocky "grime" in your first sample (white horses/clear sky background). Got rid of almost all of it except the very worst physical signs but the "grit" and "mosquitos" disappeared. I set NeatVideo's "Y" and high-freq filters to
about 50% power to help preserve finer detail and native film grain. All that was left were some fainter "wrinkle lines" that looked like film or tape damage, but could easily be the remnants of poor film transfer).
Color was tricky. Darks were red, brights were too cyan (in most scenes). I played with VirtualDub's gradation curve filter and was just getting somewhere when it kinda wore me out. Think I'll keep your samples around and try a few more tricks later, after I recover from my current VHS disaster.Last edited by sanlyn; 20th Mar 2014 at 10:55.
-
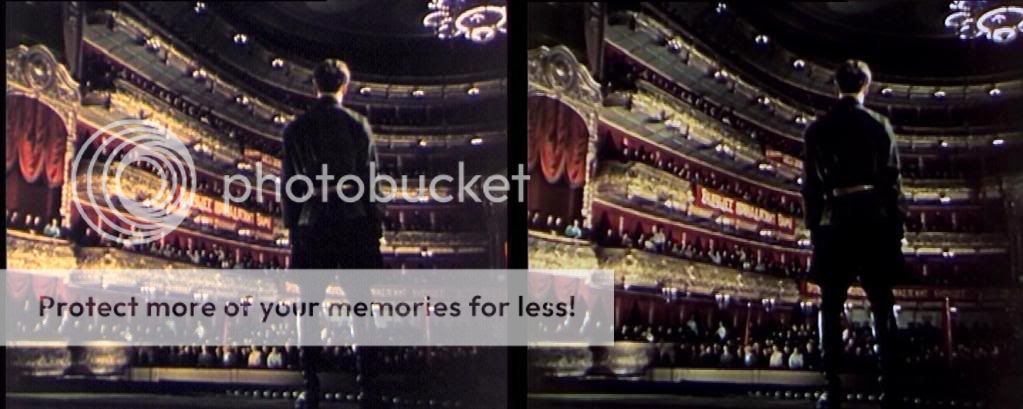
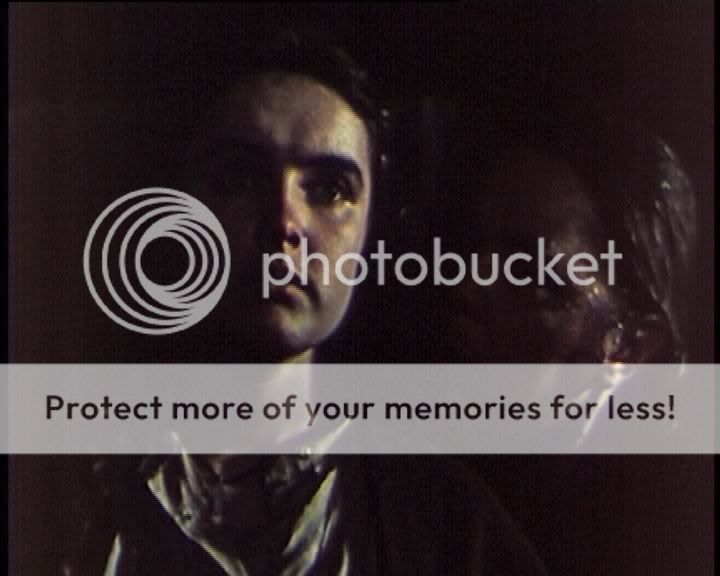
I think there's a little too much green after color correction. There's also a bad halo on the last silhouette shot.
-
Hi sanlyn,Originally Posted by sanlyn
Thanks for working on this and helping me out, I appreciate it.
The NeatVideo filter looks like a very good solution. I downloaded it, but it is restricted to 30 mins, 640x480 res. and a watermark. Is there a "free-free" version ?
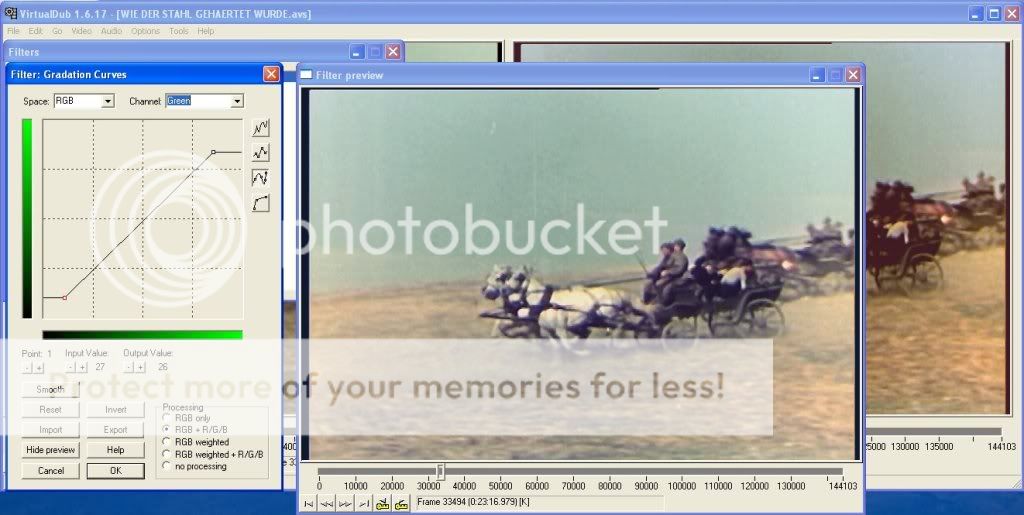
The gradiation curve filter for VirtualDub looks pretty good. I played with it for a while, too, but somehow couldn't find the perfect settings.
It looks like frameserving with VirtualDub is not too difficult, though...
Thanks jagabo,Originally Posted by jagabo
Do you think the sharpening is causing the halo ?
Thanks Gentlemen!
Chipsndukes -
No, the halo is there even before your sharpening.Originally Posted by chipsndukes
For Gradation Curves try this: find a shot with something large that you know should be white. Make sure it is lit in such a way that some of it is bright white, some medium grays, and some in dark shadows. It will help if there are other things in the image that have somewhat known colors -- skin tones, blue skies, green grass, whatever. Since you source is noisy apply big temporal and blur filters (to reduce pixel-to-pixel and frame-to-frame variation). Export the blurry output frame to an image editor. Note the RGB values in several of the white/gray areas. Use those to construct the graphs in Gradient Curves. For example, say a gray pixel has the R,G,B values 145,128,102. In the red graph of Gradient curves add a point in the red graph at 148 input and make it 128 output. In the blue graph add a point at 102 input and make it 128 output. Repeat that for each of your samples. -
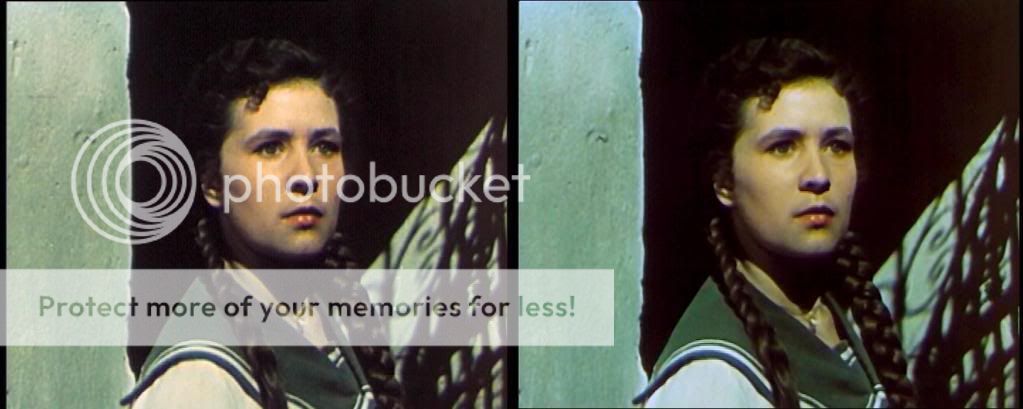
It looks to me like you've removed real shadow information on this one...
http://i183.photobucket.com/albums/x168/chipsndukes/comparo3.jpg
...that's called black crushing, and you shouldn't do it!
Cheers,
David. -
Yes. I think what's happened here is he started with my script which was based on short sample where the black level was too high. I used ColorYUV(off_y=-16) to compensate. But in that shot the black level was ok to start with. So the y adjustment ended up crushing the blacks.Originally Posted by 2Bdecided
-
Sorry, no free-free NeatVideo. Considering what it can do I'm happy I spent $50 for my copy -- in fact, I bought 3 copies, with a nice discount on each. NeatVideo and the gradation curve require some learning and working thru the documentation, but today I can't live without 'em for VHS work. As for color space: NV expects RGB but internally uses its own YUV space that doesn't seem to hurt anything (a miracle in itself). Especially with NV, the default settings are mighty strong, you have to adjust the noise/filtration levels but their preview window works quite well. Also, the gradation curve preview window appears to use your monitor calibration profile, while most video players don't. I'll be the first to admit that neither product is all that easy in the beginning. Using the VDub histogram or ColorTools (even better, at http://trevlac.us/colorCorrection/colorTools.html) with gradation curves is an effective aid for detecting black/white level problems. Frame-serving is arduous, and I've never found it to be necessary with these tools.Originally Posted by chipsndukes
Many users don't grasp right away that you can configure gradation curves to correct black levels and bright burn-out very easily. Once you see it done it's child's play. You can set up a curve to correct red darks and blue brights at the same time, a common problem with many transfers. I'd also suggest a freebie called Color Sampler (csamp.exe) that lets you check the RGB values for any pixel on your screen. Free download at http://www.netreach.net/~gavin/gavsfreeware/csamp.htm . No install: just copy the .exe to your desktop. Do darks look too blue? Check'em in gradation curves preview with csamp, and correct the blacks using gradation curves' Blue curve; an "S" curve willl lower blue in the darks and raise them in the brights, etc. I haven't been able to do anything like that with AviSynth in a single filter run without spending hours on the script.
Everyone has their own preferences. These are suggested tools I use 95% of the time; they haven't failed me yet, and I've worked with some really awful video transfers that look worse than your sample. If you do try NeatVideo, use it by itself. Add more filters later.
P.S.: No, I don't get any "credits" for suggesting these gadgets.
Last edited by sanlyn; 20th Mar 2014 at 10:55.
-
Thank you very much for your help, jagabo.Originally Posted by jagabo
I downloaded GIMPshop as a free way to try what you said, here is how it looks (function to "select by color", then "adjust curves"). It did not seem as if GIMPshop had a function for RGB data of individual points.
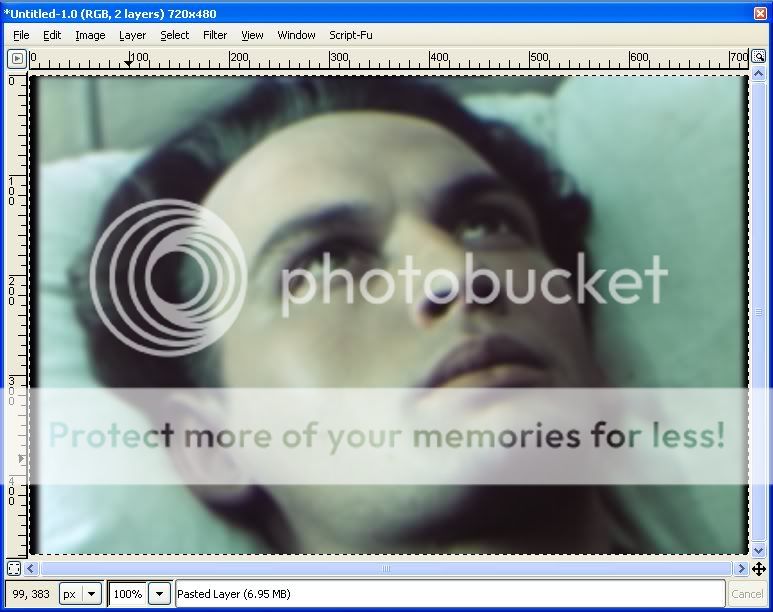
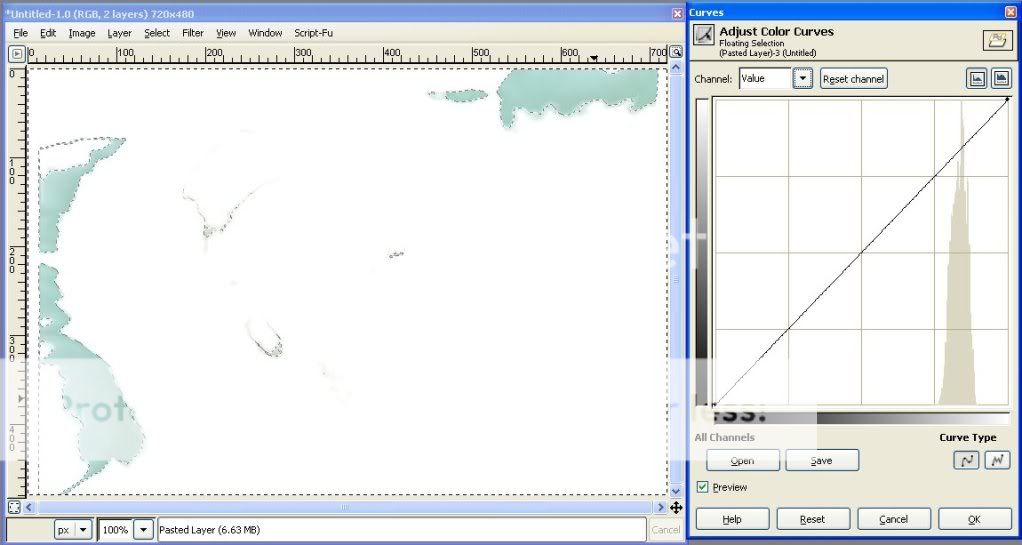
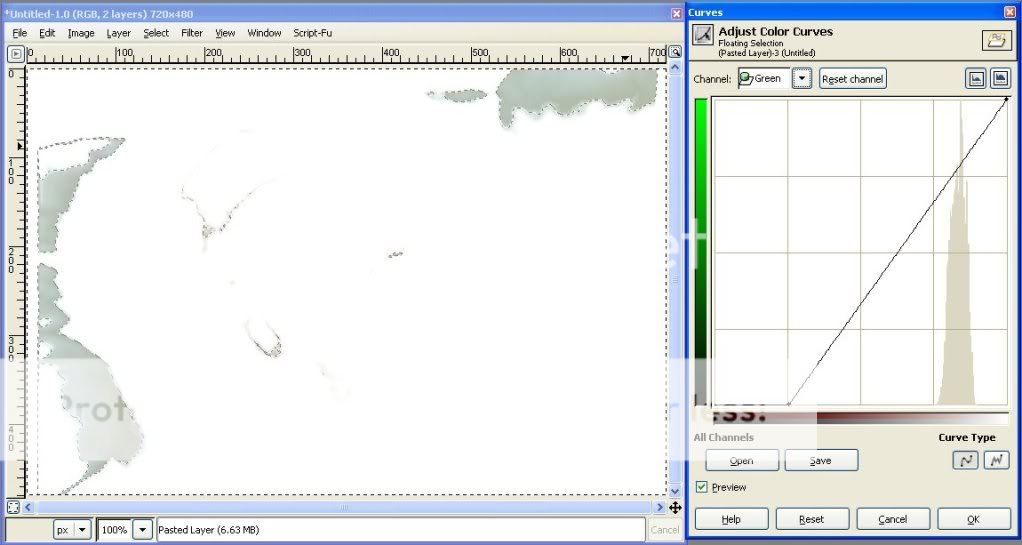
This same thing can also effectively be done in VirtualDub with the preview function (assuming no RGB data for individual points), as it turned out.
The result looked better to me, but other scenes looked bluer.
It seems that vhelp is right, color correction for this film would be best on a scene-by-scene basis.
There were some interesting automatic color correctors I thought might work:
AutoLevels v1.2 (VirtualDub):
But again the blue...
AutoLevels (AviSynth):
I really had no idea what I was getting into. For now I reencoded the clip leaving the color as is, just RemoveDirt(), MSharpen() and the NTSC conversion, it looks OK...
Thanks again, sanlyn.Originally Posted by sanlyn
Could you post up the csamp.exe file ? I could not find it on the web.
Thanks again, gentlemen. I'm short on time now, but will give it another shot on the weekend.
Thanks!
Chipsndukes -
I hardly ever need noise reduction but if they made a native AviSynth version I'd buy it.Originally Posted by sanlyn
I'll have to check that out. I always thought such a function should be built into VirtualDub.Originally Posted by sanlyn -
The attached .zip contains csamp.exe and a readme. Just copy the .exe to the desktop, or create a shortcut. Double-click the csamp icon to start -- while running, t displays a small dialog panel about the size of a popup menu. There's a picture of the small window on the download site at http://www.netreach.net/~gavin/gavsfreeware/csamp.htm .
To activate a cross-hair icon that reads pixel RGB values, you left-click the "Press and Hold" button and keep the left mouse button down while you drag the cross-hair around. As soon as you let go of the mouse button, the readings stop but the small control panel remains displayed. To exit the program, right-click on the little csamp "thermometer" icon that appars in your lower right-hand task tray. The right click displays a popup menu, one of whose options is "Exit".
When I'm working on video, I tend to leave CSamp running all the time. You can drag the small program "window" anywhere; I place it low on the desktop so its "Press and Hold" button is within view just below all the other windows that are open (and I'm often running Vdub, Photoshop, TMPGenc, and maybe even another instance of VDub at the same time!). As long as I can reach that little "Press" button, I can keep reading RGB values.
Hint: It does have one rather odd characteristic. if you right-click on Csamp's task tray icon, you get a Csamp popup menu. If you left-click on that icon, the left-click brings csamp's control panel to the front of all other windows -- except, of course, like most other program windows, it won't float above an application window that's displayed full-screen or at "Max". Would have been a more practical design to have csamp display a regular taskbar icon when it's running, but at least the little task-tray thingie does the best it can.
Csamp reads RGB values on almost all applications, including VDub windows, TMPGenc, gradation curves previews and most other VDub filter preview windows, AviSynth displays in VDub, etc., etc., -- the only windows it won't read are video players (MediaPlayer, PowerDVD, etc.). CSamp allows multiple instances of itself; each instance displays its own instance of its task tray icon.
Jagabo, I seem to recall using some sort of RGB sampler in VirtualDub, displayed Hex instead of decimal RGB (!)....I ended up with csmp because the other thingie was just too inconvenient. But I don't recall what the earlier "thingie" was or where I got it.
csamp21x.zipLast edited by sanlyn; 20th Mar 2014 at 10:56.
-
Hi sanlyn,Originally Posted by sanlyn
Thank you very much for posting this tool!
In 2 minutes, more information about the color of this film has been revealed than in 2 days with other methods.
I love simple and effective solutions, the best I've seen in a while.
Thanks again!
Chipsndukes -
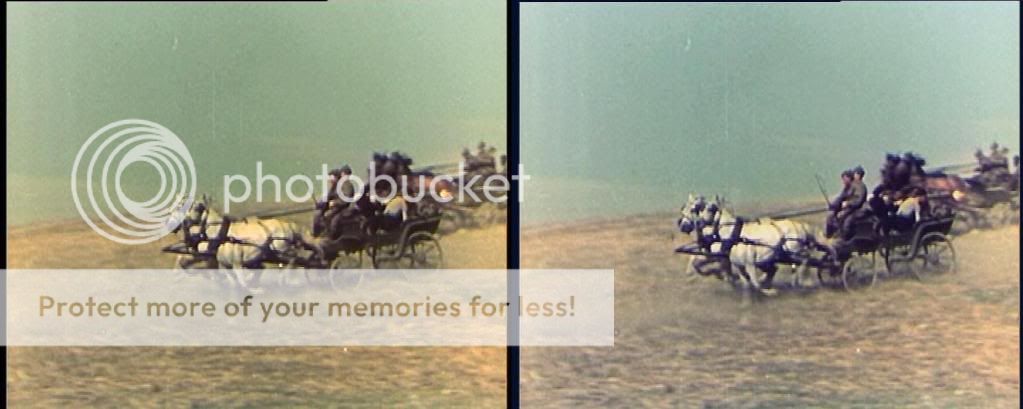
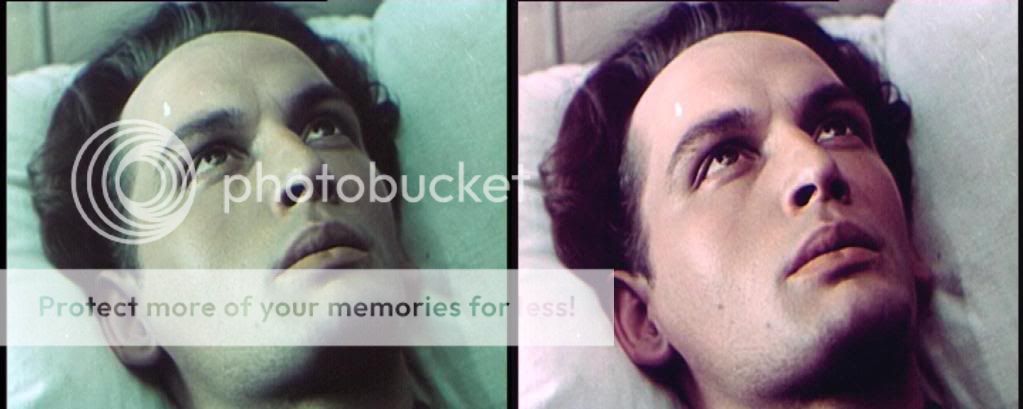
With VirtualDub and Gradation Curves I was able to get this from the earlier image:
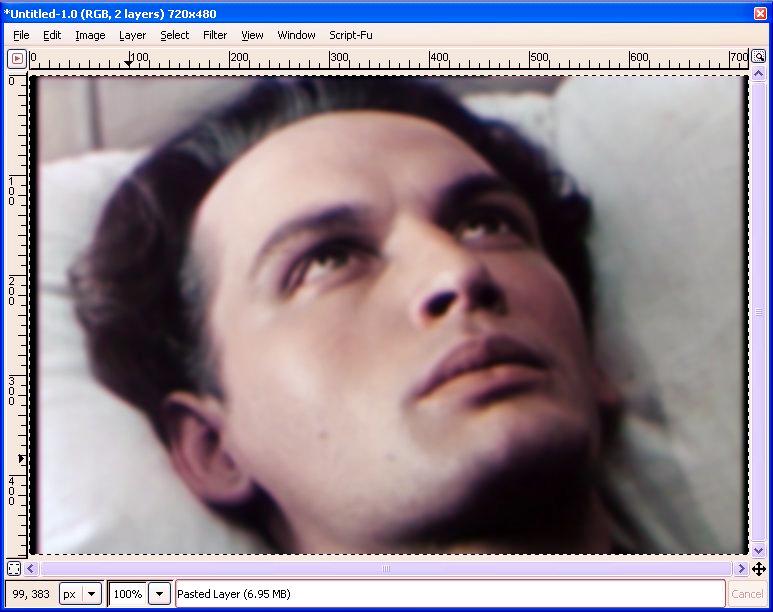
I used CSamp and the method I mentioned earlier, assuming the pillow should have been white. -
Nice work, jagabo. Wish I had some time this week, I'd like to tackle some of this but I'm tied up repairing some PC's (well, I gotta do SOMETHIN' in my retirement! The wife just doesn't understand about restoration projects). On my laptop the whites and shadows look good, midtones might need a little green. But, then, I don't have my good monitor right now. Nice thing about gradation curve, you can fiddle with midtones, etc.,without affecting other ranges.Originally Posted by jagabo
Last edited by sanlyn; 20th Mar 2014 at 10:56.
-
Thank you jagabo!Originally Posted by jagabo
So the RGB correction is different depending on the initial value (this is why a gradation curve is necessary and not a straight line) ?
After 30 minutes of playing with your instructions above and csamp.exe...
I'll keep trying, this is not easy...
Chipsndukes -
It gets easier, chips. Once you get the hang of it, you'll amaze yourself. The download site has examples of how to fix several image problems, I kept going over it and then, one day, bang! It just fell into place.Originally Posted by chipsndukes
Admittedly it's a problem video (Are there other kinds?). When I saw your first sample I said to myself, uh-oh, here's another of those color challenges that always gets me hooked! If I can possibly find some time this weekend, I'll make a stab at this myself and try to post the curves (.amp files) that I get. Remember, too, you can chain these things in the VirtualDub filter list -- I'd chain about 3 in a row before things start looking overprocessed. The first filter makes big changes, successive filters modify them.
Back then, I took a break from this filter and found a helpful Photoshop site -- about curves and histograms, maybe 8 or 9 web pages and examples, especially on s-shape and other curves. You'll notice that the VirtualDub curve looks like the one in Photoshop but has a few features that Photoshop doesn't. Sadly the web pages don't copy when you try to "Save" them, because the javascript only works online -- but some clever examples that let you mouse-over an image and see the kind of curve used to get the effect (el-neato!) and how it would graph on a histogram. Darn, too bad VDub won't let you view/configure more than one filter at a time. Oh, well. Can't have everything.
http://www.chromasia.com/tutorials/online/curves/
Site does cover some PS features (blend mode, luma mode, etc.)with no equivalents in video, but they're something to learn from -- maybe for really cool ways to use layer techniques in AviSynth???? Kinda hurts my head to think that far in advance.Last edited by sanlyn; 20th Mar 2014 at 10:56.
-
Yes.Originally Posted by chipsndukes
-
Hi jagabo,Originally Posted by jagabo
Thank you for answering and for the help.
Hello sanlyn,Originally Posted by sanlyn
Thanks for your encouragement, and also for the excellent tutorial!
I appreciate all your time.
Attached is a clip of 33 segments (132 frames in total) from this film. I think I see more or less four basic color issues in this film:
1. greenish
2. dark/contrast
3. saturated
4. purplish
I still think vhelp is correct, the only way is scene-by-scene. Like I said, hopefully I will have more time on the weekend.
Chipsndukes
sample.zip -
Here are also some screenshots from the sample clip.
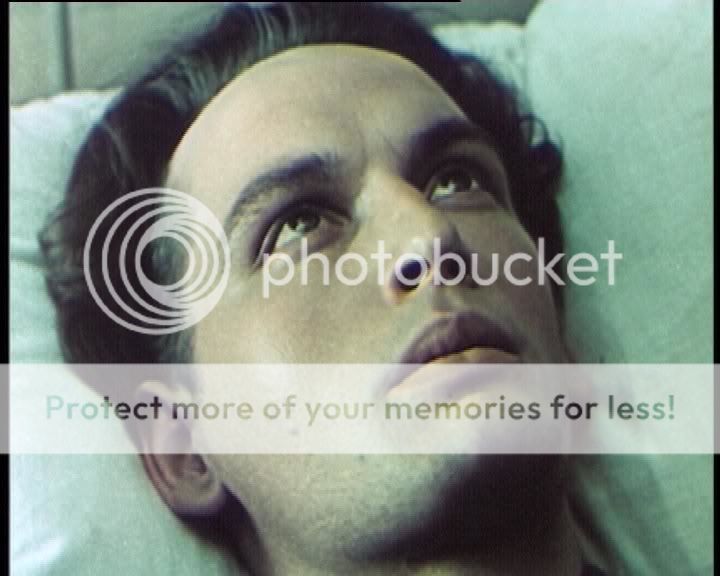

Attached the 33 segments as .jpg files.
Chipsndukes
jpegs.zip -
Old movies like that are often pieced together from negatives and many different prints -- whichever has the best quality for each scene. That would explain all the different fading and color shifts.
-
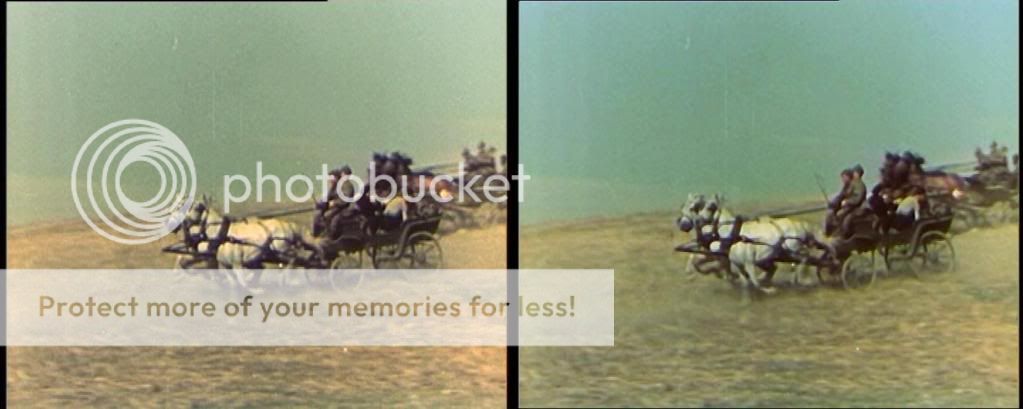
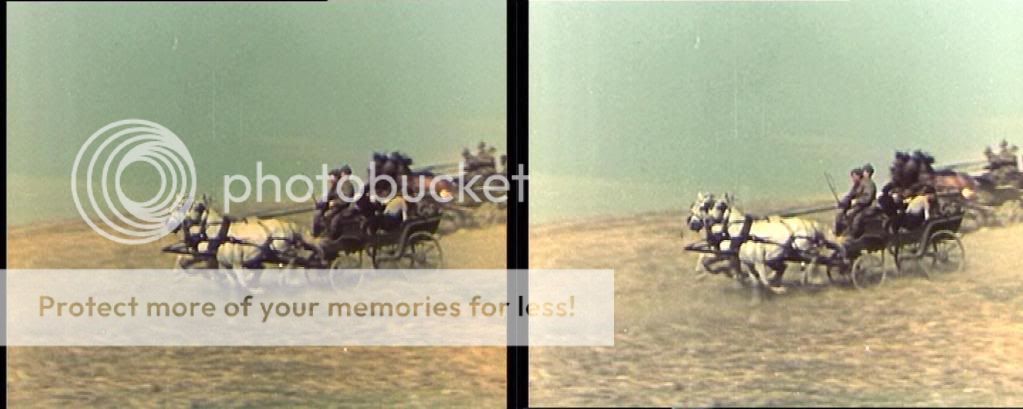
I'm experimenting with chipsndukes m2v source frame 113. There's greenish schmutz in the sky, but after watching this a few times ( a few?) I surmised that the grunge might be dust from other wagons. The scene was apparently shot around the middle of a bright day with the sun behind a cloud (shadows under the wagon). The previous scene would have been shot early a.m. or early p.m. Every scene in this clip has different light conditions. Even in this scene, the frames go from dark to light several times.
The scene is too green, and highlights on the horses are burnt away. I got the horses' shadows fairly neutral (they started out purple) and some blue in the sky. I chose frame 113 because it’s one of the grungiest and darkest.
I’m posting .amp files for 2 gradationm curves I used. You can import them into VDub to see what the curves look like. Unfortunately, when you import .amp's into the filter it doesn't save the actual point-by-point values, but it does show the shapes of the curves. On both curves I used RGB+R/G/B (4 curves in each file); on Curve2 I fine-tuned. Could have done more -- the faces don't look right -- but I ran out of coffee.
The histogram figure is from Color Tools. It shows three colors + Luma. R, G, and B all "peaked" in different areas--Green peaks too high, Blue is undernourished on the high end. This offered a clue about where to start with the curves. The green fringe on the horses is about impossible to correct, though I hope it looked a little better.
I ran the clip with NeatVideo, sampling noise from the sky in frame 108. It wasn't a perfect sample; I got a message box about color clipping in the Cb channel. But I had no clearer area to sample, so I used it anyway. I cut NV’s filter power down to about half to preserve more detail; it's possible for NeatVideo to totally clear that sky at full power, but it meant destroying all detail in the dust under the horses and wagon. Most of the ground would be just a blur.
This same NV setting didn't work well in the other scenes (I'd have to change the filtering levels for each segment). One of the most useful sampling areas I've used is black leader or a fade or dissolve from black. Such areas generally represent the residual noise level minus any color balance issues; but you still have to make filtering corrections in many scenes.
I used AviSynth to convert to RGB24 (interlaced=Yes) before moving to huffyuv AVI, to avoid interlace and color issues. Didn't seem to make any difference.
JPG and GIF made with HVS-Pro v2 (Photoshop 5.5 plug-in).
frame 113, from source m2v
frame 113 in RGB24 .AVI

frame 113 after Neat Video
frame 113 - ColorTools histogram before using gradation curves

frame 113 after gradation curves 1 and 2
You might detect slight color imbalance here and there due to AVI -> JPG 85% conversion

Here are 2 zip'd gradation curve files (curve1.amp + curve2.amp)
curves1and2.zipLast edited by sanlyn; 20th Mar 2014 at 10:57.
-
The more I look at the scene containing frame 113, the more I think that the original color balance was much warmer than shown here. For one thing, horses in real life don't get that white. What first appeared as a green stain on the horse's back looks more yellow with color correction. I suspect the entire scene had more yellow in it, and that the horse's main is likely more yellow than shown here. I betcha that horse ain't all-white. On top of that, most of the frames that precede this one have more yellow in them.
Now if my dear sweet wife (I hope she reads this) will leave me a few hours of free time this weekend, I can play some more.
Really? It's work, but I think it's fun. Guess I've gone over the edge.Originally Posted by chipsndukes
Last edited by sanlyn; 20th Mar 2014 at 10:58.
 Quote
Quote


Similar Threads
-
Best filters to Improve Video?
By mlong30 in forum RestorationReplies: 13Last Post: 13th Mar 2012, 09:18 -
Improve performance with VirtualDub & AviSynth
By ziggy1971 in forum Video ConversionReplies: 5Last Post: 26th Jan 2012, 17:17 -
help choosing filters to improve quality
By anajat in forum Newbie / General discussionsReplies: 6Last Post: 28th Jul 2011, 06:10 -
Which filters I should use for this anime? (avisynth)
By Cloudstrifeff7 in forum Newbie / General discussionsReplies: 6Last Post: 13th Dec 2010, 07:47 -
[Avisynth] What are the filters used in this video?
By Cloudstrifeff7 in forum Newbie / General discussionsReplies: 4Last Post: 22nd Apr 2010, 09:40